That video you just filmed looks great. Then you play it back and the audio sounds like you recorded inside a tin can.
The hollow, echoey quality that ruins home recordings has nothing to do with your microphone’s price tag. A $50 mic in the right spot beats a $300 mic placed wrong.
Recording professional audio in a small room comes down to a few boring decisions about placement, distance, and soft surfaces. None of them costs much money.
I think the home audio game changed around 2024 when USB dynamic mics like the Samson Q9U started shipping with built-in headphone monitoring. The barrier dropped to near zero.
Which Microphone Type Matches Your Small Room
Picking a mic for home recording gets confusing fast because every gear review treats the decision like a personality test. The choice is simpler than that. Two factors matter: how noisy is your room, and how close can you sit to the mic while recording?
Those two questions eliminate 80% of the options immediately.
Dynamic Microphones for Untreated, Noisy Rooms
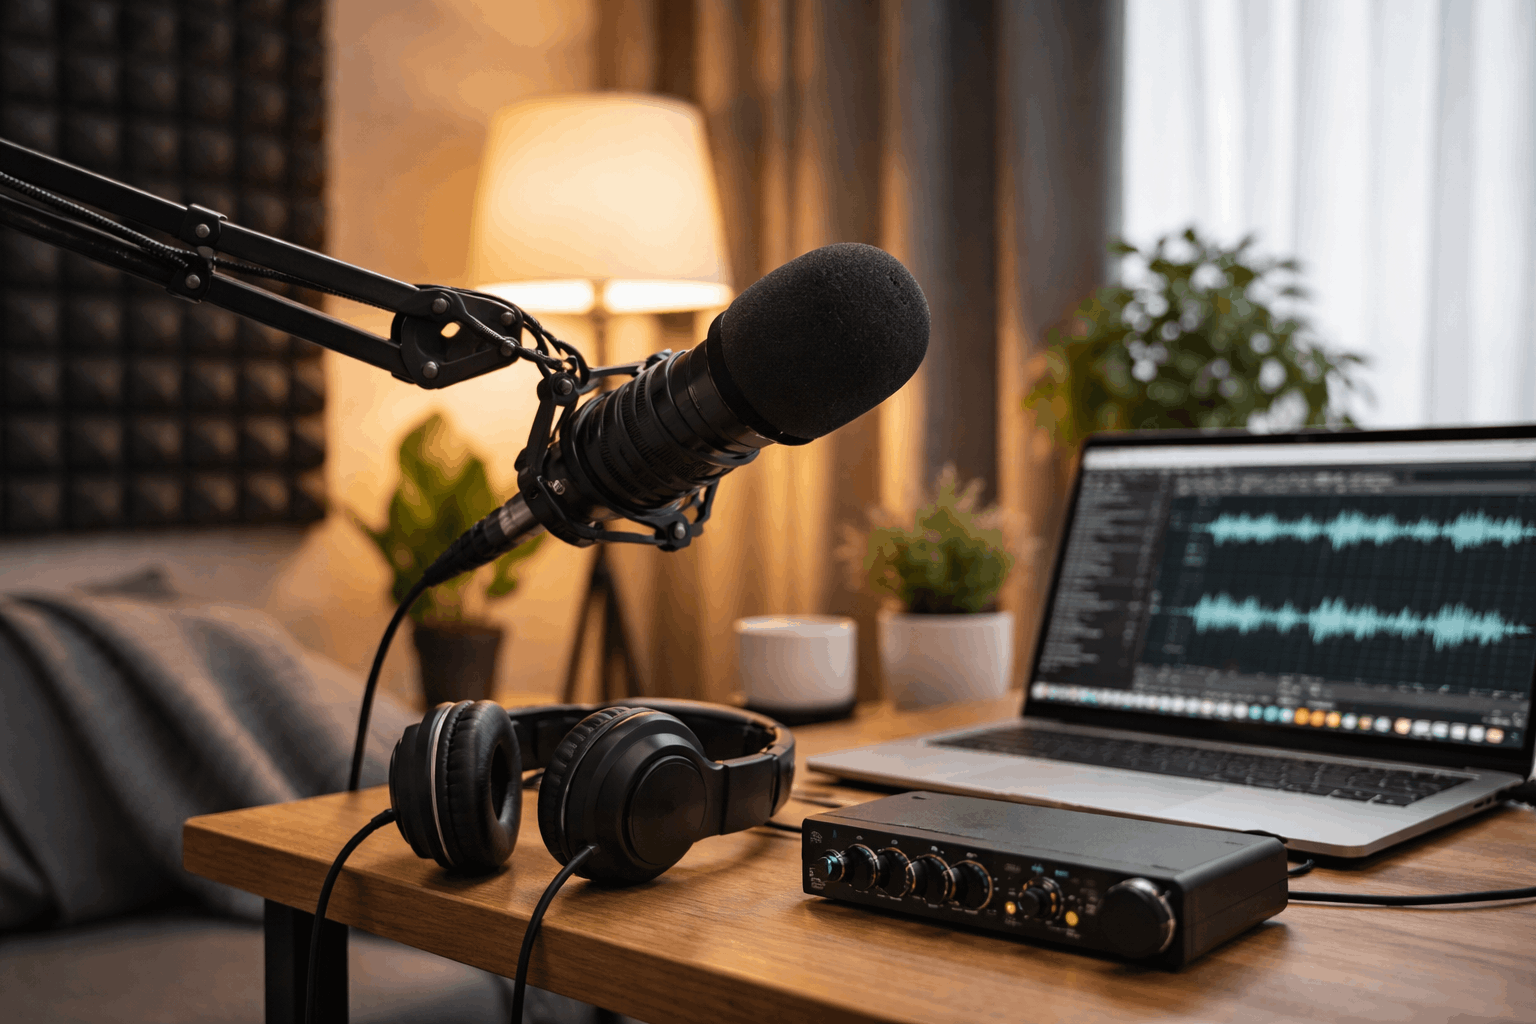
Dynamic mics pick up less room sound because they are less sensitive than condensers. That sensitivity gap is a feature, not a flaw, when hard walls and street noise surround your desk.
They work well for talking-head videos, podcasts, and streaming setups where the mic sits within 10-15 cm of your mouth. The trade-off: dynamic mics need more gain from your audio interface. A weak interface will add hiss to compensate, which defeats the purpose.
Common mistakes that ruin dynamic mic recordings:
- Sitting too far away (anything beyond 15 cm and the room takes over)
- Pairing the mic with a budget interface that lacks enough clean gain
- Ignoring the USB power noise that some laptops introduce through cheaper ports
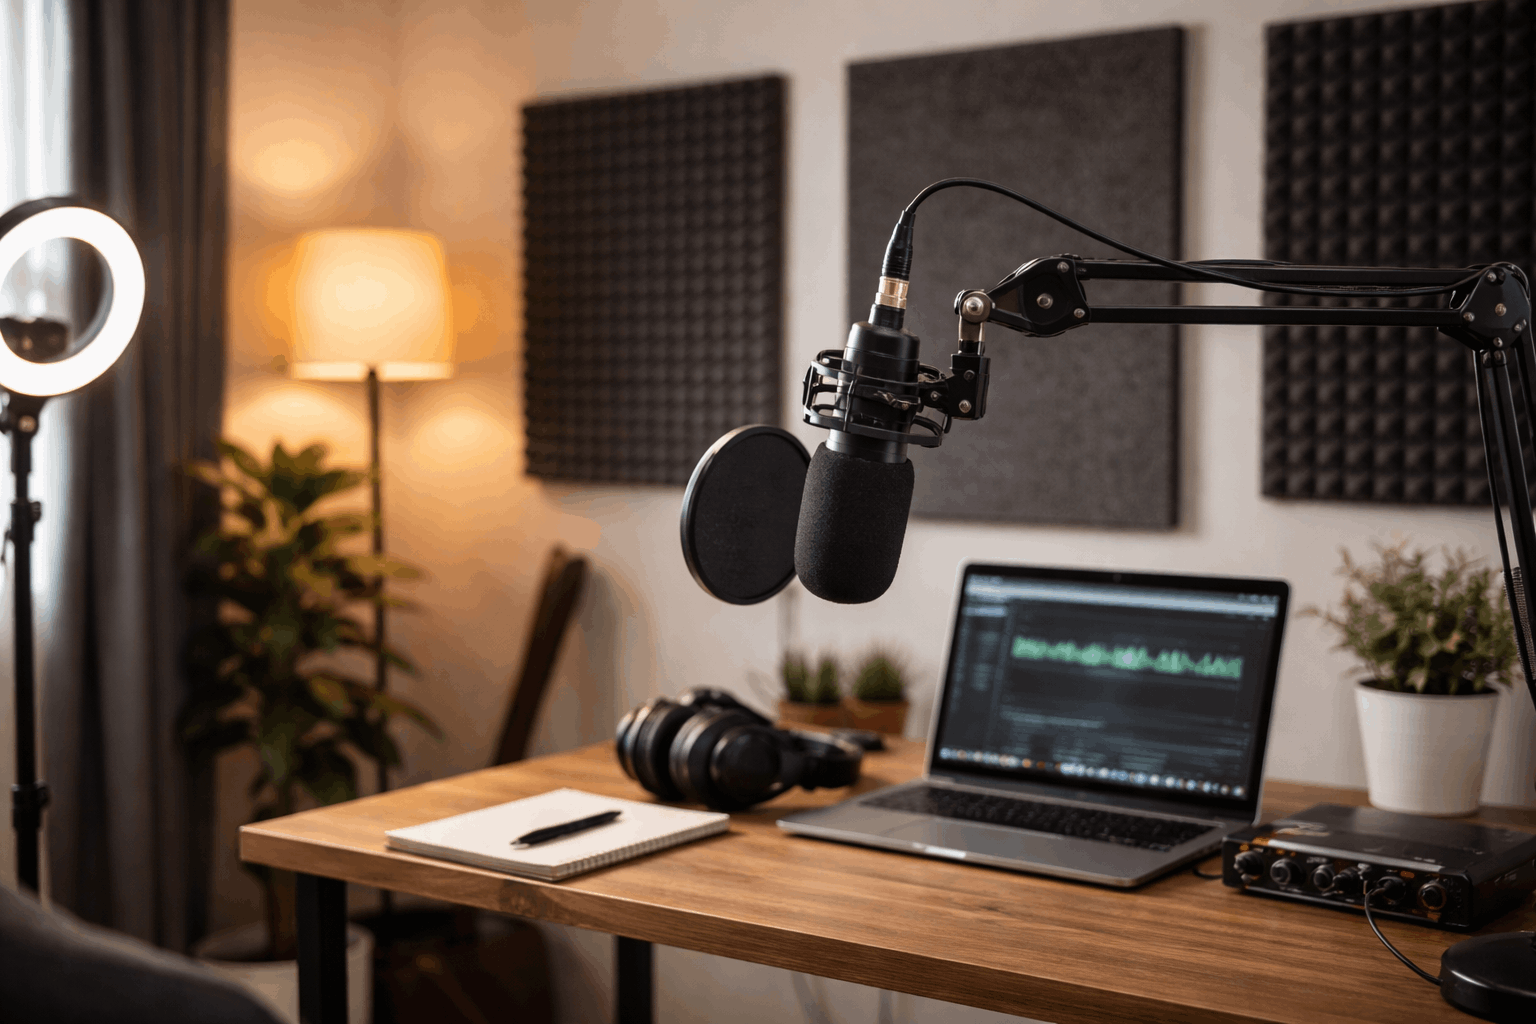
Condenser Microphones for Quiet, Treated Spaces
Condenser mics capture more detail across a wider frequency range. That detail is the problem in a small room. Every reflection off your desk, wall, and ceiling gets picked up along with your voice.
A condenser can sound fantastic for voiceovers and music in a quiet space with some acoustic treatment. But stick one in a 3×3 meter bedroom with bare drywall and the recording will sound boxy no matter how good the mic is.
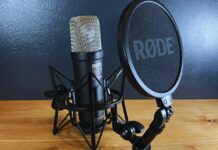
I would skip condenser mics entirely if the room has hard floors and no curtains. The Rode NT1 5th Gen, for example, has a self-noise spec of 4 dBA, which is remarkable on paper.
That spec becomes irrelevant when your room’s ambient reflections add 15-20 dB of unwanted color to every take.
Lavalier and Shotgun Mics: When They Make Sense
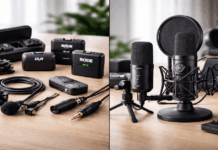
A lavalier mic clipped to clothing keeps the capsule close to your mouth regardless of how much you move. That proximity solves the room reflection problem differently: instead of treating the room, you shrink the distance between source and mic.
Wired lavs tend to be more reliable than wireless systems for beginners. Cable rubbing against clothing is the number one complaint, and a small loop of slack taped to the inside of a shirt collar fixes it.
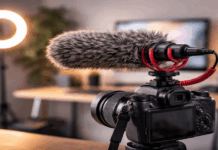
Shotgun mics get misunderstood constantly. They do not isolate your voice from across the room.
They work when mounted just out of frame, pointed directly at your mouth, in a controlled space. Place one more than a meter away in a reflective room and it sounds worse than a lav.
| Mic Type | Best Room Condition | Ideal Distance | Biggest Pitfall |
|---|---|---|---|
| Dynamic | Noisy, untreated | 10-15 cm | Weak interface adds hiss |
| Condenser | Quiet, treated | 15-30 cm | Picks up all room reflections |
| Lavalier | Any room | Clipped to clothing | Cable rubbing noise |
| Shotgun | Controlled, low reflection | Just out of frame | Useless at distance |
The takeaway: your room condition should pick the mic, not the other way around.
Also read: Best Tripods for Home Video Recording
USB vs XLR Microphones for Home Recording
The USB versus XLR debate generates endless forum arguments, but the practical difference for a solo creator in a small room is straightforward.
USB Mics: Fewer Parts, Faster Setup
USB microphones combine the mic and audio interface into one device. Plug into a laptop, open your recording software, and go.
Look for a USB mic with a headphone monitoring jack and a gain knob on the body so levels can be adjusted without opening software.
The downside is limited upgrade flexibility. Once you outgrow a USB mic, the built-in interface has no use. Noisy USB power from some laptops can also introduce a faint buzz that is hard to remove in post.
XLR Mics: Better Long-Term Investment
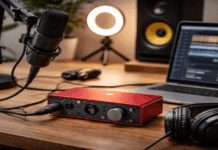
XLR setups need a separate audio interface and cable. The benefit is cleaner gain control, the ability to swap mics without replacing everything, and better preamps on mid-range interfaces like the Focusrite Scarlett series or the MOTU M2.
If multi-mic interviews or music recording might happen in the future, XLR is the safer starting point.
One common mistake: buying an interface without enough gain for a dynamic mic. Some dynamic mics need 60+ dB of clean gain. Check the spec sheet of both the mic and the interface before purchasing.
Small Room Acoustic Treatment That Costs Almost Nothing
Every article about room treatment shows photos of expensive foam panels covering entire walls.
I disagree with the common advice to buy acoustic foam panels first. Based on the acoustic treatment guide from Acoustics Insider, the reflections that matter most happen within a 1-meter radius of the microphone position.
Treating just that zone with household items produces a bigger improvement than scattering $200 worth of foam around the room.
The 1-Meter Bubble Principle
Hard surfaces close to the mic create the worst reflections. A bare desk, a flat monitor, and the wall behind you form a triangle of echo that the mic captures with every word.
The fix is low-tech. Move away from bare walls and corners. Drape a thick blanket over a mic stand behind you. Pull curtains closed. Record near a bookshelf stuffed with books. A closet full of clothes works surprisingly well for voiceover sessions.
Soft materials absorb mid and high frequency reflections. A rug under your chair, a couch behind the mic, or even a pillow propped against the monitor can reduce that hollow “room tone” dramatically.
None of this requires drilling into walls or spending more than what is already lying around the house.
Mic Placement, Gain, and Monitoring: The 80% Fix
Good mic placement beats expensive gear in almost every home setup. This section connects the room treatment above to the recording chain that produces a clean final file.
Distance and Angle for Voice Recording
A starting point for voice is 10-15 cm (4-6 inches) between the mic and your mouth. This distance gives a podcast-style proximity effect: warm, present, and full.
Angle the mic slightly off-axis, meaning not pointed directly at your lips. That off-axis position reduces plosive “P” pops and harsh sibilance on “S” sounds. A pop filter adds another layer of protection and costs under $10.
Setting Gain Levels Without Clipping
Clipping happens when the audio signal is too loud and distorts. Digital clipping sounds harsh and cannot be fixed in editing.
Aim for peaks between -12 dB and -6 dB when speaking at your normal loudest volume. This leaves headroom for sudden emphasis or laughter without distortion.
Setting gain too low is better than setting it too hot because quiet audio can be boosted in post while clipped audio is ruined permanently.
Why Closed-Back Headphones During Recording Matter
Monitoring with closed-back headphones catches problems that speakers miss. Plug in and listen for:
- Background hum from chargers or USB power bricks near the audio cable
- Crackling from a loose XLR connection or a dying USB port
- Room echo getting worse when you lean away from the mic
- Plosive pops that the pop filter did not catch
Catching these during setup takes two minutes. Missing them means re-recording the entire session.
Syncing Separate Audio and Video Files
Recording audio on a dedicated device instead of the camera’s built-in mic gives better quality. The syncing process is simple.
Start recording on both the camera and the audio recorder. Clap once on camera.
The clap creates a visible spike in the audio waveform that lines up with the hand clap in the video. Drag the audio track in your editor until the spike matches the visual clap, then mute the camera’s audio track.
Editors like DaVinci Resolve and Adobe Premiere also support automatic audio sync. The manual clap method is a reliable backup when auto sync fails or drifts on longer recordings.
Quick Fixes for the Four Audio Problems Every Home Recorder Hits
Even a well-set-up room runs into recurring issues. These four come up again and again:
- Buzz or hum: Unplug chargers near your recording area, move audio cables away from power bricks, and try a different USB port
- Plosive “P” pops: Add a pop filter, angle the mic off-axis, and increase the distance by 2-3 cm
- Hissing noise: Lower interface gain and move closer to the mic to compensate, then check if the preamp is being pushed past its clean range
- Inconsistent volume: Keep the same posture and distance throughout the recording, and apply light compression during editing to even things out
Questions People Ask About Recording Audio in a Small Room
Q: Can I record professional audio without any acoustic treatment?
Technically yes, if you use a dynamic mic at very close range (under 10 cm) and keep the gain low. The mic’s proximity to your mouth overwhelms the room reflections. But even a single blanket draped behind you will make a noticeable difference that saves editing time.
Q: Are foam acoustic panels worth buying for a home studio?
Cheap foam panels from Amazon do almost nothing below 500 Hz, which is where the “boxy” room sound lives. Thick absorption panels (at least 5 cm deep) or DIY rockwool panels work better. A closet full of clothes still outperforms thin foam at a fraction of the price.
Q: How do I remove echo from audio that was already recorded?
Software like iZotope RX and Adobe Podcast’s free AI tool can reduce room reverb after the fact. The results depend on how bad the echo is. Heavy reverb still sounds processed after cleanup, so treating the room before recording saves hours of post-production fixes.
Q: Do I need an audio interface if I use a USB microphone?
No. A USB mic has the interface built in. That is the entire point of USB mics. An external audio interface only becomes necessary when using XLR microphones or when the USB mic’s built-in preamp produces too much noise on a specific computer.
Q: What is the best budget microphone for recording in a small room in 2026?
The Samson Q2U remains a strong pick because it has both USB and XLR outputs, letting you start simple and upgrade later. The Audio-Technica ATR2100x fills the same niche. Both are dynamic mics, which matters more than brand when the room is untreated.
Conclusion
A small room can produce clean, professional audio when the mic sits close to the source and soft surfaces control reflections. The gear matters less than where the mic is placed and how the room sounds at that specific spot.
Spending an afternoon testing positions with headphones on will teach more than any equipment upgrade ever could. Start recording, listen back critically, and adjust the setup one variable at a time.