A microphone can record hollow dialogue, slap-back repeats, or distant voice in a reflective room. The goal is not a studio; it is stopping hard surfaces from sending sound back to the mic.
This guide suits creators recording podcasts, tutorials, livestreams, voiceovers, and interviews in bedrooms, offices, or living rooms.
It covers identifying the problem, improving mic technique, and making targeted room changes before spending on treatment or software.

Learn What the Room Is Adding to Your Voice
Echo and reverb reflect sound differently. Knowing which one you hear first points to the right surface and the right adjustment.
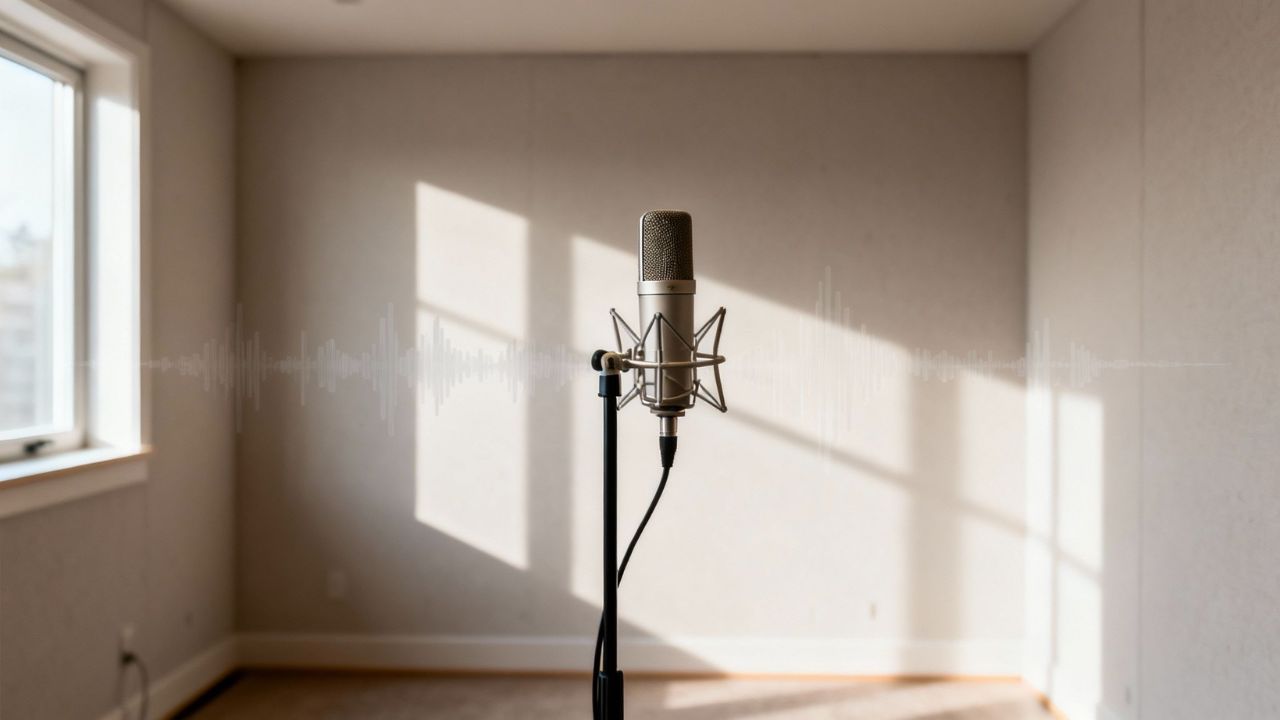
Echo Is a Clear Repeat After a Sound
Echo sounds like a distinct repeat after a clap, word, or sharp consonant. It is common in hallways, large empty rooms, and spaces with bare walls or tile.
When sound returns late enough, the microphone captures the original voice and the repeat. Instead of adding gain, change the recording position or soften the reflection path causing it.
Reverb Is a Wash That Makes Speech Feel Distant
Reverb is made from reflections arriving close together, so it sounds like a wash rather than a separate repeat. It can make speech feel boxy in rooms with hard floors, windows, high ceilings, and little furniture.
Clap once: a sharp repeat suggests echo, while a fading tail suggests room decay. Record the test and use headphones, because the saved track often reveals problems missed while speaking.
Start in the Softest Space You Can Use Regularly
Room choice affects sound before the microphone is switched on. Look for soft materials and practical consistency, not the emptiest-looking corner.
Bedrooms and Furnished Areas Usually Need Less Work
Bedrooms often sound calmer because bedding, curtains, clothes, rugs, and furniture interrupt reflections.
A corner near a closet may help, but do not press the microphone against a wall or trap it in a tiny space.
Kitchens, bare offices, and large rooms with glass, tile, or little furniture usually make voices more reflective. For spoken content, choose the softest available spot before changing your recording gear.
Use Household Materials Before Buying Acoustic Products
Close curtains, add a rug, and keep soft furniture near the recording spot. These changes will not create a studio, but can make speech tighter. Thin decorative foam is often less useful than thicker material.
Begin with large soft surfaces and fresh test recordings, then decide whether panels are worth the expense.
Bring the Microphone Closer Before Treating Every Wall
A close microphone captures more direct voice and less room sound. For many home setups, mic distance is the most effective first correction.
Keep the Mic Close Without Ruining the Video Frame
For spoken voice, begin with the microphone roughly six to twelve inches from your mouth, then adjust for its pattern and your delivery.
Use a boom arm or compact stand so you can hold that position without leaning forward awkwardly.
Angle the mic slightly off-center and add a pop filter or windscreen to reduce breath blasts on “P” and “B” sounds. This creates a stronger voice-to-room ratio and keeps camera framing workable for calls, tutorials, or streams.
Point the Least Sensitive Side Toward the Worst Surface
A cardioid microphone is often easier in an untreated room because it hears strongly from the front and less from behind.
Rotate it so its least sensitive side faces a window, hallway opening, computer fan, or bare wall causing distraction.
Dynamic cardioid mics can be forgiving for close spoken word, while sensitive condensers reveal more room from a distance. Check the pickup pattern and mic direction before assuming a costlier model is the answer.
Treat the Reflection Points Closest to the Microphone
You do not need acoustic material on every wall to reduce echo and reverb. Start with the nearest hard surfaces that create the earliest reflections.
Look at the Desk, Wall, and Ceiling Around You
At a desk, the first bounce may come from the desktop, wall behind the monitor, or closest side wall.
A thick desk mat, curtain, folded blanket outside the frame, or movable panel can soften these surfaces.
When standing, the wall behind you and ceiling may matter more, especially if the microphone is farther away. Change one surface at a time, because targeted absorption beats random coverage in a small room.
Also Read: Lighting Placement Guide for Beginners
Test Temporary Treatment Before Committing to Panels
A thick blanket on a stand or a foldable panel can show whether a bare wall is feeding sound back into the microphone.
Place it behind or beside the mic only when it blocks a reflection path; a small shield cannot replace room treatment.
Renters can use tripods or lighting stands to hold materials without drilling holes. Once the difference is clear, invest in portable absorption or well-placed panels, not decoration that only looks acoustic.
Keep Your Camera Setup From Pushing the Mic Too Far Away
A clean frame is not useful when it makes the room louder than your voice. Treat sound and video as one working setup with shared tradeoffs.
Use a Tighter Frame and Softer Lighting
Many creators move the microphone away because they do not want it visible on camera. A tighter webcam crop, side-entry boom arm, or compact stand below the lens can keep it close without dominating the frame.
Use a softbox or bounced LED in a furnished area rather than a bright, empty room with glass and tile. This protects direct speech and comfortable video at the same time.
Use Software for Cleanup, Not Rescue
De-reverb effects can reduce ambience, but strong settings may create watery or phasey speech.
A noise gate can lower sound in pauses, yet it cannot remove reverb that overlaps your words. Make small adjustments only after improving the room, microphone distance, and nearby surfaces. That keeps software cleanup subtle and preserves a natural voice.
Before recording, run this quick room check before the main take:
- Clap once and listen for a repeat or long tail.
- Move closer to the microphone before raising gain.
- Soften one nearby surface and compare a new sample.
Conclusion: Make the Microphone Hear More Voice Than Room
Most echo and reverb problems improve when you control the distance, direction, and nearby surfaces. Start with a softer recording spot, keep the mic close, and aim its less sensitive side toward the most reflective area.
Add curtains, rugs, blankets, or panels where they stop early reflections instead of covering the room at random. With targeted changes and a short test recording, a normal home space can produce clearer speech without becoming an expensive studio.