Good lighting is one of the fastest ways to make phone videos look cleaner, sharper, and more professional.
Even before buying a new camera or lens, better light can help your phone capture clearer skin tones, less noise, and a more stable image.
The goal is not to turn your room into a studio, but to make your lighting easier to repeat. With a few simple habits, smartphone lighting can feel controlled instead of random from video to video.
Start With the Light Already in Your Room
Before buying a smartphone video light, check the light you already have at home. Natural light from a window can look soft and flattering when it is placed correctly.
Lamps, walls, curtains, and even white furniture can also affect how your phone sees the scene. Once you understand your room, any extra light you add will be easier to control.
Use Window Light Like a Softbox
A window can act like a large softbox when it is in front of you or slightly to one side. Place your phoneb fvvc xz so the window sits around 45 degrees from your face, not directly behind you.
Move closer until your eyes look bright and the shadows on your cheeks soften. If sunlight becomes harsh, use a sheer curtain or thin white cloth to diffuse it.
Control Mixed Light and Color
Mixed lighting can make phone videos look strange even when the room seems fine in person. Daylight from a window plus yellow ceiling bulbs can cause uneven skin tones.
Turn off lights that clash with your main light, especially overhead bulbs that add green or orange color. If your camera app allows it, lock white balance so the color does not shift while you record.
Also Read: How to Maintain Consistent Lighting Across Videos
Choose a Light That Fits Your Space
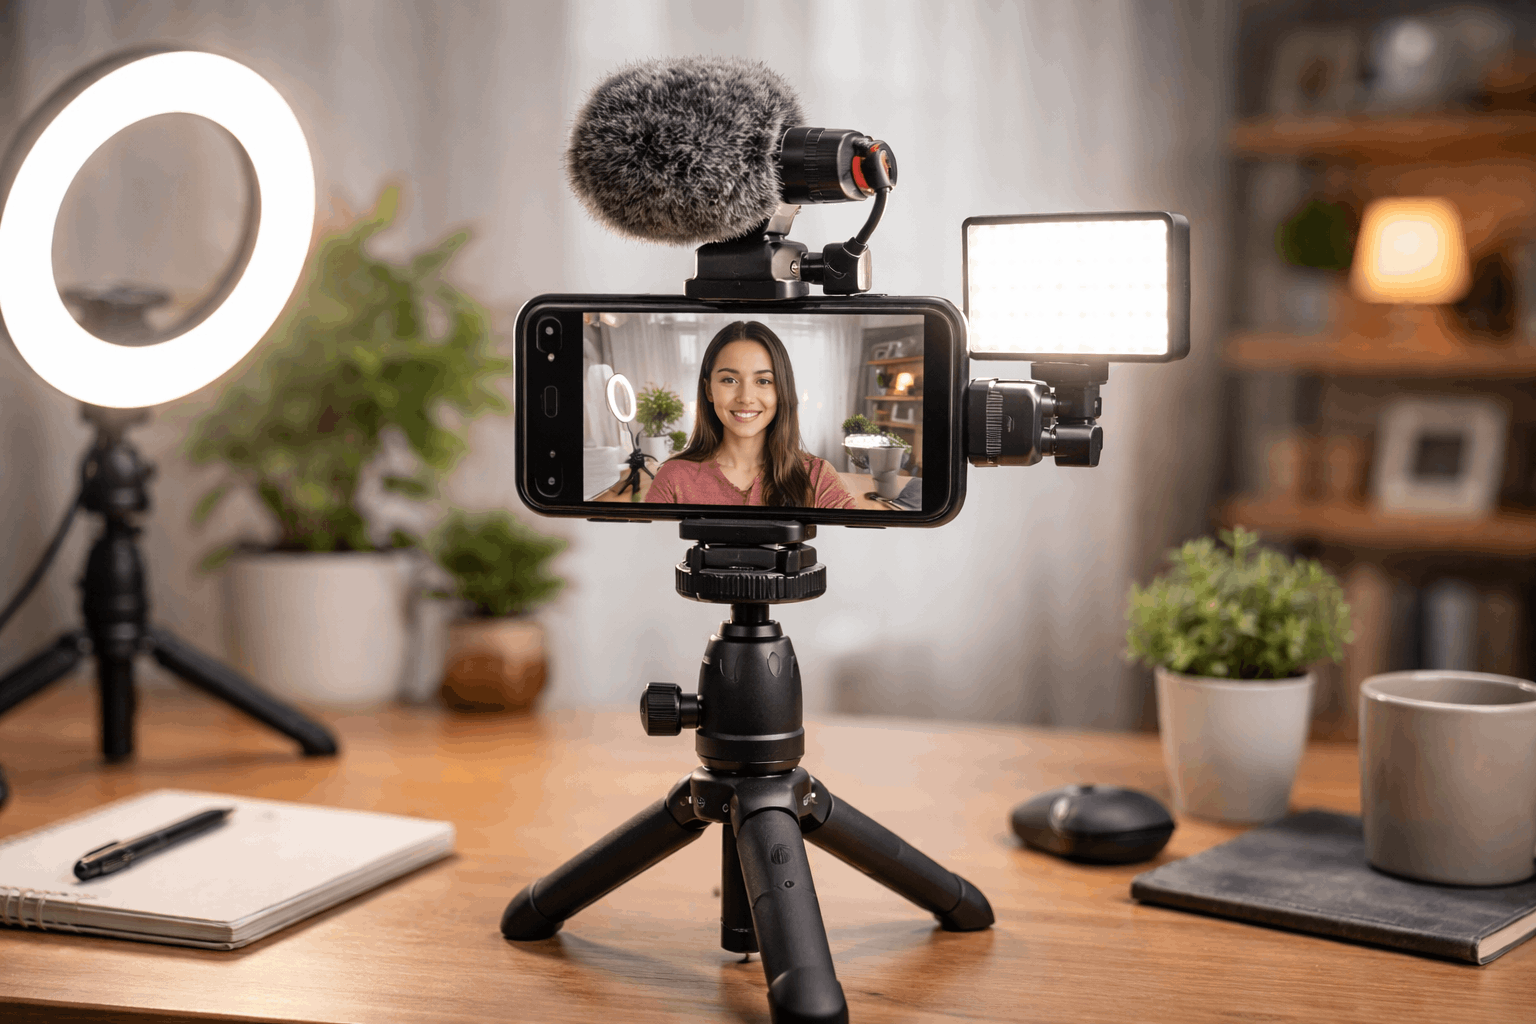
Artificial light becomes useful when daylight changes too much or you record at night. The best light for smartphone video should be dimmable, easy to mount, and simple to place near your phone.
Direction matters more than raw brightness because direction shapes your face and background. One reliable light used well is better than several weak lights fighting each other.
Ring Lights and Soft Panels Work Differently
A ring light is easy to use because it sits close to the phone and lights the face directly. It can work for quick talking videos, but it may also make the face look flat.
A small soft panel often looks more natural because it can sit slightly to the side like a window. If you wear glasses, a side panel usually reduces glare better than a ring light aimed straight at your face.
Bi-Color Lights Are the Safest First Upgrade
A bi-color light lets you adjust between warmer indoor tones and cooler daylight tones. This helps your phone show skin tone more naturally in different rooms.
RGB lights can be useful for background color, but they are not always ideal as the main face light. If you can only buy one light, choose a dimmable bi-color option before chasing special effects.
Place the Light for a Better Phone Image
Smartphones often try to fix lighting automatically, but they work better when the scene is already balanced. A good light position helps your phone keep the face clear without overexposing the background.
It also reduces harsh shadows, shiny skin, and color changes during recording. Once you find a good position, save it so you can repeat the same look later.
Follow the 45-Degree Key Light Rule
Place your main light slightly above eye level and around 45 degrees to one side. This angle gives your face shape without making one side too dark.
Keep the light close enough to stay soft, but not so close that it creates shiny highlights. If the nose shadow looks too strong, move the light closer to the camera until the shadow softens.
Add Fill and Background Light Carefully
You do not always need another powered light to fill shadows. A white wall, poster board, reflector, or light-colored curtain can bounce light back onto the darker side of your face.
For the background, a dim lamp aimed at the wall can add depth without stealing attention. Keep background light weaker than your face light so viewers stay focused on you.
Use this quick check before recording:
- Make sure your face is brighter than the background.
- Check for harsh shadows under the eyes, nose, and chin.
- Look for glare on glasses, screens, or glossy surfaces.
- Turn off lights that create strange color shifts.
- Record a short test clip before filming the full video.
Keep Mounting and Power Simple
A light that moves around will make your videos look inconsistent. Stable mounting matters because the best light position is often near your phone and close to your face.
Power also matters because weak batteries or loose cables can interrupt a recording session. A simple support setup helps you record faster and avoid rebuilding everything each time.
Use Tripods, Clamps, and Small Stands
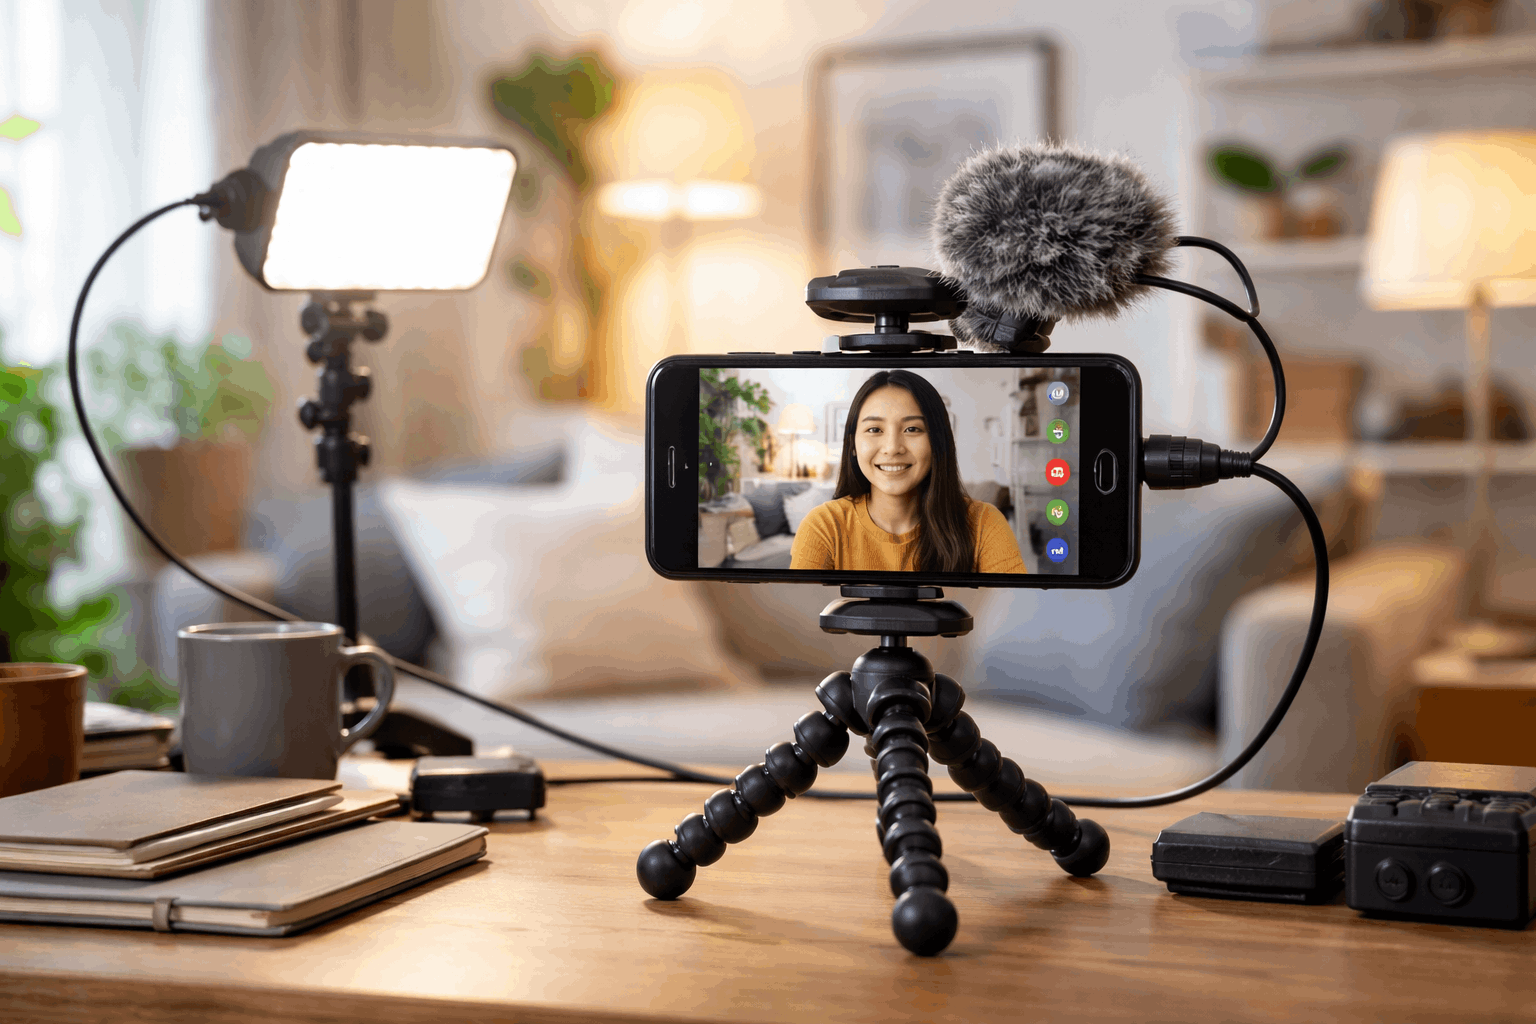
A phone tripod keeps camera height steady, which makes lighting easier to repeat. A desk clamp can hold a small light beside your phone when the room has limited space.
A small light stand is usually safer than balancing a panel on books or shelves. When the phone and light stay stable, you can judge exposure and shadows more accurately.
Choose Power Based on Your Routine
USB-powered lights are convenient for desk setups because they can stay plugged in. Battery lights are better when you film in different rooms or need flexible angles.
If you use battery lights, keep them charged before recording longer videos. Pick the power option that matches your real routine, not the one that only looks convenient online.
Build a Repeatable Smartphone Video Setup
A repeatable setup is more useful than a setup that looks good only once. When your phone, light, microphone, and background stay in predictable positions, your videos look more consistent.
This matters for tutorials, product demos, talking-head clips, and short-form content. A small routine can make home recording feel faster and less stressful.
Pair Lighting With Audio and Camera Settings
Good lighting works best when your audio and camera settings are also stable. Place the microphone close enough first, then adjust the light so your face looks clear.
Set exposure for your face and lower the light if highlights look shiny or washed out. If your phone app allows it, lock focus and exposure so the image does not change while you move.
Use a Compact Rig When It Helps
A compact phone rig can hold your light, microphone, and phone in one organized setup. This is helpful when you move between rooms or record different content types.
A small cage, bracket, or grip can keep accessories stable without taking over your desk. Keep the rig simple so it saves time instead of adding more steps.
Make Phone Lighting Easy to Repeat
Better smartphone lighting comes from controlling direction, softness, and consistency. Start with window light, then add one reliable main light when your room needs more control.
Keep your phone, light, and microphone stable so each recording starts from the same place. When your setup is easy to repeat, your phone videos look cleaner and your workflow becomes faster.