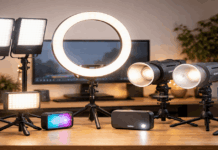
If you teach, coach, tutor, or run webinars from home, lighting is one of the fastest upgrades you can make.
A good microphone helps people hear you clearly, but good lighting helps them see you with more trust and focus.
Your face looks clearer, your background feels more intentional, and your webcam does not have to struggle with shadows or overexposure. The best setup is not always the most expensive one; it is the one you can repeat every class or recording day.
What Good Lighting Means for Online Teaching
Good lighting for online teaching should make your face easy to see without making the video look harsh.
Students, clients, or webinar attendees should not have to adjust their eyes because your face is too dark, too bright, or oddly colored.
Your background should support the lesson, not compete with it. A simple setup can already look professional when light direction, softness, and color are controlled.
Keep Your Face Brighter Than the Background
Your face should usually be the clearest and brightest part of the frame. If the background is brighter than you, the camera may darken your face and make you look like a silhouette.
This often happens when a window, lamp, or bright wall sits behind the speaker. Move the main light in front of you or turn your body so the light supports your face instead.
Use Soft Light Instead of Harsh Light
Soft light is easier on the eyes and more flattering on camera. It reduces hard shadows under the eyes, nose, and chin. You can create softer light with a diffuser, softbox, curtain, lampshade, or by bouncing light off a wall.
For long teaching sessions, soft light also feels more comfortable than a bare bulb pointed directly at your face.
Set Up the Main Light First
Your main light, often called the key light, should be the first part of the setup you adjust. It decides how your face looks, how shadows fall, and how polished the whole frame feels.
For most online classes, one good key light is enough to create a clean image. Add extra lights only when they solve a clear problem.
Place the Key Light at an Angle
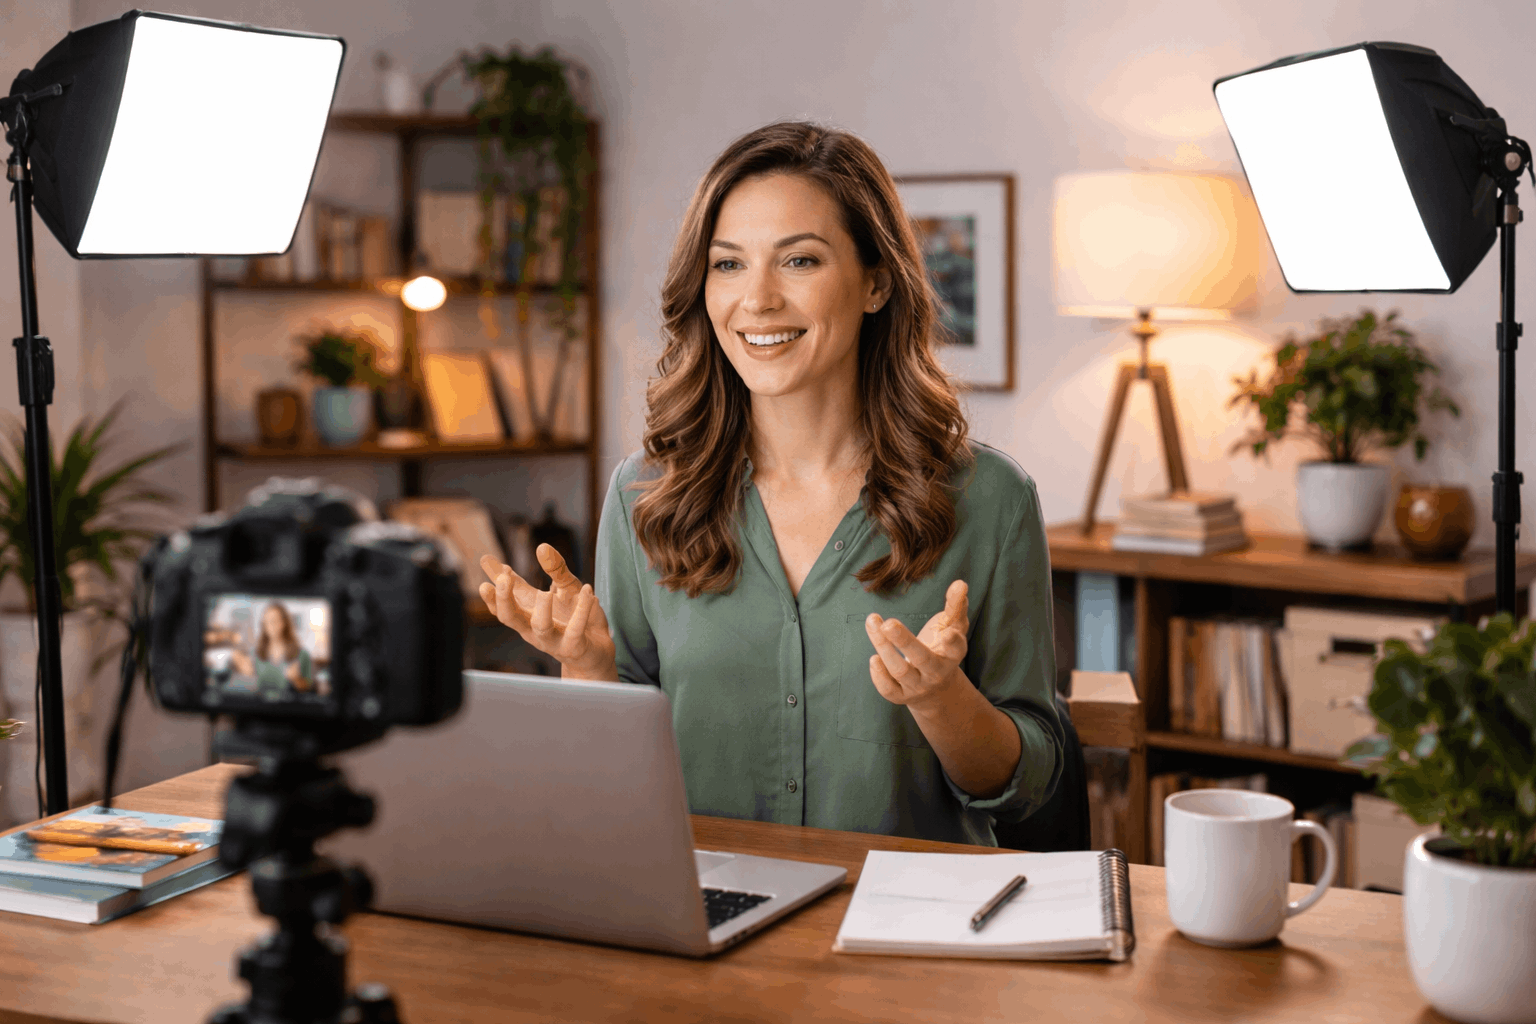
A useful starting point is placing the key light slightly above eye level and around 30 to 45 degrees to one side. This keeps the face clear while adding enough shadow to avoid a flat look.
Avoid placing the light directly above your head or directly behind you. If the light feels too dramatic, move it closer to the camera or soften it more.
Match the Color of Your Lights
Mixed lighting can make skin tones look orange, green, or too blue. This often happens when daylight, warm lamps, and ceiling bulbs appear in the same frame.
Choose one main color temperature and turn off lights that fight against it. If you use a video light, set it to match either daylight or your room lamps, then keep that choice consistent.
Also Read: Simple Streaming Setup for Home Use
Keep the Setup Comfortable for Long Sessions
Teaching often means staying on camera longer than a short video recording. A light that is too bright, hot, or close to your eyes can become tiring.
Place the light where it brightens your face without forcing you to squint. Comfort matters because discomfort can affect your focus, voice, and energy during the lesson.
Choose the Right Type of Light for Your Space
The best light depends on your room size, desk layout, and how often you teach. A small desk setup may only need a compact creator light.
A recorded course or webinar setup may benefit from a larger panel or softbox. Choose based on control and repeatability, not just brightness.
Window Light Works When Timing Is Stable
A window can be a useful free key light when it sits in front of you or slightly to the side. It gives soft, natural-looking light when the sun is not too harsh.
The problem is that weather and time of day can change the look quickly. If you teach live classes, window light works best when your schedule and room light stay predictable.
Desktop Creator Lights Fit Small Workspaces
Desktop lights are helpful when your teaching setup is built around a laptop, webcam, or small desk. They are usually easy to position, quick to turn on, and simple to adjust between sessions.
Compact options like USB-powered or app-controlled lights can work well for tutoring, coaching, and online meetings. They are best used close enough to brighten your face, not as room lights.
Panels and Softboxes Give More Control
LED panels give more output and placement control than many small desk lights. A softbox or COB light can create a smoother studio-style look, especially for recorded courses or polished webinars.
These options need more space, but they can make your face look clean and consistent day or night. They are useful if you teach often and want one setup that does not depend on the weather.

Avoid Common Lighting Problems
Many online teaching videos look poor because of small setup mistakes, not bad cameras. The most common issues are backlighting, mixed colors, harsh shadows, and changing exposure.
Fixing these problems makes even a basic webcam look better. A short check before each class can prevent most lighting distractions.
Watch for Backlight and Glare
A bright window or lamp behind you can confuse the camera and make your face look dark. Glasses, whiteboards, glossy desks, and screens can also reflect light into the lens.
Move the light source, adjust your angle, or reduce brightness until glare disappears. Always check the final image through the camera, not just by looking around the room.
Keep Your Camera Settings Stable
Auto exposure and auto white balance can shift while you teach. This may happen when you move your hands, share objects, or change what appears on your screen.
If your camera or app allows it, lock exposure and white balance once the image looks right. Stable settings make your lesson look more professional and reduce editing work for recorded sessions.
Use this quick lighting check before teaching:
- Make sure your face is brighter than the background.
- Check for harsh shadows under your eyes and chin.
- Turn off mixed lights that change skin tone.
- Look for glare on glasses, screens, or whiteboards.
- Record a short test clip before important lessons.
The Bottomline
The best lighting for online teaching is the setup you can use without stress every time. A simple window setup, desktop light, LED panel, or softbox can all work when placed correctly.
Start with one soft key light, keep your color consistent, and adjust the background only when needed. When your lighting stays repeatable, your online classes look clearer, calmer, and more trustworthy.