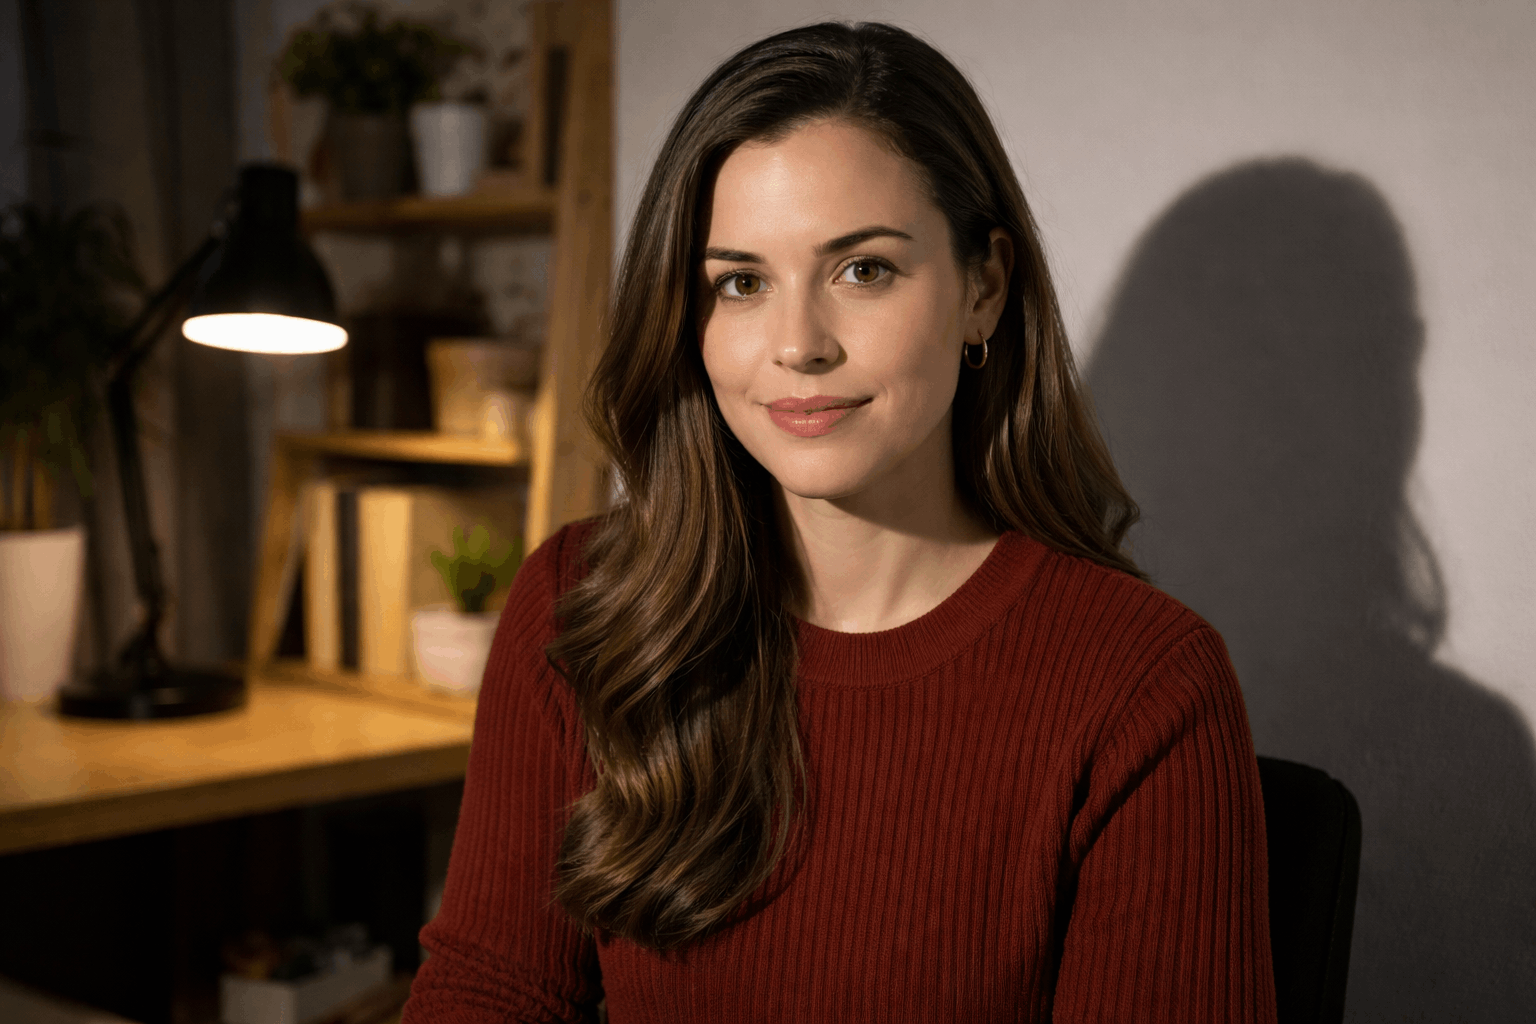
That shadow behind your head on the wall? It is making your videos look like a hostage tape. And no, a ring light is not the answer.
Harsh shadows in home videos happen because of physics, not budget. Small light sources close to your face create hard edges that your camera exaggerates.
The fix is simpler than the problem. A few inches of light repositioning and one cheap accessory can kill 80% of shadow issues.
This guide breaks down exactly how to fix harsh shadows in home videos using gear most creators already own.
Why Shadows Look So Bad on Camera
Shadows on camera behave differently than shadows your eyes see in person. Your brain corrects for contrast in real time, but your camera sensor does not. That mismatch is why a room that looks fine to you produces a video that looks harsh and unflattering.
Three factors control shadow behavior, and every creator should think about all three before adjusting anything.
Hard Light vs. Soft Light
Hard light comes from small, direct sources. Think bare bulbs, phone flashlights, or undiffused LED panels. These create sharp shadow edges on your face and on the wall behind you.
Soft light comes from large or diffused sources. A cloudy sky is soft light. A bedsheet draped over a lamp frame is soft light. The shadow edges blur and blend, which looks far more flattering on camera.
The size of the light source relative to your face determines shadow hardness. A 12-inch LED panel three feet from your face acts like a medium-soft source. That same panel from ten feet away acts like a hard point source.
Distance and Angle Change Everything
A light placed low or directly to one side creates deep facial shadows. Under-eye darkness, harsh nose shadows, and uneven jawline contrast all come from poor angle choices.
The sweet spot for talking-head video: place your light slightly above eye level, angled down at roughly 30 to 45 degrees. This fills the face evenly while keeping some natural shadow for dimension.
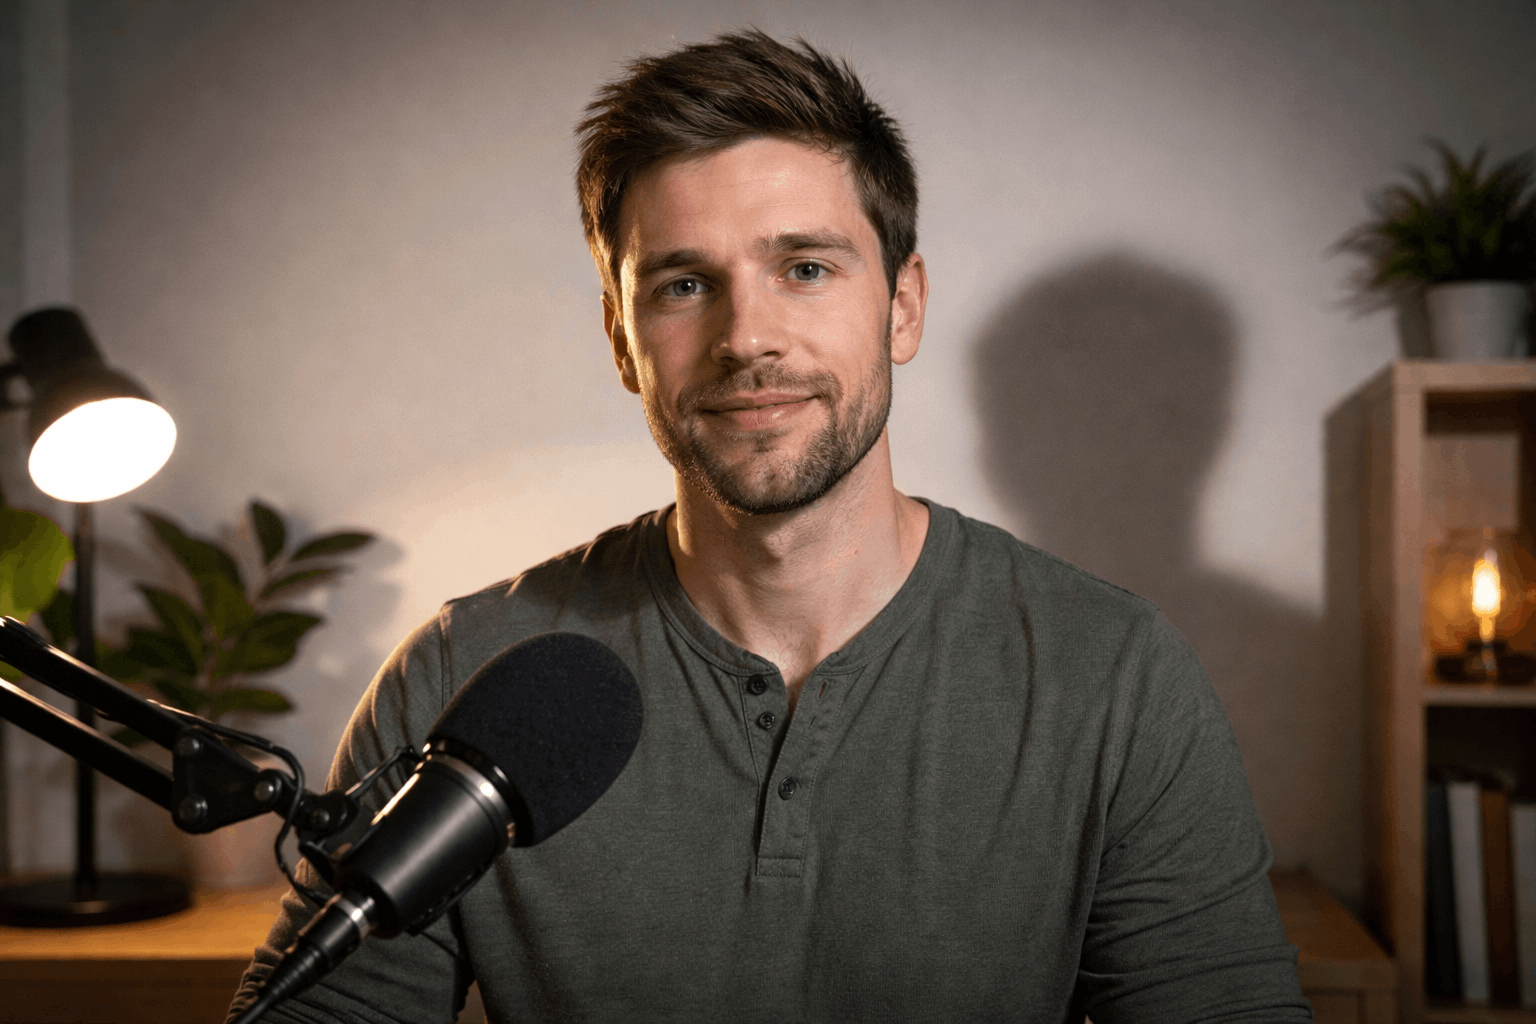
Moving the light farther back also softens shadows. But pulling it too far reduces brightness, so increase the panel output to compensate.
The Background Distance Problem Nobody Mentions
I think background distance is the single most underrated shadow fix, because moving your chair 2 feet from the wall eliminates the “mugshot shadow” that plagues 90% of webcam setups I see on YouTube.
A subject sitting 6 inches from a plain white wall will cast a dark silhouette behind their head. That shadow is distracting and screams “beginner.” Textured walls handle shadows better than smooth painted surfaces, but distance works on any background.
Even an extra 1 to 2 feet between your back and the wall reduces shadow visibility dramatically. This costs nothing and takes 10 seconds.
Diffusion: The Cheapest Shadow Fix That Works
Diffusion turns hard light into soft light by scattering the beam. This is the single fastest upgrade for anyone using a bare LED panel, desk lamp, or work light as their video source.
The concept is dead simple: put something translucent between the light and your face.
LED Panel Diffusion Covers
A lot of LED panels ship with snap-on diffusion covers. If yours came with one and you are not using it, start there. The difference is immediate.
Panels without a built-in diffuser option work fine with clip-on diffusion material mounted a few inches in front. Keep it away from heat vents. LED panels run cooler than halogen or tungsten, but airflow still matters for long recording sessions.
The Shower Curtain Trick
A frosted shower curtain liner from any dollar store can work as a large diffusion panel. Hang it between the light and your face, leaving a gap for airflow.
I would pick a $3 shower curtain over a $25 “photography diffusion panel” from Amazon any day of the week, because the optical result is identical and the curtain covers a larger surface area. Bigger diffusion surface means softer light.
This trick works best when the curtain hangs about 12 to 18 inches from the light source. Too close and it does not spread the beam enough. Too far and you lose brightness.
Fill Light: Killing Shadows on the Dark Side of Your Face
Diffusion softens the main light, but one-light setups always leave one side of the face darker. Fill light lifts that darker side so the contrast between bright and shadow areas looks natural on camera.
The goal of fill light is subtle. If both sides of your face are equally bright, the image looks flat and lifeless. The fill should reduce shadows, not erase them.
A Second Light at Low Power
Place a smaller light on the opposite side of your main light. Keep it at about 25% to 50% of the main light’s brightness. This fills deep shadows under the eyes and along the cheekbone without flattening facial structure.
A cheap USB desk light or a small LED panel works perfectly here. Matching the color temperature to your main light matters, though. More on that below.
Bounce Light Off a Wall or Ceiling
Point your main light at a white wall or ceiling instead of directly at your face. The wall becomes the light source, and because it is large, the light wraps around you softly.
Bounced light is one of the most flattering lighting techniques available, and it requires zero extra gear. Just turn your existing light around.
The downside: you lose brightness. Bouncing eats about 50% to 70% of the light output depending on wall color and distance. A powerful LED panel handles this fine. A weak desk lamp might not produce enough light to bounce effectively.
White Foam Board as a Reflector
A $4 white foam board from a craft store placed next to your face (just out of frame) bounces light back into shadow areas.
No power, no cables, no extra switches. The Godox LED Video Light panels page has useful diagrams of reflector placement for single-light setups.
I disagree with the common advice to buy a ring light for shadow-free video. Ring lights create flat, dimensionless lighting that removes all facial structure, and they produce distracting circular catchlights in the eyes.
A single LED panel at an angle with a foam board fill produces better-looking video for half the cost.
| Method | Cost | Shadow Reduction | Facial Dimension |
|---|---|---|---|
| Ring light | $30 to $80 | High (removes all shadow) | Flat, unnatural |
| LED panel + diffuser | $25 to $60 | Medium-high | Natural, shaped |
| LED panel + foam board fill | $30 to $65 | Medium-high | Best dimension |
| Bounced light off wall | $0 extra | Medium | Soft and natural |
The foam board plus LED panel combination gives the most professional result for home video creators on a budget.
Also read: LED Panel Lights Explained for Beginners
Camera Placement and Its Effect on Shadows
Lighting is half the equation. Where your camera sits changes how shadows appear in the final image.
Do Not Shoot Too Close
A camera 12 inches from your face magnifies contrast and skin texture. Pulling back even slightly makes lighting look smoother because the lens captures a wider field, and the shadow-to-highlight ratio appears more balanced.
Lock framing with a tripod or monitor arm. Handheld or loosely placed laptops shift between takes, and every position change alters how shadows fall.
Set Framing Before Adjusting Lights
A common mistake: perfecting your light, then moving your camera. Every camera move forces a complete re-light. Set your shot first. Lock it down. Then move your lights to match. This sequence saves enormous time over multiple recording sessions.
Color Temperature Consistency Wrecks Shadow Control
Mixed lighting creates problems that no amount of repositioning can fix. A 3200K warm desk lamp fighting a 5600K daylight LED panel produces uneven skin tones and patchy shadows that look dirty on camera.
Match All Lights to One Kelvin Value
Set every light in your setup to the same color temperature. For most home creators, 5000K to 5600K (daylight range) works best because it matches window light during the day.
If one light can not match, remove it from the setup entirely. One consistent source beats two conflicting ones. The Wistia lighting guide breaks down color temperature matching in plain language.
Overexposure Makes Shadows Look Worse
Cranking brightness too high blows out the highlights on your forehead and cheeks. The camera compensates by darkening everything else, and shadows deepen as a result.
Lower the brightness slightly. Adjust exposure so the brightest part of your face reads around 70% to 80% on a histogram. This keeps shadows soft and the overall image balanced.
Keep Ambient Room Lights Predictable
Random lamps behind you add unpredictable shadows on the wall. Either turn them off or position them deliberately as background accent lights.
Consistency between recording sessions matters more than perfection in any single session. A repeatable setup means your videos look the same every time, which builds a professional feel over weeks and months.
Quick Fix Checklist Before Hitting Record
Run through this list before every recording session. It takes 2 minutes and prevents the 20-minute troubleshooting spiral that eats into creative energy.
- Move away from the wall. A minimum of 2 feet between your back and the background eliminates wall shadows.
- Raise your light slightly above eye level. Angle it down at 30 to 45 degrees for natural shadow placement.
- Add diffusion. Snap-on cover, shower curtain, or any translucent material between the light and you.
- Place a white foam board on your shadow side. Just out of frame, angled to bounce light back toward your face.
- Match color temperatures. Remove or turn off any light that does not match your main source.
- Lock your camera before adjusting lights. Framing first, lighting second.
Questions People Ask About Fixing Harsh Shadows in Home Videos
Q: Can I fix harsh shadows in post-production editing software?
Software like DaVinci Resolve or Premiere Pro can lift shadows in color grading, but the result looks grainy and unnatural on talking-head footage. Fixing shadows at the source during recording always produces cleaner video than trying to rescue bad lighting in post.
Q: Do softboxes work better than bare LED panels for home video?
Softboxes produce beautiful soft light, but they take up a lot of space. A diffused LED panel delivers similar softness in a smaller footprint, making it a better fit for desk setups and small rooms where space is limited.
Q: How far should my light be from my face?
Between 2 and 4 feet works well for most LED panels. Closer creates harder shadows and brighter hotspots. Farther softens shadows but requires more power. Start at 3 feet and adjust based on how your face looks on the monitor.
Q: Does natural window light cause harsh shadows?
Direct sunlight through a window creates extremely hard shadows. But diffused window light on a cloudy day or through a sheer curtain is some of the best lighting available. Position yourself facing the window for even, soft illumination.
Q: Should I use two lights or one light with a reflector?
For rooms smaller than 10 feet wide, one light with a reflector often produces better results. Two lights in a tight space can create crossing shadows that look worse than the original problem.
Conclusion
Harsh shadows in home videos come down to light size, distance, and angle. A single diffused LED panel paired with a foam board reflector handles most setups.
Camera position and color temperature consistency matter just as much as the light itself. Start with the checklist above, and your next recording session will look noticeably cleaner.