A microphone upgrade is not always the answer when recordings sound rough. Clearer speech often comes from better placement, less vibration, and a room that does not throw every word back at the capsule.
For anyone recording videos, podcasts, voice overs, lessons, or calls at home, this guide explains which microphone accessories solve real problems and which purchases can wait.
It is useful for beginners who want less editing and regular creators trying to make a compact setup sound more dependable.
Start With the Sound Problem, Not the Accessory
Accessories work best when they answer a sound you can hear. A popular item may leave the noise source untouched and the recording quality unchanged.
Listen for the Sound That Is Actually Distracting
Make a short recording during your normal work routine. Leave a few quiet seconds at the beginning, speak naturally, type briefly, and move in the chair if you usually do.
Listen through headphones and a phone speaker, since each can reveal different issues. A low hum, hollow room, breath bursts, and desk bumps need different fixes, not one universal accessory.
Use One Test Clip to Separate Noise From Echo
Traffic, a fan, a refrigerator, or a computer usually creates steady background noise. Echo instead makes your voice sound boxy or distant.
Confusing them can lead to buying a reflection filter when the real issue is an air conditioner beside the desk. Naming the main distraction gives your next purchase a clear purpose.
Accessories That Solve Physical Recording Problems
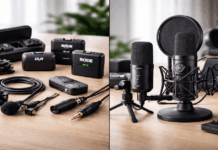
Some tools manage air, movement, and distance before those issues reach the microphone. They are more useful than decorative add ons for close speech in a home workspace.
Pop Filters and Windscreens Have Different Jobs
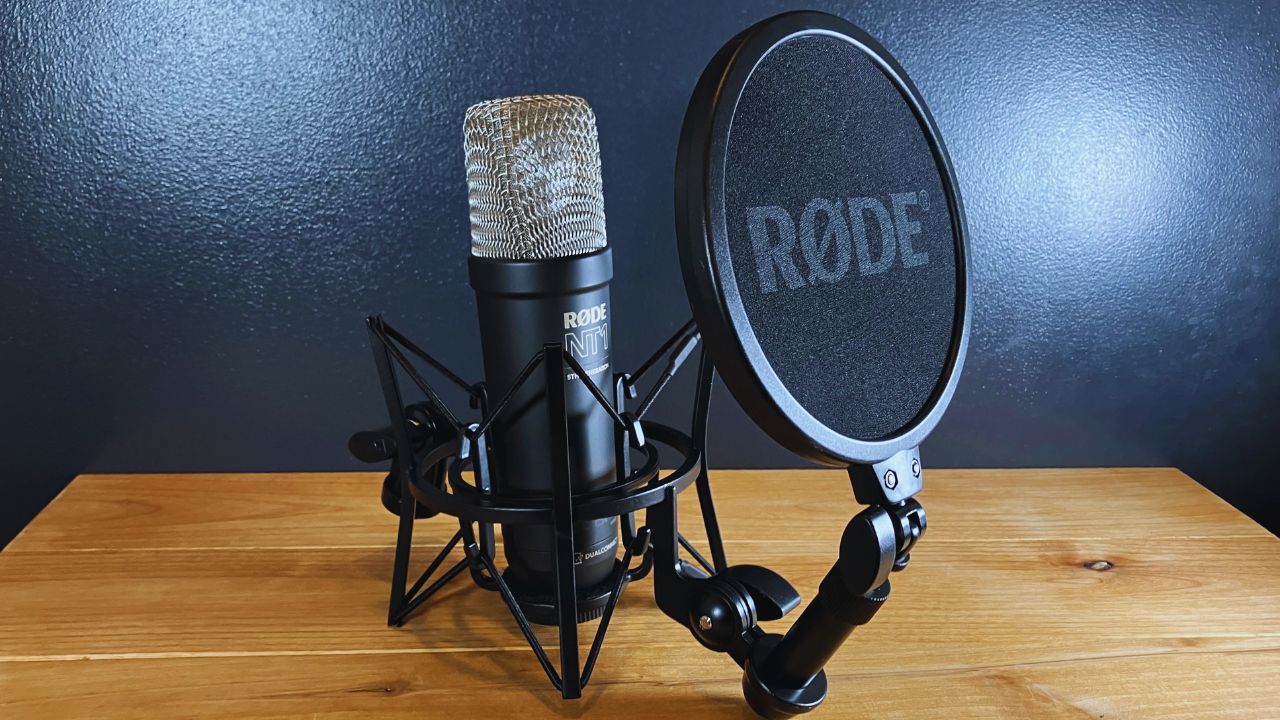
A pop filter sits in front of the microphone and breaks up sudden air pressure from P and B sounds. It is useful for close narration and podcasts, especially with a sensitive capsule.
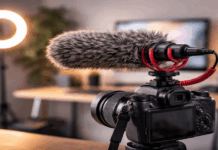
A foam windscreen fits over the microphone and can calm lighter breath noise and drafts. Neither removes echo, but both can make spoken words sound less aggressive before editing starts.
A Boom Arm and Shock Mount Fix Movement at the Desk
A boom arm keeps the microphone close without blocking notes, a keyboard, or the camera. Its consistent position helps level and tone remain similar between recordings.
A shock mount may reduce thumps from typing or desk taps, but only when it fits securely. Check the weight limit, thread size, and clamp depth, since a sagging arm creates handling noise.
Cables Matter When the Problem Is Intermittent
A cable will not transform your voice, but a worn one can cause crackles, dropouts, and hum.
Test the connection before replacing a microphone or interface, especially if the issue starts when you move it.
Choose enough length to avoid stretched connectors and power bricks. Reliable connections support a cleaner signal path, even if they are not exciting.
When the Signal Needs Help Instead of the Room
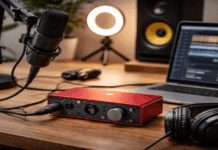
Not every noisy recording comes from the room. Some issues start with gain, an interface, or a mismatch in the recording chain you are using.
Gain Boosters Are Not an Automatic Upgrade
Some low output dynamic microphones need more clean gain than a basic interface can provide.
An inline booster may reduce hiss by adding level before the interface preamp is pushed too hard. It cannot fix echo, poor placement, or a loud fan. First, check whether the gain control is near its maximum setting.
Set Levels Before You Reach for Software
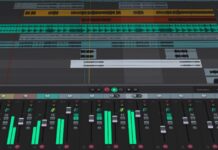
Speak at your natural loudest level, then set the input so it does not clip. A file that peaks too high can distort permanently, while a quieter one can be raised later.
Keep the microphone close enough that extreme gain is unnecessary. This creates safe headroom and gives editing a more natural starting point.
Use Room Control Before Buying More Gear
Hard walls, glass, tile, and empty corners can make a capable microphone sound disappointing.
Before buying panels, improve the recording space without making a shared home a permanent studio.
This matters particularly in rentals, shared homes, and spaces where permanent changes would be impractical.
Soft Surfaces Can Reduce the Worst Reflections
Curtains, a rug, a full bookcase, soft furniture, or a closet with clothing can reduce reflections that make speech hollow.
You do not need to cover every wall; move away from a bare corner and place softer material nearby.
Make the same test before and after moving, then compare how long your voice rings. Aim for a more direct sound, not complete acoustic silence.
Reflection Filters Have Limits in Lively Rooms
A small screen behind a microphone can reduce reflections from one direction when permanent changes are not possible.
It cannot block traffic, silence an air conditioner, or absorb every wall and ceiling bounce. Treat it as a supplement after better placement and basic softening, not a substitute for a quieter corner. That protects your budget and recording time.
Also Read: Best Audio Recording Software for Beginners
Build an Upgrade Order Around What You Hear
A practical setup grows one useful piece at a time. Fix what ruins the most takes, then test again before adding another accessory or making a larger equipment change.
Spend First Where It Reduces the Most Friction
For many home creators, this simple order prevents wasted spending:
- A pop filter or windscreen for breath bursts and plosives.
- A boom arm or shock mount for unstable placement and desk vibration.
- Basic room softening for hollow speech and strong reflections.
The order changes with the problem. A creator beside a noisy desk may need isolation first, while a narrator in a bare room may notice reflections before anything else.
Let test clips guide the next step, not another creator’s shopping cart.
Check Compatibility Before You Place an Order
Read the official product page for mounting type, microphone diameter, load capacity, adapters, and included cables.
A cheap accessory becomes expensive when it needs a separate clamp, power supply, or connector.
Check return conditions and test it during normal recording hours, not only late at night. These checks prevent avoidable returns and protect your working budget.
Make Your Existing Microphone Easier to Use
The most helpful accessory removes a recurring obstacle from your normal recording day. Name the one problem that distracts you most, then fix it before adding gear.
Good placement, stable support, sensible gain, and a less reflective corner can make a familiar microphone more capable.
Future purchases can then follow real evidence, not marketing pressure. That approach keeps future upgrades simple, useful, and tied to the way you record.