A home setup can still produce clear audio when you hear problems before viewers do. Headphones and speakers reveal different parts of an edit, so one can leave blind spots.
This guide is for creators making voiceovers, lessons, gaming clips, podcasts, and short videos from spaces where real life keeps happening.
It shows where each method helps, where it misleads, and why a second listening check matters. The goal is not a perfect studio but reliable judgment with your existing space and gear.
Start With the Room Where You Record
First, look at the room where your microphone is open. A fan, bare wall, street noise, or computer can affect a recording more than a new monitor. Recording needs control; editing needs perspective.
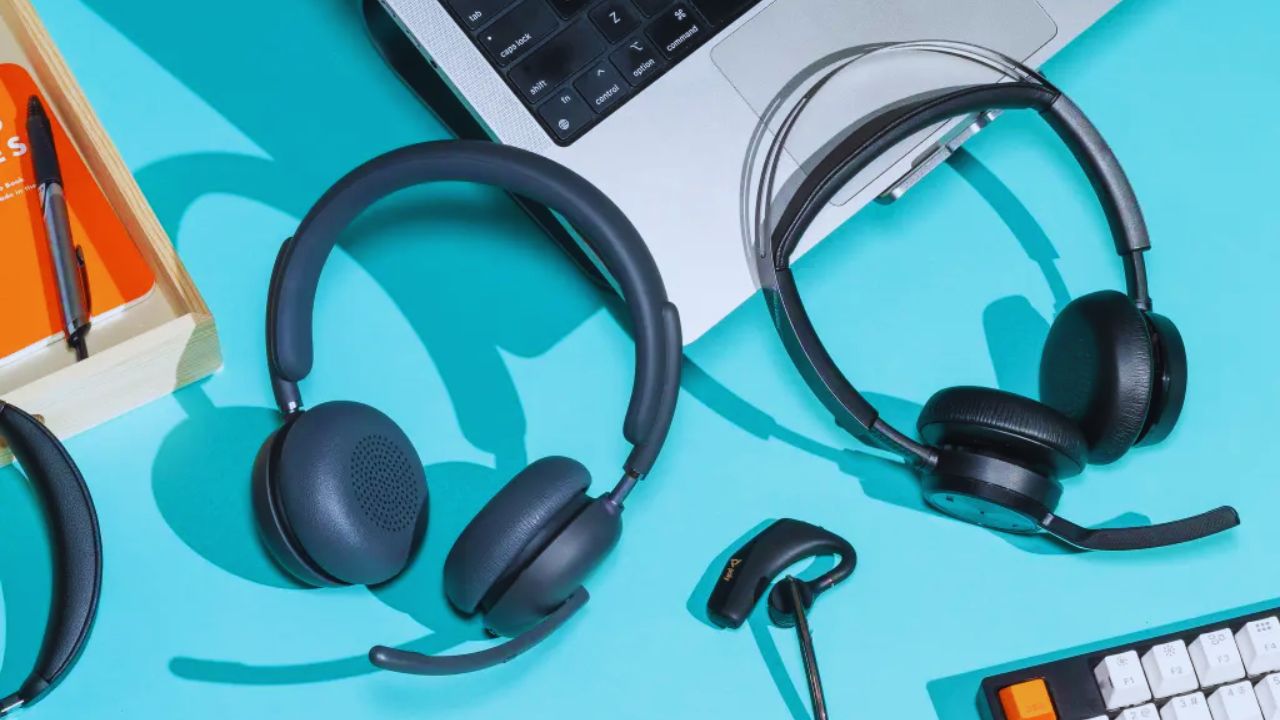
Close monitoring catches trouble early, while room awareness stops you blaming the wrong part of the setup. Once the source is clean, editing becomes about shaping a natural performance, not rescue work.
Keep Playback Away From an Open Microphone
For voiceovers, calls, interviews, and streams, closed-back headphones are usually safer. They keep playback near your ears and lower the chance of speaker bleed entering the microphone.
That matters in bedrooms and shared apartments, where sound can reflect from a desk, wall, or window. You can hear timing and delivery without adding a faint echo beneath the take. During recording, isolation and control matter more than a broad soundstage.
Find Noise Before a Long Take Begins
Make a short test, then listen closely to quiet gaps. You may hear a laptop fan, cable hum, refrigerator motor, mouth click, or passing traffic. Those sounds become more obvious during pauses, especially for viewers using earbuds.
Move a fan, replace a cable, or close a window before relying on cleanup software. Fixing the actual noise source protects natural vocal tone and avoids metallic results from heavy processing.
Also Read: How to Test Microphone Quality Before Recording
Choose Comfort and Containment Over Drama
Open-back headphones feel spacious, but leak sound beside an active microphone. Closed-back designs contain more playback, reduce household distraction, and suit late sessions in shared spaces.
They are easier to use at a moderate level, which helps your ears stay fresh. If sharp consonants or bass suddenly seem wrong, take a brief pause before changing the track. That reset separates listening fatigue from a genuine audio issue.
Let Speakers Show the Broader Balance
After recording, ask whether the whole mix feels natural. Private listening is excellent for detail, but most people will hear your work through a phone, laptop, television, or small speaker.
Room playback reveals how narration, music, ambience, and effects compete for attention. Speakers add perspective, while headphones add precision, and neither replaces the other.
Using both at the right moment gives you clearer evidence without turning a simple edit into a technical ritual.
Use Close Listening for Small Distractions
Use headphones to find clicks, clipped breaths, hiss, rough edits, or distortion. Desktop speakers can hide those flaws, particularly when the room has street noise or computer fans.
Listen at edit points between phrases because abrupt cuts often stand out there. Do not search forever for tiny imperfections nobody will hear. Use a detail pass for specific distractions and cleaner transitions, then move on.
Hear When Music Starts Covering Speech
A background track can seem restrained in headphones yet compete with dialogue in a room. Check the moments when music enters, a beat grows stronger, or an effect lands beneath an important line.
That is where words can disappear without immediately sounding wrong in close listening. Often, adjusting a few busy sections works better than lowering the entire soundtrack. Aim for clear speech with supportive music, not a flat video.
Check Placement Before Changing the Equalizer
A speaker near a wall or corner can make bass heavy and pull the stereo image off center. Keep both speakers equally distant, angle them toward your chair, and place tweeters near ear level.
If a voice seems boomy, move your chair slightly and replay the same section before touching the equalizer.
A quick change in what you hear usually points to the room, not the recording. This creates a stable reference and prevents room-driven corrections that may sound wrong elsewhere.
Test the Mix on Devices People Actually Use
Your audience will not use your exact desk equipment. Phones and laptops reduce bass, narrow stereo, and shift apparent voice level; that is expected.
Do not chase identical sound across every device; listen for dialogue that disappears or transitions that jump in volume.
Those failures affect understanding, while small tonal differences usually do not. Everyday playback provides real-world evidence and keeps your first impression honest.
Build a Routine You Can Repeat
The most dependable setup is not necessarily the one with the most gear. It gives you a clear order for recording, cleanup, balancing, and checking the export. A repeatable method reveals your patterns, such as raising music after a long close-listening session.
Simple habits reduce second-guessing and make the next project easier to review. Keep the final pass focused on important problems, not tiny variations few viewers will notice.
Use Three Short Checks Before Exporting
Near the end, review the opening, a busy middle section, and the ending instead of replaying the whole project. Start with detail, move to room balance, and finish with a device your audience may use.
This order protects clarity without inviting endless last-minute changes. It also gives your ears a new perspective before the final call. Use this short sequence as a practical guide.
- Closed-back headphones: clicks, hum, clipped breaths, and harsh edits.
- Desktop speakers: music level, dialogue placement, and long-listening comfort.
- Phone or laptop: whether important words remain easy to understand.
Match the Routine to Your Type of Content
A livestreamer may prioritize headphones because feedback and bleed are immediate risks. A vlogger with music and ambient footage may need room playback after the story is assembled.
Tutorial makers should test whether instructions remain understandable at low phone volume.
There is no single workflow that suits every format, and that is normal. Build around your most common obstacle, then add a second perspective where it solves a real weakness.
Stop When the Message Works Everywhere It Needs To
Do not lose hours chasing small differences most viewers never notice. A sensible stopping point is when speech is easy to follow, music stays behind it, and obvious noise or level jumps are handled.
More changes can make a mix less consistent over time. Note recurring issues after publishing, then use them to improve the next recording session. That creates long-term improvement through practical feedback, rather than endless tweaking.
Before You Export Your Video or Audio File
Before you export your video, podcast episode, tutorial, or voiceover, listen once on an everyday device. Headphones catch small flaws, while speakers reveal whether the voice and music feel balanced in a room.
Do not aim for identical sound on every device; make sure the spoken message stays easy to hear. Keep note of recurring issues so the next recording starts cleaner. That final check helps your audio track hold up when viewers press play.