A microphone can sound acceptable in the room yet create thin speech, steady hiss, or a distant voice in the final file.
That affects tutorials, home videos, streams, podcasts, voiceovers, and online lessons, where listeners should not need to strain to follow a sentence.
A short microphone quality test before recording gives you time to correct mic placement, room noise, and levels while the setup is still easy to change. This guide uses a repeatable check for USB microphones, XLR setups, wireless lavaliers, and creator workflows.
Confirm the Recording Device Before Adjusting the Sound
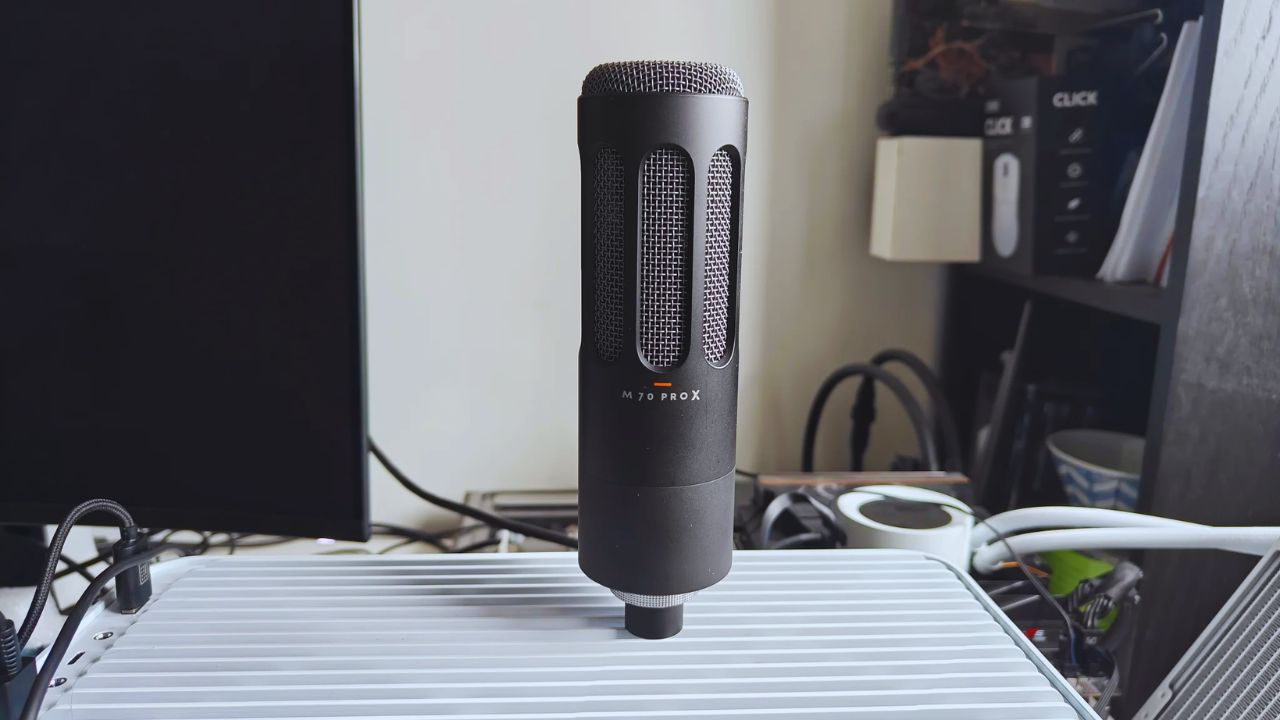
Before changing gain or moving furniture, make sure the computer, camera, or app is using the microphone you intended. Starting with the right input makes every later adjustment useful.
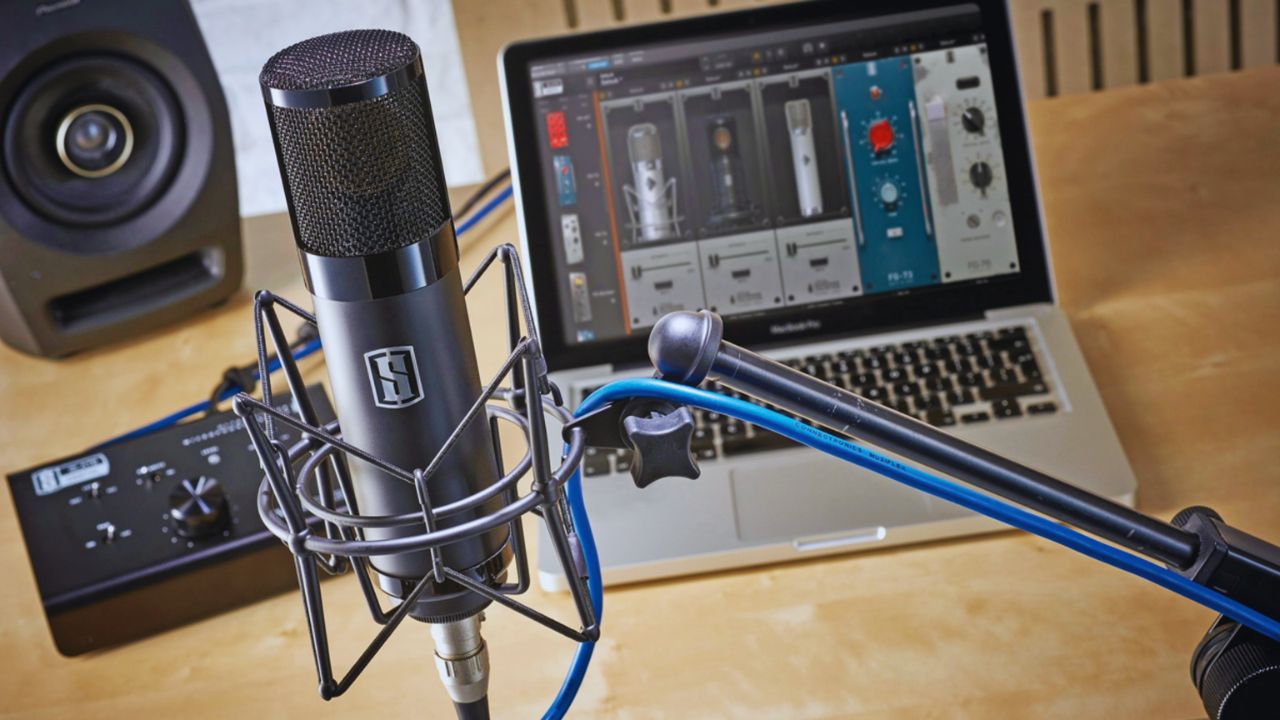
Check the Input in Your Device and Recording App
Open sound settings, choose the correct microphone, then confirm that source inside your recording software. Speak a few words and watch the input meter, because a moving meter is better proof than a familiar device name.
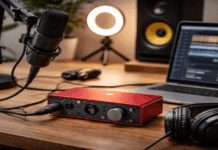
USB microphones work best when connected directly to the computer, while XLR microphones need both cable ends and the audio interface checked. This prevents a webcam or laptop mic from becoming the accidental recording source.
Test Wireless Gear Before You Frame the Shot
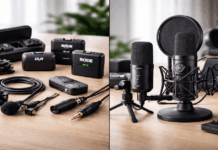
With a wireless lavalier, check the transmitter, receiver, battery, cable, and camera input before adjusting lighting or framing.
Confirm that the units are paired, then listen for static, dropouts, or clothing noise while moving.
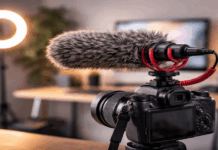
A receiver level that is too low may force higher gain later, while one that is too high can distort before the camera stores the audio. Catching these small failures early protects the main take from problems that cannot be fully repaired cleanly.
Set Up the Room and Position Before Recording
Your microphone records the room as well as your voice, so distance and surroundings matter more than expected. You do not need a studio, but you do need a predictable space and good placement.
Move the Mic Closer Instead of Raising the Gain
Place the microphone on a stable stand or boom arm, then start a hand span from your mouth. If the room sounds louder than your voice, move the mic closer before raising gain, because extra gain also lifts hiss and background noise.
Aim the microphone slightly to one side of your mouth if breath sounds are heavy. This improves speech clarity and reduces room echo without complicated editing.
Also Read: Ring Light vs Softbox: Which Is Better for Home Videos?
Soften Obvious Noise and Reflections First
Close doors and windows, mute notifications, and turn off fans, air conditioners, or loud appliances when possible.
Bare walls and hard floors reflect sound, but curtains, rugs, cushions, and furniture can soften reflections quickly. Do not move far from the microphone only to keep it out of frame, because distance makes the voice sound weak and echoey.
Start with quiet surroundings and practical placement before buying acoustic panels or another microphone.
Set Levels Using Your Real Speaking Voice
Good audio needs more than a good microphone: the recording level cannot be too high or too low. Aim for safe headroom during louder moments and a signal that does not lift background noise in editing.
Record at Normal Volume, Then Speak More Loudly
Record one or two sentences at the volume you will use, then repeat a line to emphasize a point. Watch the meter and keep louder words out of the red, since clipping creates distortion that remains after editing.
If the meter spikes, lower gain; if playback sounds weak, move closer before increasing it. This creates a cleaner voice-to-noise ratio and gives your recording more natural energy.
Include Silence and a Short Speech Sample
After your voice test, record ten seconds of silence without touching the desk, cable, or microphone. Listen on headphones for hiss, hum, fan noise, or electrical whine from a charger, light, USB port, or cable.
Then say a sentence with “p,” “b,” “s,” and “sh” sounds, such as “Peter packed paper boxes beside the shore.” That sample reveals breath pops and sharp sibilance before they become harder to manage in post-production.
Test the Movement and Background Sounds in Your Usual Setup
A quiet sample does not show what happens when you type, check notes, turn toward a monitor, or shift in your chair. Include ordinary movement so your real workflow is reflected before the actual recording begins.
Listen for Desk Vibration and Clothing Noise
Tap the desk lightly, type a short sentence, and move your chair while keeping the microphone active.
If those sounds are loud, vibration may be travelling through the desk or stand instead of the air.
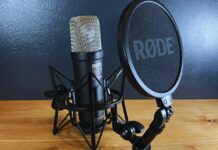
A boom arm, shock mount, or moving the stand away from the desk can reduce it, while lavaliers may need a different cable route. This check helps you spot handling noise and cable rub before filming a long section.
Check Whether Small Movements Change Your Voice Too Much
Look at notes, turn your head gently left and right, then lean a few centimeters nearer and farther from the mic.
Listen for volume drops, dull words, or a tone change that makes the sentence feel disconnected. Some microphones are forgiving, while others require a tighter position during the take. Use this test to find a comfortable distance that still gives you steady sound.
Use a Quick Pass-or-Fix Check Before the Main Take
After testing the input, room, levels, silence, and movement, listen back once without trying to fix everything. Identify take-killing problems and make one clear adjustment before recording the real material.
Ask Three Questions During Playback
Use this short check before pressing record:
- Clear speech at a comfortable normal volume
- Low, steady background noise during quiet moments
- No clipping, crackles, or heavy echo during playback
If one answer is no, change one variable, then repeat the same short test. In many home setups, moving the microphone closer while lowering gain is the best first change because it raises the voice above the room.
Once the sample sounds stable, stop tweaking and begin the recording with reasonable confidence and consistent settings.
Conclusion: Let the Test Protect the Recording
Testing microphone quality takes a few minutes, but it can prevent a lost tutorial, weak voiceover, or long editing session spent rescuing noisy sound. Confirm the correct input, control the room, and set levels using the volume you will genuinely use.
Then check for breath pops, vibration, echo, and small movement changes before recording begins. When the audio is clear and stable from the start, people can focus on your message, and your editing work stays much lighter.