
Filming talking head videos at home and wondering why your face looks like a crime scene reenactment? The problem is almost never your camera. It’s your light angle.
Good lighting angles for talking head videos don’t require a film school degree or a $500 equipment haul. One light, placed correctly, changes everything.
Bad angles create raccoon eyes, greasy forehead shine, and glasses glare that makes you look like a villain in a 90s thriller. Getting the angle right fixes all three problems at once.
So let’s talk about where to put that light. Not what to buy. Where to point it.
Where Should a Key Light Go for Talking Head Videos?
Three directions control how light hits your face during a talking head video: left-right position, height, and distance. The left-right position shapes your face and creates (or removes) side shadows.
The height controls under-eye darkness. And the distance controls how soft the light feels, because a larger light source relative to your face means smoother shadows.
That last part trips people up constantly. A big softbox four meters away acts like a small, hard light source. That same softbox half a meter from your face wraps light around every contour. Distance changes softness more than the type of light you own.
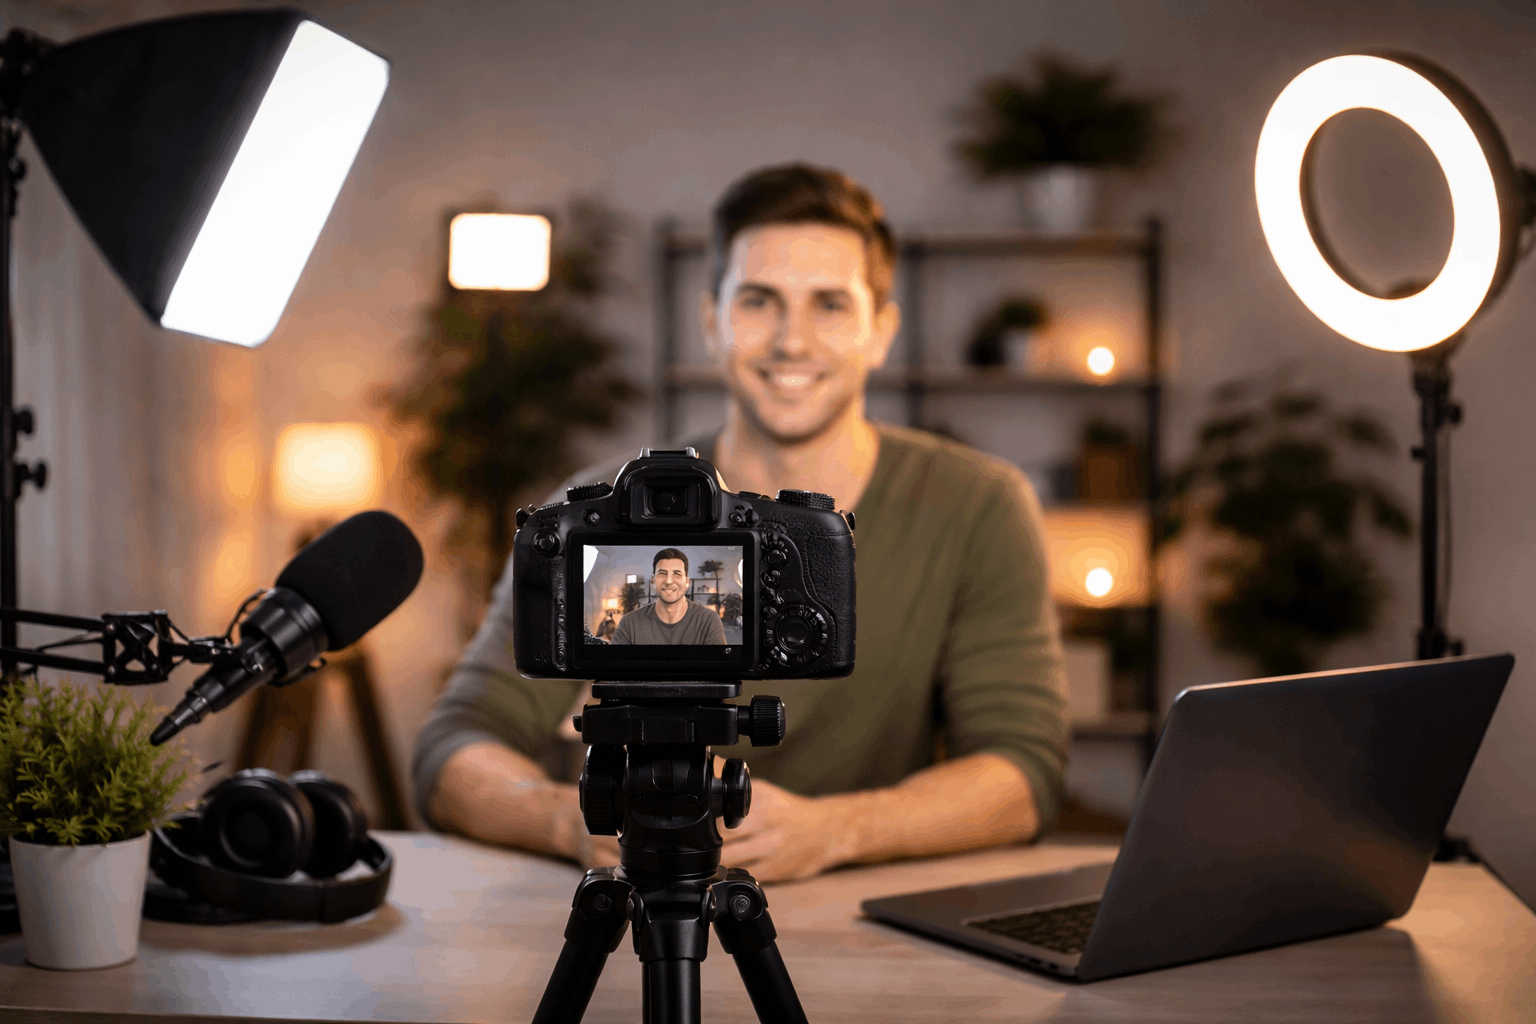
The 30 to 45 Degree Sweet Spot
Put your main light 30 to 45 degrees to the left or right of your camera, then raise it slightly above eye level and angle it down toward your face. This is the single most reliable starting point for any talking head setup.
I would call this the “can’t mess it up” angle because it adds shape to your face without creating dramatic shadows that make webcam footage look harsh.
Phone cameras and budget webcams tend to compress contrast harder than cinema cameras, so this angle gives them just enough dimension to work with.
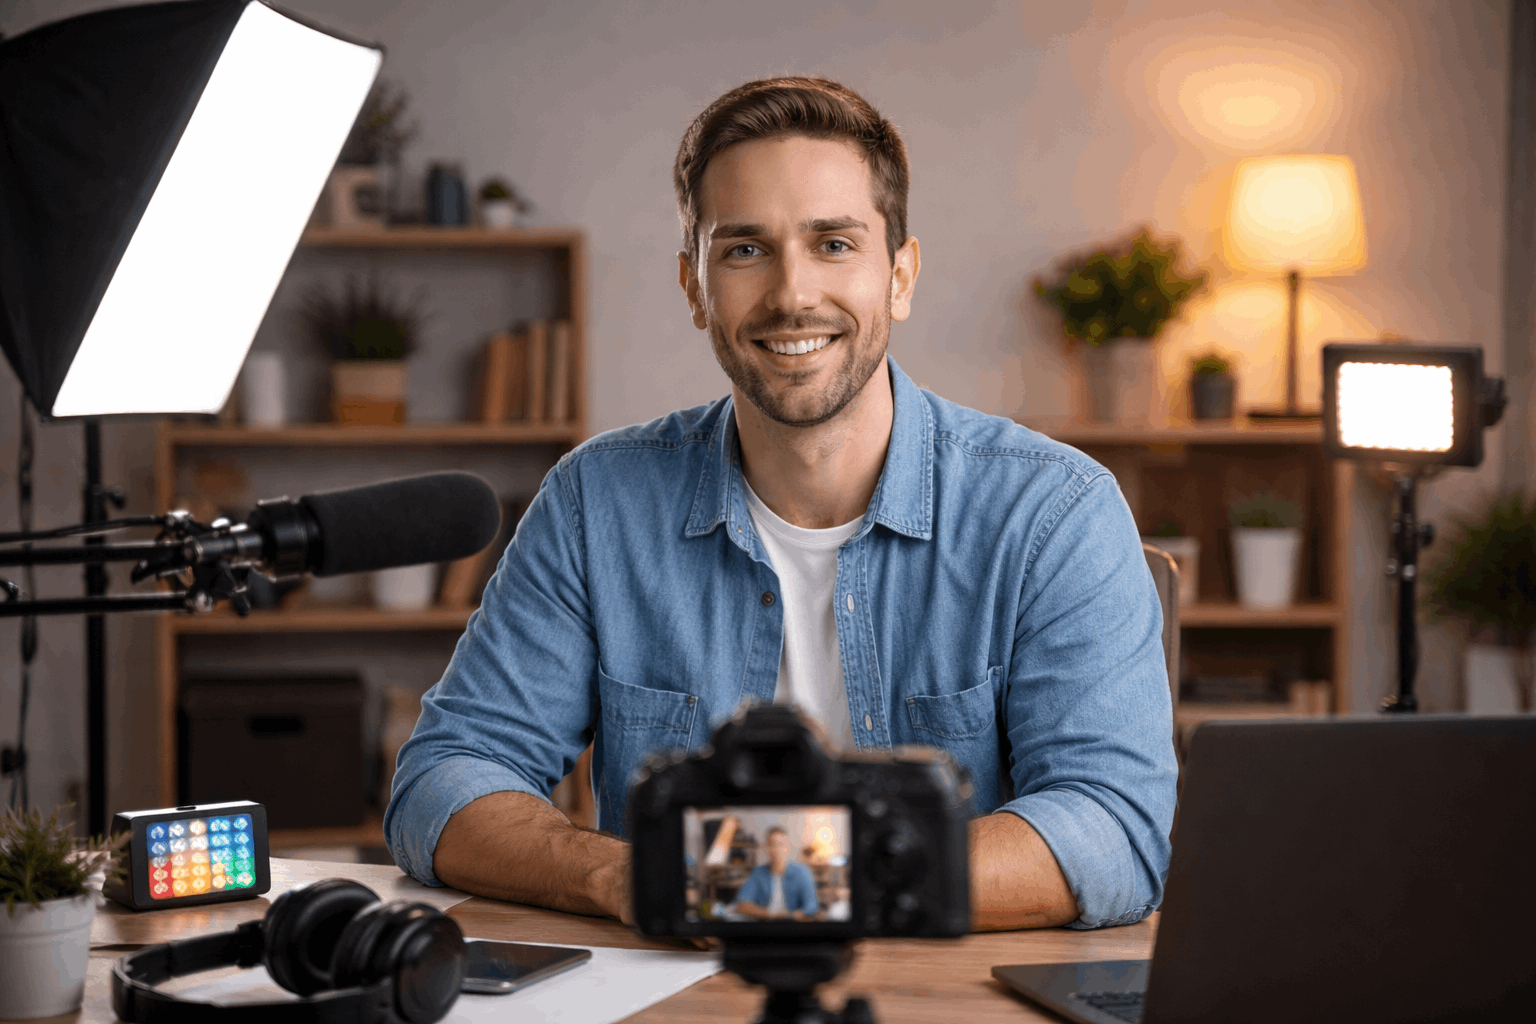
A diffused LED panel or softbox works best at this position. Bare LED panels can still work, but expect sharper shadows and shiny patches, especially if the light sits close to your face.
Flatter Lighting at 10 to 20 Degrees Off-Center
Some creators need a brighter, more even look. Tutorials and commentary-style videos often benefit from keeping the key light closer to the camera axis, around 10 to 20 degrees to one side.
This works well in small rooms, with busy backgrounds, or when your webcam struggles in dim conditions. The trade-off? The lighting can look completely flat and front-lit, almost like a passport photo.
Diffusion matters even more at this angle because a near-camera light source will pick up every pore and create hotspots on your forehead if it’s small and bright.
Going Wider: 45 Degrees with Higher Placement
Want more depth and a polished, “produced” quality? Keep the key light at 45 degrees but lift it higher than the basic setup. Aim it down so the far side of your face catches a soft shadow.
The trick here is watching your eyes. Dark eye sockets mean the light has gone too high, too far to the side, or too far away.
And if you position your microphone out of frame, this higher angle works well because the light comes from above without bouncing off mic hardware.
| Angle | Shadow Level | Best For | Watch Out For |
|---|---|---|---|
| 10-20 degrees off-center | Minimal | Tutorials, webcam setups, small rooms | Flat look, skin texture emphasis |
| 30-45 degrees off-center | Moderate | General talking head videos | Nose shadow if too far to the side |
| 45 degrees + higher placement | Strong definition | Polished, cinematic talking heads | Dark eye sockets if overdone |
The 30-45 degree range is the safest default for creators who want a single setup they can repeat without adjusting every session.
Why I Think Ring Lights Are the Wrong Default for Talking Head Videos
I know this opinion will bother people, but I think the default recommendation of a ring light for talking head videos is bad advice, specifically because the centered, close placement that 90% of creators use creates two problems: harsh reflections in glasses and a flat, almost surveillance-camera look.
Ring lights got popular because they are fast to set up. That’s the entire advantage. The typical placement is centered around the lens or just behind the camera, with the ring slightly above eye level and angled down.
But the problem nobody talks about is what happens when you sit too close to one. A ring light placed close to your face becomes a hard, concentrated source.
The circular catchlight in your eyes looks artificial. And if you wear glasses, the ring reflects as a bright circle across both lenses.
The fix that people suggest is moving the ring light off-center. But at that point, you’ve turned a ring light into a worse version of a single LED panel, a panel that would have cost less and given softer output with a basic diffusion sheet.
I would recommend a diffused LED panel at 30-45 degrees over a ring light for any creator filming more than once a week, specifically because the panel gives more control over shadow depth and doesn’t create the telltale ring reflection.
Fill Light Angles That Don’t Flatten Everything
Fill light is meant to reduce shadows from your key light. It should never compete with the key light for attention. The best placement is on the opposite side of the key light, closer to the camera axis, and near eye level or slightly lower.
A few mistakes turn fill light into a problem rather than a fix:
- Fill placed too high creates strange double shadows on your face, one from the key and one from the fill going the wrong direction
- Fill set too bright removes all depth and makes your face look like a cardboard cutout
- Fill placed at the same angle as the key (but opposite side) creates competing shadows under your nose and chin
A second dimmable light works, but so does a white foam board or a simple reflector placed on the shadow side. The reflector bounces the key light back into the dark areas without adding a second color temperature or power source.
For home setups, a $5 piece of foam core from a craft store does the same job as a $40 reflector.
Also read: Lighting Tips for Glasses Wearers on Camera
Back Light Placement: 120 to 150 Degrees Behind the Subject
A back light (sometimes called a hair light or rim light) is what separates amateur-looking footage from polished talking head videos. It creates a thin edge of light on your hair and shoulders, so your head doesn’t melt into the background.
Getting the Angle Right
Place it behind you and slightly off to one side, roughly 120 to 150 degrees from the camera position. Put it above your head height and angle it down so the light touches the top of your hair and shoulders.
Small LED panels and tube lights work well here because they clamp easily to shelves or light stands and dim precisely.
A back light that’s too bright looks like a spotlight and pulls the viewer’s eye away from your face. Too far forward, and it creates bright edges on your cheeks or nose that look unnatural.
A Practical Limit to Keep in Mind
Back lights are a “nice to have,” not a requirement. If you only own one light, spend your time perfecting the key light angle at 30-45 degrees before adding complexity. A single well-placed key light beats a badly balanced three-light setup every time.
Fixing Common Talking Head Lighting Problems on Camera
Once your lights are placed, the troubleshooting is all about reading what you see in your camera’s live preview or test recording. Each problem points back to a specific angle adjustment:
- Harsh nose shadow: The key light is too far to the side or too high. Move it closer to the camera axis or reduce the height
- Dark eye sockets: The light is too high, too far away, or there’s no fill. Lower the key light slightly or add a reflector on the shadow side
- Shiny forehead and cheeks: The light is too close, too bright, or has no diffusion. Back the light away and add a diffusion sheet or increase the size of the light source
- Glasses glare: Raise the key light and tilt it down at a steeper angle so reflections bounce toward the floor, away from the lens
Glasses glare is the single most frustrating issue in talking head video lighting. The reliable fix is always the same: raise the light higher and angle it downward. This sends the reflection below the camera’s line of sight.
A small feathering adjustment (pointing the light slightly above your face so just the edge hits you) can also reduce glare without changing the overall look.
Questions People Ask About Lighting Angles for Talking Head Videos
Q: Can I use natural window light instead of a studio light for talking head videos?
A window can work as a key light if it faces you at roughly 30-45 degrees and provides consistent light. The problem is that window light changes throughout the day, so your color temperature and intensity shift mid-recording. Filming at the same time each day and using a sheer curtain as diffusion helps.
Q: Do I need a three-point lighting setup for talking head videos?
Not necessarily. A single key light at 30-45 degrees with a foam board reflector on the opposite side covers 80% of what a three-point setup does. Add a back light only after you’ve locked in a key light angle that works for your face and room.
Q: How far should my key light be from my face?
Close enough to be soft, far enough to avoid hotspots. That usually means 60 to 120 centimeters for a softbox or diffused panel. Test on camera and watch for shiny patches on your forehead. If they appear, move the light back or increase diffusion.
Q: Does the color of my walls affect lighting angles for talking head videos?
Absolutely. White walls bounce light everywhere, which can fill shadows but also reduce the effect of your angle choices. Dark walls absorb light, so your key light angle becomes the only source shaping your face. Paint color is the invisible third variable that almost no lighting tutorial mentions.
Q: Should I match my key light color temperature to my room lights?
Mixing color temperatures creates a tinted shadow effect that looks off on camera. Set all lights to the same Kelvin value, typically around 5000K to 5600K for daylight-balanced video. Turn off overhead room lights entirely if they run warm at 2700K or 3000K.
Conclusion
A single key light at 30-45 degrees off-center solves the majority of talking head lighting problems. Ring lights are fast but sacrifice control, so a diffused panel gives better long-term results.
Troubleshoot by reading your camera preview, not by buying more gear or guessing at angles. The best lighting setup is one you can replicate in two minutes every time you sit down to film.










