
Consistent lighting makes videos look cleaner, calmer, and easier to watch. It also saves editing time because clips from different days are easier to match.
For home creators, the goal is not perfect studio lighting, but repeatable lighting that works with your room, camera, and schedule.
Once your light, camera settings, and recording position stay predictable, your videos start to feel more polished without heavy color correction.
Set a Baseline Look You Can Repeat
Lighting consistency starts with one clear reference. If every session begins with a new look, you will spend too much time adjusting brightness, shadows, and color.
A baseline look gives you something to return to before every recording. It also helps you notice small changes before they become editing problems.
Choose One Lighting Style
Pick one lighting style that fits most of your videos. It could be bright and clean, soft and warm, or slightly dramatic with more shadow.
Decide how bright your face should be compared with the background. When that relationship stays steady, your videos feel like they belong to the same series.
Lock the Camera Settings
Manual settings help prevent the camera from changing the look while you record. Lock exposure so brightness does not shift when you move your hands or hold up an object.
Lock white balance so skin tone does not move from warm to cool mid-take. If possible, turn off auto ISO and automatic tone features that brighten or darken the image without warning.
Control the Room Before Adjusting the Light
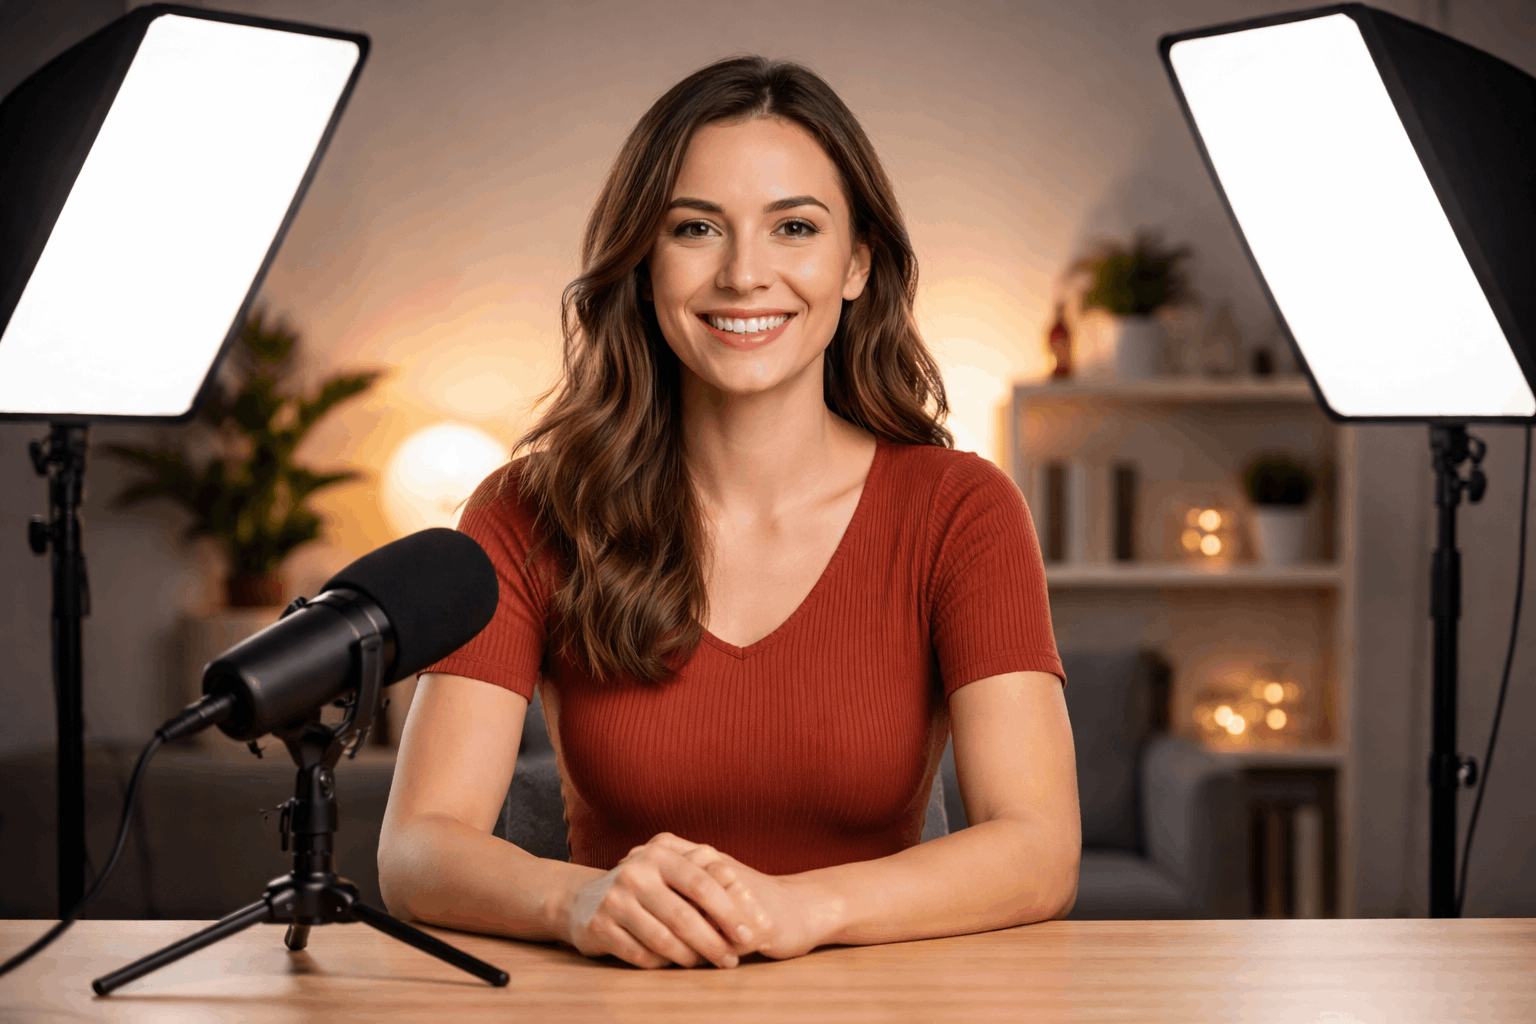
A home room has many light sources that can affect the final image. Windows, ceiling bulbs, screens, lamps, and even wall color can change how your face looks on camera.
If you do not control the room first, your main light has to fight too many variables. The cleaner the room lighting is, the easier it becomes to repeat the same look.
Manage Daylight and Windows
Window light can look beautiful, but it changes quickly. If you like natural light, try to record at the same time of day and pay attention to weather changes.
Use curtains or blinds to soften strong sunlight and reduce sudden shifts. If daylight is too unpredictable, make your artificial light the main source and let the window play a smaller role.
Turn Off Unreliable Household Lights
Ceiling lights and lamps can create mixed color problems. Two bulbs may look similar in person but appear different on camera.
If a room light makes your skin look yellow, green, or uneven, turn it off before recording. If you need room light in the background, use matching bulbs and keep their positions the same.
Watch Monitor and Device Glow
Screens can quietly change your lighting from one session to another. A bright monitor can add blue light to your face, especially if it sits close to you. Lower the screen brightness and keep the angle consistent when reading notes or checking a script.
Avoid colorful moving screens near your face because they can create shifting tints during recording.
Build a Lighting Kit That Removes Guesswork
A repeatable lighting kit does not need many pieces. It only needs one reliable main light, stable placement, and a simple way to soften shadows.
Choose lights and accessories that reduce variables instead of adding more settings to manage. A smaller kit that you use the same way every time is better than a complex kit you keep rebuilding differently.
Use the Key Light as Your Anchor
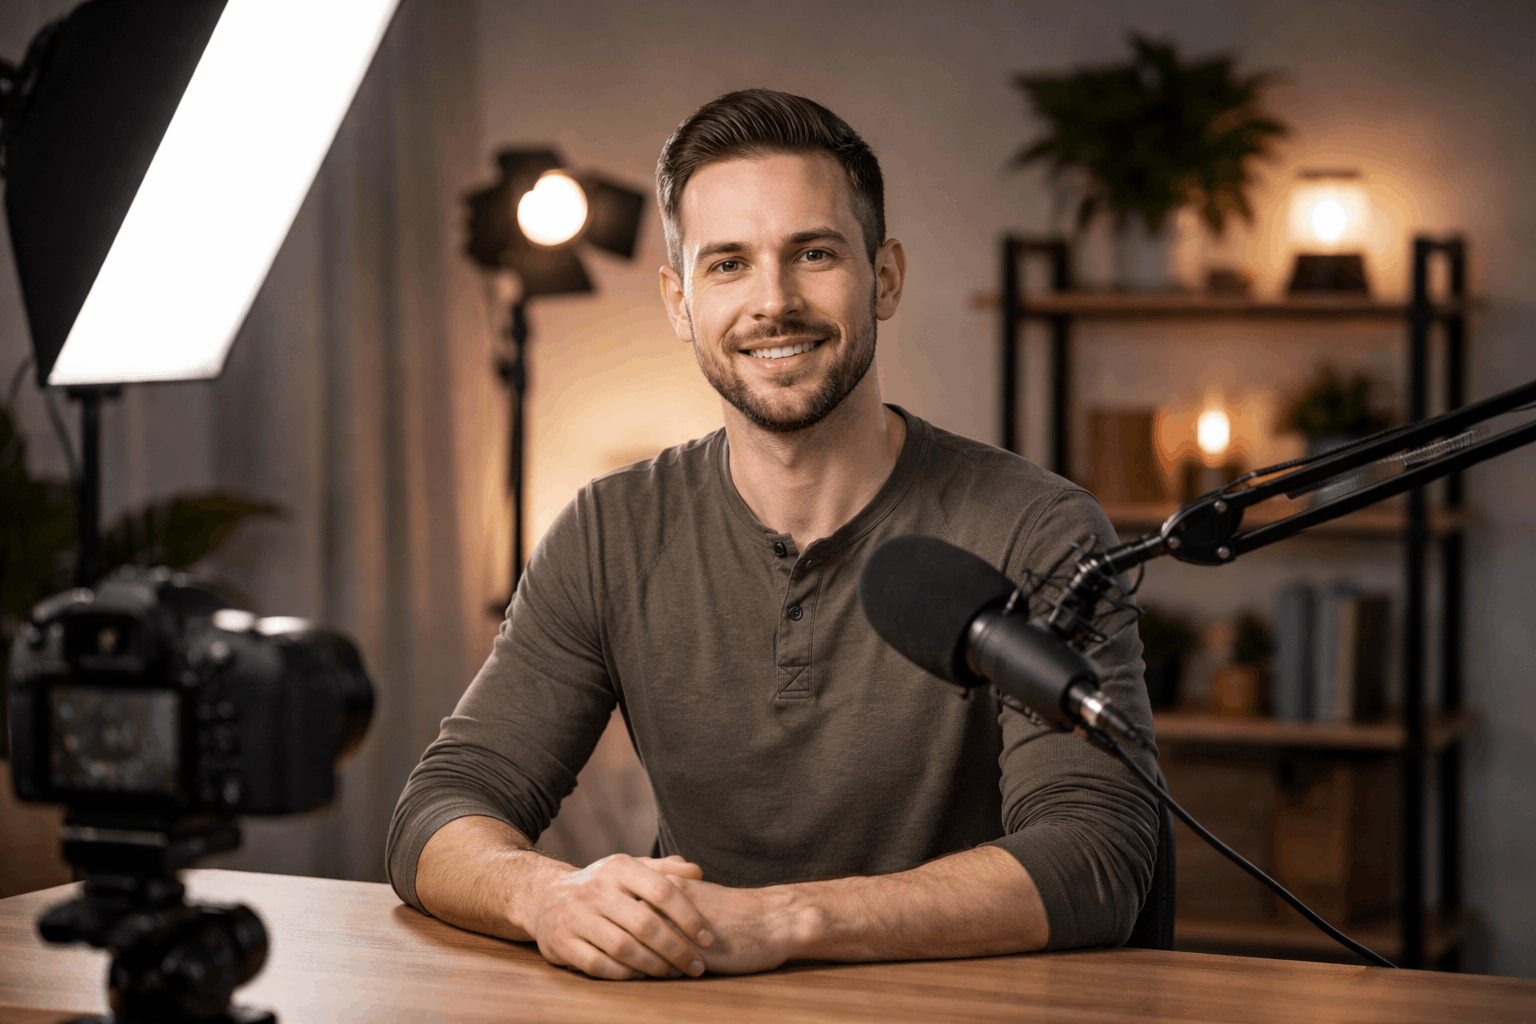
The key light should be the most important light in your setup. Place it at a fixed height and angle so it shapes your face the same way each time.
A softbox, umbrella, or diffuser makes small position changes less harsh on camera. Mark the light stand or desk position so you do not rely on memory.
Add Fill Light Carefully
Fill light should support the key light, not erase it. A white board, wall, or reflector can soften shadows without adding another powered light source.
If you use a second light, set it weaker than the key and match the same color temperature. Judge the fill by the shadows under your eyes, nose, and chin, then keep that look consistent.
Also Read: How to Build a Lighting Setup Step by Step
Use One Quick Setup Checklist
A short checklist helps you catch lighting shifts before they ruin a full recording. Keep it simple enough that you will actually use it every time.
- Put your chair, tripod, and key light back in their marked positions.
- Set the same brightness and color temperature as your baseline.
- Check that your face is brighter than the background.
- Look for mixed light, screen glow, and harsh shadows.
- Record a short test clip before filming the full video.
This kind of routine saves more time than fixing color problems later. It also helps you stay consistent when you record tired, rushed, or after moving gear. Over time, the checklist becomes a habit. That is when your lighting starts to feel reliable.
Keep the Look Stable Across Days and Angles
Lighting consistency becomes harder when you film on different days, move your setup, or add another camera angle.
Small changes in distance, brightness, color temperature, and exposure can become obvious when clips are edited together.
Treat your setup like a system instead of a one-time arrangement. The more details you save, the easier it is to repeat the same look later.
Save Reference Photos and Notes
Take one photo of your best setup from behind the camera. Take another photo that shows where your light, chair, and tripod are placed.
Write down brightness levels, color temperature, camera exposure, and white balance settings. These references stop you from guessing when you return to record a week later.
Match Multiple Cameras With Care
Different cameras can show color and brightness differently, even in the same room. If you use two angles, set both cameras manually and match white balance as closely as possible.
Keep the angles close enough that the lighting still makes sense on both shots. Avoid mixing camera modes that process color differently, because cuts may look uneven.
Upgrade for Reliability, Not More Complexity
New gear should make your lighting easier to repeat. Lights with presets, stable color output, app control, and reliable dimming can save time if you record often.
A simple light meter app, histogram, or gray card can also help you check exposure and color more accurately. Avoid buying extra lights unless they solve a repeated consistency problem.
Make Lighting Consistency Part of Your Workflow
Consistent lighting comes from controlling variables, saving what works, and repeating the same setup with care. Start with one baseline look, then lock your room, light, and camera settings around it.
Use marks, notes, and a short test clip so each recording starts from the same place. When lighting becomes part of your workflow, your videos look more connected and need less fixing in editing.










