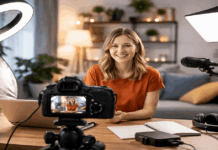
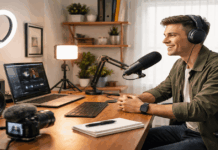
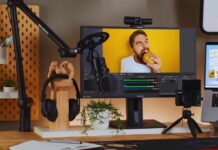
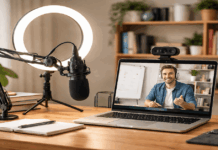
You do not need a dedicated studio to make YouTube videos that are clear. A phone, webcam, or older camera can still work when the voice is easy to hear, the face is well lit, and the frame stays still.
The mistake is buying everything at once, then discovering a new camera cannot fix room echo or harsh shadows. This guide helps home creators spend on the right problems first and add gear only when regular recordings reveal a genuine need.
Begin With the Problem in Your Current Footage
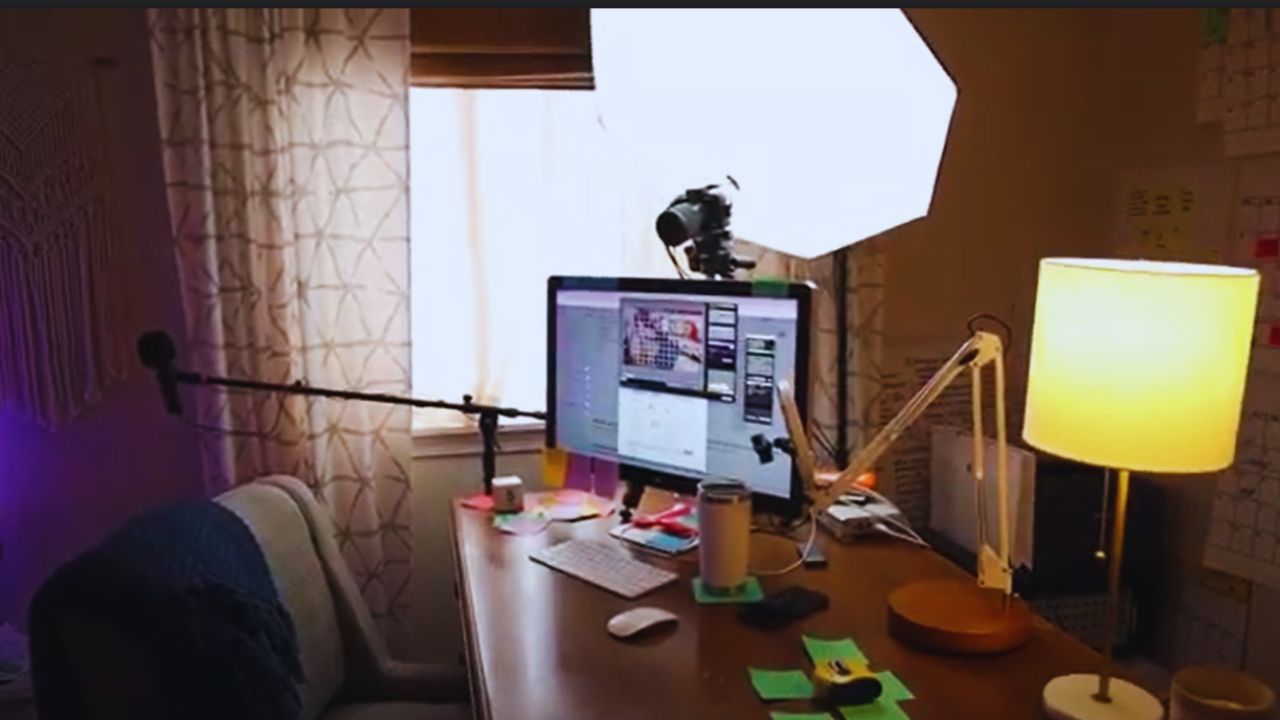
Most home setups improve faster when you react to what is actually wrong in a recording. Make one ordinary test clip where you normally film; it will show whether the weak point is sound, light, or framing.

Record a Rough Test Before Spending Money
Use the device you already own and talk as you would in a real video. Leave a few seconds of silence, move naturally, and listen for fans, traffic, air conditioning, or a humming appliance.
Watch the clip on your phone, then use headphones to catch issues. That test gives your first purchase a clear purpose instead of making you copy a shopping list built for someone else’s room.
Why Sound Often Matters Before Extra Resolution
Viewers can accept a slightly soft image more easily than a voice that sounds far away or buried under noise.
For desk videos, a USB microphone, headset, or close phone microphone may be enough when it stays near your mouth.
The biggest gains usually come from close placement and quiet timing, not a microphone with features you will never use. For a moving demonstration, a wired lavalier may keep volume more even because it travels with you.
Build for the Videos You Can Make Repeatedly
Your usual recording style should shape the setup. Desk tutorials need a different arrangement from cooking clips, workouts, or room tours.
Make Desk Recordings Easy to Reset
For lessons, reviews, commentary, or screen based videos, keep the camera and microphone in positions you can reproduce.
A small stand or boom arm keeps the microphone close, while a webcam mount or tripod maintains a natural eye level.
If you must pack everything away, mark the tripod height or save a photo of the arrangement. That routine supports matching framing and steadier sound without requiring a permanent studio corner.
Improve the Light Before Replacing a Working Camera
A basic webcam can look much better when your face receives soft, even light. The aim is not a dramatic studio look; it is to avoid grain, deep shadows, and odd colors that make footage tiring to watch.
Light the Face Before You Light the Whole Room
An LED panel or ring light works well when it sits slightly above eye level and a little to one side of the camera.
If it creates hard shadows, shiny skin, or reflections in glasses, move it farther away or soften it with a diffuser, curtain, or white fabric.
Avoid mixing daylight, warm lamps, and cool ceiling bulbs unless you can control each source. One soft main light is more useful than several competing lamps around the room.
Also Read: How to Upgrade Your Home Audio Without Replacing Your Mic – Affordable Accessories & Pro Tips
Test for Flicker While You Still Have Time to Change It
A light can look steady to your eyes and still produce dark bands or brightness pulsing on camera.
Record a short clip at the brightness level you plan to use and watch it, paying attention to glasses, glossy surfaces, and light walls.
If you see flicker, try another brightness setting before changing other camera controls. A quick camera test can prevent a long reshoot later.
Keep the Frame Calm and the Background Useful
Stable framing helps viewers focus on the message rather than small movements in the image. A home background does not need to be expensive, but it should not compete with your face or the object you are explaining.
Choose a Mount That Fits Your Device
A phone tripod can work well for short vertical videos, demonstrations, and recording away from a desk.
A desktop tripod or webcam mount may suit seated clips because it allows the same height and distance each time.
Check that the support holds the device securely with its case and does not slowly tilt while you film. A stable mount protects the device, while a repeatable angle makes the video look intentional.
Make the Space Natural Rather Than Perfect
A shelf, plant, lamp, or tidy work area can give a home video character. The goal is to keep bright windows, blinking screens, personal papers, and clutter from taking attention away from the speaker.
Moving a chair farther from the background can make the frame calmer without buying decorations. A little background control makes the room feel lived in, not staged.
Spend in Small Steps Instead of Buying a Full Kit
Large starter bundles can look convenient, but they often include accessories that stay in a drawer.
Fix the clearest weakness from your test clip, then record several normal videos before deciding whether another upgrade is necessary.
Three Additions That Usually Help New Creators
For a basic home setup, these are often the most useful places to begin:
- A close microphone for clearer speech.
- A soft light for a more natural face.
- A stable support for level framing.
This order is not a rule that every creator must follow exactly. It is a way to avoid buying a better camera while echo, poor lighting, or shaky positioning are still obvious.
A phone or older webcam can remain useful when the sound basics and lighting basics are handled first.
Read the Details That Change the Real Cost
Prices and bundles change, so use the official product page to confirm connection type, power requirements, included cables, mounting options, and return conditions.
A wireless microphone may include only one transmitter, while a light may require a separate stand or power adapter.
Those details can change the final cost more than a dramatic product title. Check what is included and what is missing before placing an order.
Make Several Videos Before You Upgrade Again
The best home YouTube setup is the one you can use without moving furniture, troubleshooting cables, or waiting for the room to look perfect.
Start with clear sound, soft light, and a stable frame, then make a few ordinary videos in your normal filming conditions.
Once you can name the issue you still have, whether it is echo, low light, or an awkward camera angle, the next purchase becomes a practical decision instead of an expensive guess.