So your students keep saying “can you repeat that?” and your face looks like a shadow puppet on Zoom. That frustration has a fix, and it costs less than you think.
A solid home recording setup for online teaching comes down to three decisions made well. Not fifteen gadgets bought in a panic after a bad class review.
The mistake I see repeated across online teaching forums like r/OnlineESLTeaching is treating this like a gear race. Buying expensive equipment for an untreated bedroom solves nothing.
This guide covers audio, lighting, camera, and stability for teachers who need a setup that works every single class without constant troubleshooting.
Why Audio Comes Before Everything Else in Online Teaching
Students will tolerate a grainy webcam feed for an entire semester. They will not tolerate muffled, echoey, or crackling audio for more than two minutes.
That makes your microphone the single most important purchase in your home recording setup for online teaching.
But the mic itself is only half the equation. Placement and room acoustics do the rest. Even a $30 USB mic sounds decent at 15 cm from your mouth in a room with soft surfaces. A $250 condenser mic sounds terrible at arm’s length in a bare-walled tile room.
USB Microphones vs. XLR Microphones for Teachers
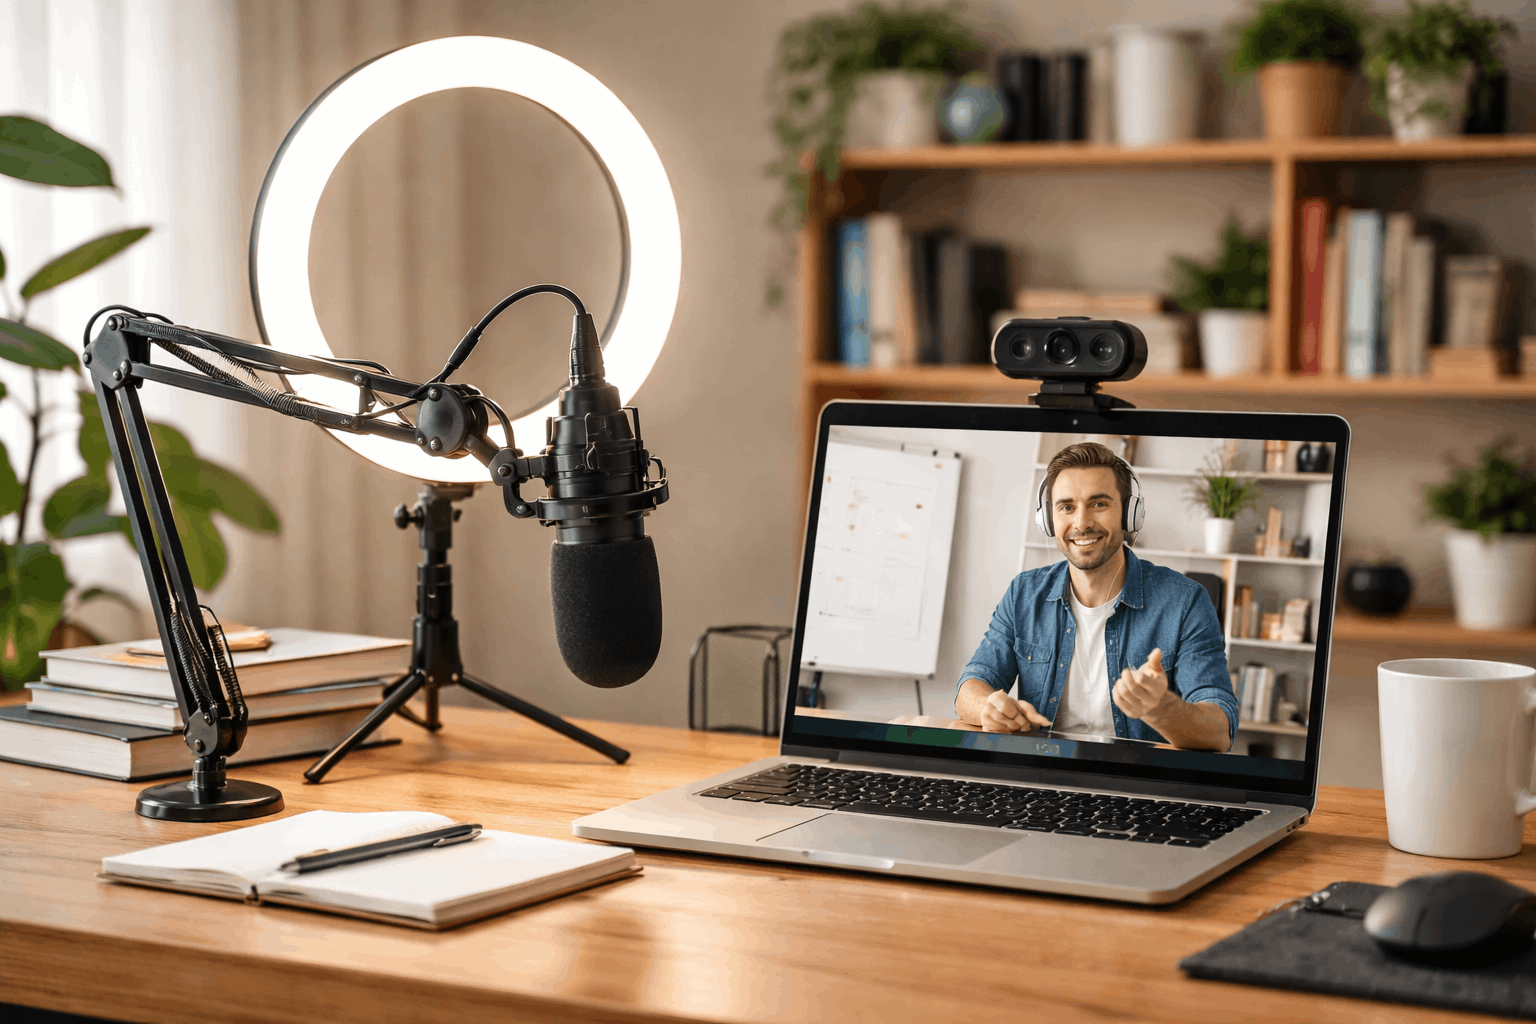
USB microphones plug directly into your computer. No extra hardware needed. Look for a model with a built-in headphone jack for real-time monitoring and a gain knob so you can adjust input levels without digging into software settings.
XLR microphones need an audio interface, which adds $50 to $150 to the cost. The tradeoff is better upgrade flexibility down the road.
If you plan to add a second mic for guest interviews or record professional course content, XLR gives you room to grow. For a teacher running daily Zoom classes, USB handles the job.
Dynamic Mics Beat Condensers in Untreated Rooms
I would pick a dynamic mic over a condenser for any teacher working in an untreated home office. Condenser microphones capture more detail, sure.
They also capture your air conditioner, your neighbor’s dog, the washing machine two rooms over, and every hard reflection bouncing off your walls.
Dynamic microphones focus on sound sources close to the capsule and reject background noise naturally.
A teacher who sits 15 to 25 cm from a dynamic mic in a noisy apartment will sound cleaner than someone using a condenser across a desk in the same space.
I think the popular advice to “go condenser for better quality” misleads home teachers because that advice assumes a treated, quiet room that almost no freelance teacher has.
Mic Placement: The Free Upgrade
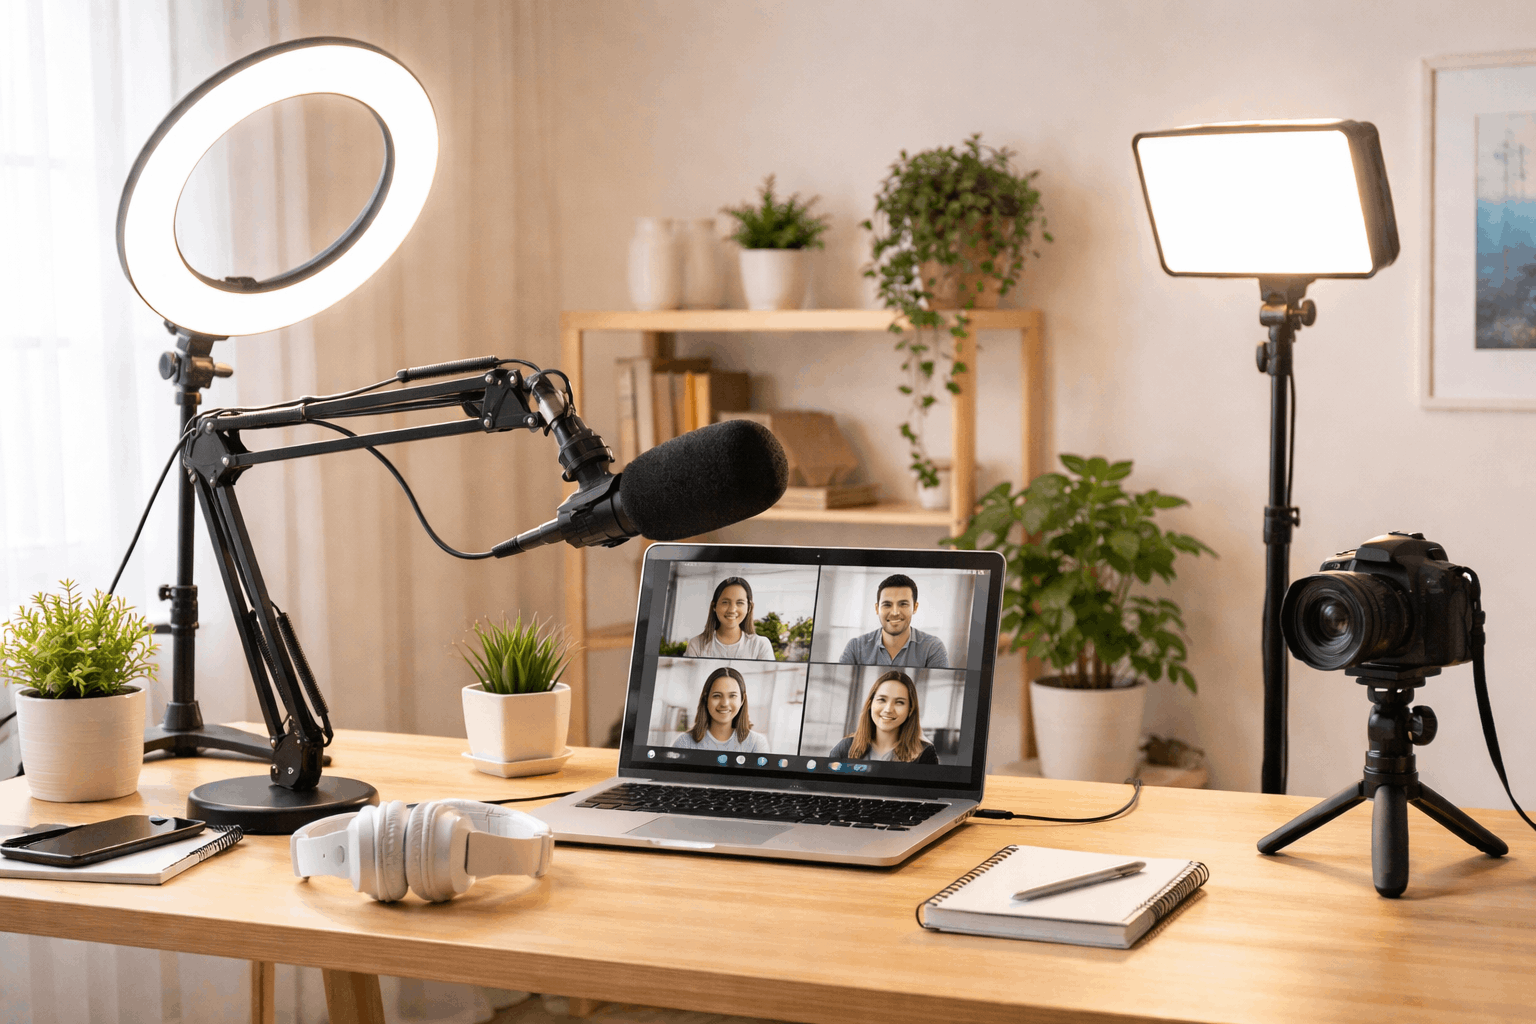
The biggest audio improvement costs zero dollars. Get the mic closer to your mouth. Aim for 15 to 25 cm (roughly 6 to 10 inches). A boom arm or simple desk stand can position the mic right at mouth level without blocking your camera view.
A few accessories worth the small investment:
- Pop filter or foam windscreen: softens harsh plosive sounds on “P” and “B” words, which get amplified on Zoom
- Boom arm or adjustable desk stand: keeps the mic stable at the correct distance every class
- Shock mount: reduces vibrations from typing or bumping the desk mid-lesson
Audio Settings That Prevent Mid-Class Disasters
Set your input volume so your voice peaks around 70% to 80% on the meter. Clipping (when the meter hits red) creates distortion that no software fix can undo after the fact.
Turn off any “audio enhancements” or “noise suppression” built into your operating system.
These features often cause pumping effects where your volume dips and surges unpredictably. Zoom and Google Meet have their own noise suppression that handles this better.
And wear headphones during class. No headphones means your mic picks up your students’ voices from your speakers, creating echo loops.
Also read: How to Film Yourself at Home Without Help
Lighting for Online Teaching: Why Your Webcam Looks Bad
A cheap webcam in good light will outperform an expensive webcam in bad light. Every time. This is the part of a home recording setup for online teaching that teachers underestimate the most.
The rule is simple: your main light source goes in front of your face, slightly above eye level, angled downward. Sitting with a window behind you forces the camera to expose for the bright background, turning your face into a dark silhouette.
Ring Lights, LED Panels, and Softboxes Compared
Each option works, but they solve different problems.
| Light Type | Best For | Drawback |
|---|---|---|
| Ring light | Small desks, compact spaces | Can create ring-shaped reflections in glasses |
| LED panel light | Adjustable brightness and color temperature | Takes slightly more desk or stand space |
| Softbox | Flattering, diffused light on face | Requires floor space and a light stand |
My take on this: an LED panel light with adjustable color temperature around 5000K to 5600K gives teachers the most flexibility per dollar spent.
Ring lights work great in tight spaces, but teachers who wear glasses may find the circular reflection distracting on camera.
The Color Temperature Mistake Nobody Talks About
Mixed color temperatures create the “sickly skin tone” problem on video calls.
This happens when a warm yellow overhead room light mixes with a cool white LED teaching light. The camera averages both, and your skin looks somewhere between orange and grey.
The fix is dead simple: pick one color temperature and stick to it. Turn off overhead room lights and use only your teaching light, or match your teaching light’s color temperature to the room.
Neutral daylight (around 5000K) is the default recommendation for teaching because it renders skin tones cleanly on most webcams.
Camera and Framing for Online Teachers
A webcam that handles indoor light well and focuses reliably matters more than resolution numbers on a spec sheet. A 1080p webcam in a well-lit room looks significantly better than a 4K webcam in a dim bedroom.
Camera Placement at Eye Level
Place your webcam at eye level. Looking down at a laptop camera creates an unflattering angle and makes you seem disengaged. A small tripod, a webcam mounted on your monitor, or even a stack of books under your laptop can fix this immediately.
Leave a bit of headroom above your head and position your eyes around the upper third of the frame.
If you teach with physical props, whiteboards, or handwriting demonstrations, widen the frame slightly or consider a second camera angle using a phone on a tripod pointed down at your desk.
Three Setup Levels for Online Teaching (Pick Your Budget)
The gear combinations below are ordered by cost. Each level builds on the one before it.
Level 1: Clean and Minimal (Under $100)
A USB dynamic mic on a desk stand, one front-facing LED ring light, your built-in webcam or a basic external webcam, and wired headphones. This setup eliminates 80% of audio and video complaints for under $100 total.
Level 2: Best Value for Daily Teachers ($100 to $300)
A dynamic mic on a boom arm with a pop filter, an LED panel with brightness and color temperature control, an external 1080p webcam on a mini tripod at eye level, and a tidy background (plain wall, curtain, or neat bookshelf). This is the sweet spot.
Teachers at this level sound and look professional enough for paid courses on platforms like Udemy or Teachable.
Level 3: Teaching Studio ($300 and Up)
An XLR mic with an audio interface (or a high-end USB mic), a two-light setup with a key light and a softer fill light, a primary webcam plus a second camera angle for overhead demonstrations, and cable management with positions marked using tape for consistency.
Teachers who record daily or sell video courses on Teachable or similar platforms get a return on this investment through production consistency.
The Pieces That Quietly Make or Break Your Setup
Good gear means nothing if your room fights against it. Two problems sneak up on online teachers more than any equipment failure.
Room Echo vs. Mic Quality
Hard surfaces (tile floors, bare walls, glass desks) bounce your voice around the room. The mic picks up both your direct voice and these reflections, creating a hollow, distant sound.
Soft materials absorb reflections: rugs on the floor, curtains over windows, a bookshelf full of books behind you.
These cost less than acoustic foam panels from Amazon and often work just as well for voice calls. The Zoom Help Center has a solid breakdown of recommended audio settings that pair well with a treated room.
Pre-Class Testing Saves Embarrassment
Record a 60-second clip in the same app you teach with. Play it back and listen for echo, volume spikes, and background noise.
Check if your face is evenly lit and if the autofocus hunts when you move your hands. Do this once a week. Equipment shifts, settings reset after updates, and lighting changes with seasons.
A simple pre-class checklist saves more frustration than any single piece of gear:
- Mic input selected and volume set correctly
- Camera active and positioned at eye level
- Teaching light on, room lights off or matched
- Headphones connected and tested
- Internet connection stable (wired if possible)
Questions People Ask About Home Recording Setups for Online Teaching
Q: Do I need an expensive microphone for online teaching?
No. A USB dynamic mic in the $40 to $80 range, placed 15 to 25 cm from your mouth, sounds clear enough for live classes and recorded courses. Spending more only helps if your room acoustics are already under control.
Q: Can I use my phone as a webcam for teaching?
Absolutely. Apps like Camo and DroidCam turn phones into high-quality webcams over USB or Wi-Fi. Most phones built after 2022 have better camera sensors than budget webcams, so this is a free upgrade if you have a phone tripod.
Q: What is the best lighting color temperature for online teaching?
Neutral daylight around 5000K to 5600K works well for most skin tones and webcam sensors. The bigger concern is consistency: mixing warm room bulbs with cool LED panels creates unflattering color casts on camera.
Q: How do I reduce echo in my home teaching room?
Soft surfaces absorb sound reflections. Rugs, curtains, upholstered furniture, and bookshelves all help. Closing the door and turning off fans or AC units during class makes a noticeable difference without spending anything on acoustic treatment.
Q: Should I use Zoom’s built-in noise suppression or my own mic settings?
Zoom’s noise suppression on the “auto” or “moderate” setting handles most background noise well. Avoid stacking it with your operating system’s audio enhancements, since running both at once often creates audio pumping and unnatural volume dips.
Conclusion
Audio quality decides whether students stay focused or start drifting during your online classes. Pair a well-placed dynamic mic with one consistent light source and an eye-level camera.
Room acoustics and color temperature consistency matter more than the price tag on any single piece of gear. Start with the minimal setup, test it weekly, and upgrade only when a specific problem demands it.