Cable clutter can make a simple creator desk feel stressful, messy, and harder to use. When cords cross your keyboard, camera area, microphone path, or lighting stands, every recording session starts with small distractions.
Clean cable routing helps your mic, webcam, lights, chargers, and accessories stay ready without constant fixing.
The goal is not a perfect showroom desk, but a setup that is safe, easy to reset, and practical for daily content creation.
Plan the Cable Routes First
Good cable management starts before you tie anything down. Many creators make the mistake of wrapping cables too early, then realize the mic arm, webcam, or key light still needs to move.
A better approach is to place every device where you actually use it during recording. Then you can decide which cables should stay visible, which should run behind the desk, and where they should drop out of sight.
List Every Device That Needs Power or Data
Start by listing your microphone, webcam, lights, charger, monitor, audio interface, camera, and any capture device.
This helps you see how many cables your desk really needs. Place each item in its normal recording position before routing anything. Once the gear is in place, trace the safest path to the back or underside of the desk.
Create One Main Exit Point
A single cable exit point is easier to manage than several messy drops around the desk. Choose one side or back corner where most cables can leave the desktop cleanly.
This keeps wires away from your mouse, keyboard, camera frame, and arm movement. If one cable must stay loose, make sure it is one you actually touch often, such as headphones or a phone charger.
Separate Cables by Function
Not every cable should be bundled together. Power, audio, video, and lighting cables all serve different jobs, and separating them makes troubleshooting easier.
It also helps reduce tangles when you move a microphone arm, change a webcam, or adjust a light. A clean desk is easier to maintain when each cable route has a clear purpose.
Also Read: One-Light Home Setup That Actually Works
Keep Power Away From Audio When Possible
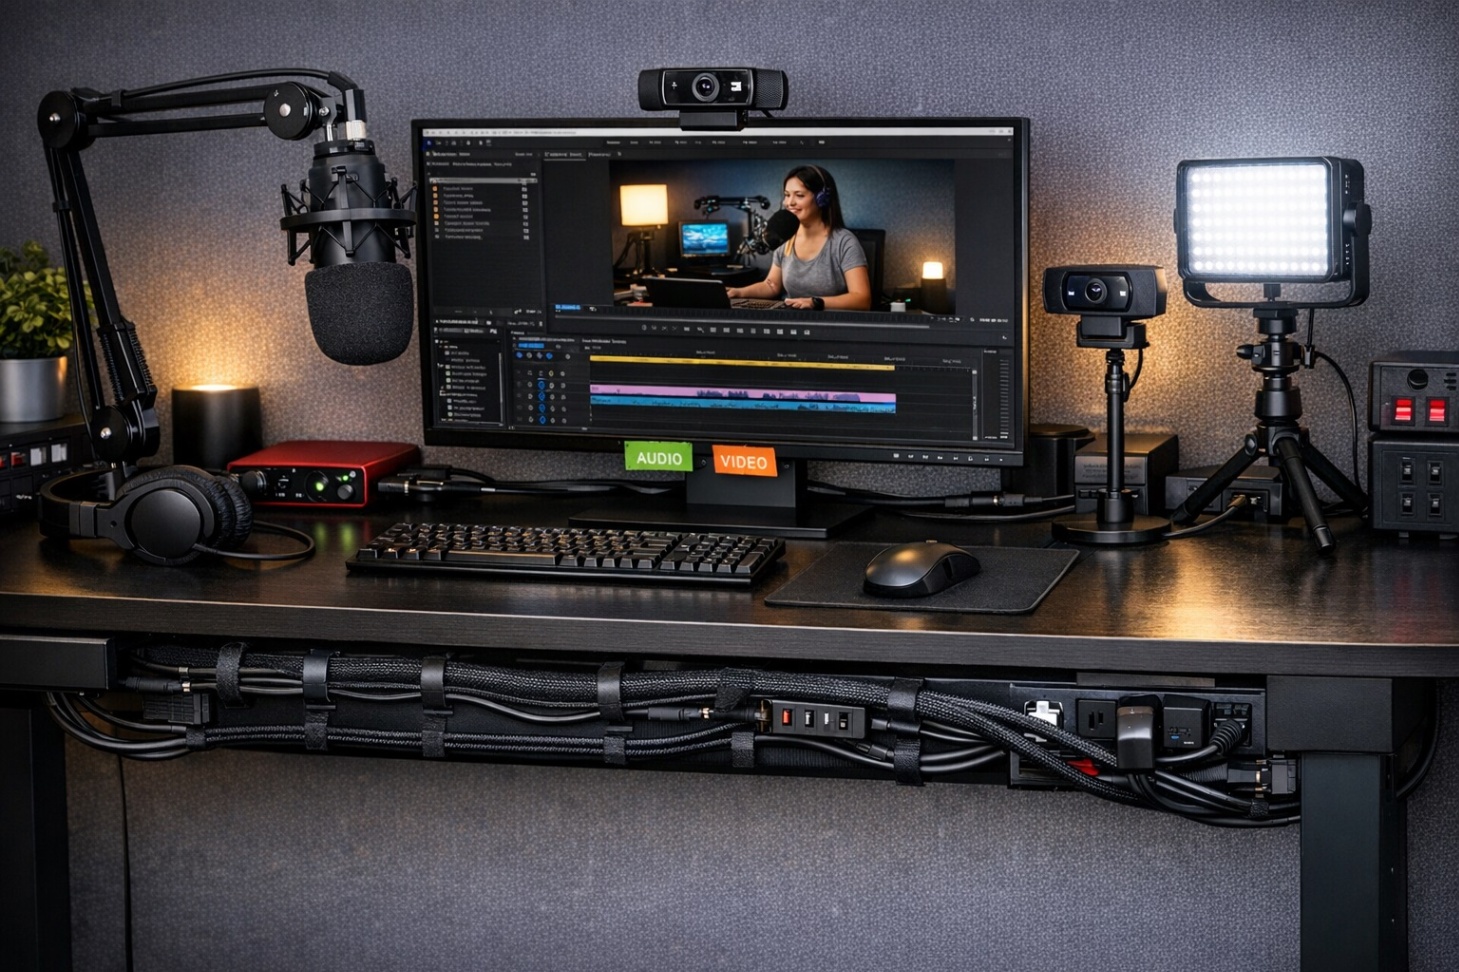
Power cables, power bricks, and extension cords should stay away from microphone and interface cables when you can manage it. This reduces clutter and may help avoid hum or interference in some setups.
If power and audio cables need to cross, let them cross once instead of running side by side for a long distance. This keeps the route cleaner and easier to check when audio problems appear.
Decide What Stays on the Desk
Only keep daily-use cables on top of the desk. This may include a headphone cable, phone charger, or quick USB cable for a camera or webcam.
Move power bricks, long extension leads, spare HDMI cables, and rarely used adapters below the desk. A cleaner desktop keeps cables out of frame and makes your recording area feel more intentional.
Use Simple Tools That Are Easy to Reopen
Creator desks change often, especially when you add lights, swap a mic, or move a camera angle. That means your cable management should be secure but not permanent.
Avoid locking everything down so tightly that one small change becomes a full rebuild. Reusable tools are usually better than tools you have to cut or rip off later.
Use Reusable Fasteners for Changing Gear
Velcro straps are better than zip ties for cables you may move again. They work well for USB webcam cables, mic cables, light power leads, and charger wires.
Adhesive clips can guide cables along the back edge of the desk without drilling holes. Leave a little slack near moving gear so mic arms, lights, and tripods can adjust safely.
Use Trays, Sleeves, and Channels
An under-desk tray can hold power strips, adapters, and extra cable length so they do not hang near your legs. A cable sleeve or braided wrap can turn several messy lines into one clean route.
Desk grommets or pass-through holes help cables drop neatly instead of rubbing against the desk edge. These tools make the setup look cleaner while still keeping it easy to maintain.
Use this quick cable check before you finish routing:
- Keep power bricks in one contained area.
- Leave slack near moving mic arms and lights.
- Label cables that look similar.
- Keep daily-use cables easy to reach.
- Test the setup before tightening anything down.
Organize by Recording Chains
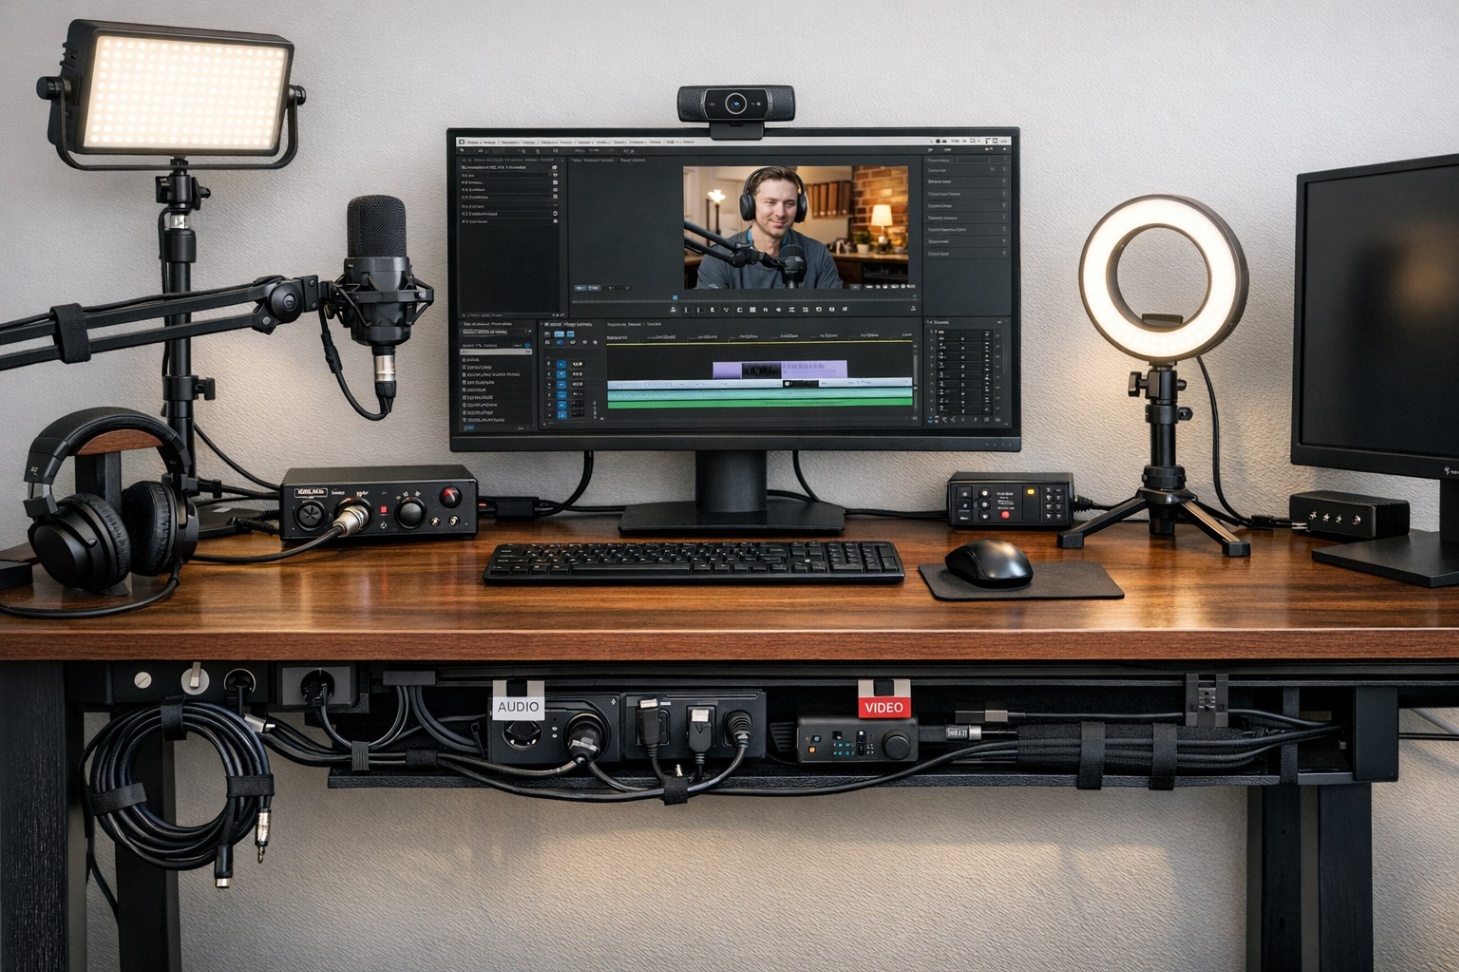
Grouping cables by recording chain is easier than grouping them only by length. An audio chain, video chain, lighting chain, and charging chain each support a different part of your workflow.
When something fails, you can check one chain instead of digging through every cable under the desk. This approach also makes future upgrades less stressful.
Build a Clear Audio Chain
Your audio chain may include the microphone, audio interface, headphones, and monitoring cable. Keep this route short, protected, and away from heavy power bundles when possible.
Leave a gentle loop of slack near the microphone so you can move the boom arm without pulling the connector. If you hear buzzing, move the audio cable path before assuming the microphone is the problem.
Build a Separate Video and Lighting Chain
Your video chain may include a webcam, capture device, HDMI cable, USB cable, or monitor connection. Keep these cables supported so they do not tug on small camera ports.
Lighting cables should run down the back of light stands, mini tripods, or desk mounts instead of across your work surface. This keeps the shot clean and prevents cables from sliding into frame during recording.
Make Power Safer and Easier to Control
Power is where most creator desk clutter starts. Lights, chargers, monitors, cameras, interfaces, and USB hubs can quickly turn one desk into a tangle of adapters.
A single power zone makes the whole setup easier to understand. It also helps prevent accidental unplugging when you move your chair, tripod, or light stand.
Keep Adapters in One Zone
Mount a power strip under the desk or place it inside a cable tray. Group adapters with Velcro, but leave enough airflow because some power bricks get warm during long sessions.
Use short extension leads when one large adapter blocks nearby outlets. Keeping power in one zone makes the desk easier to clean, reset, and troubleshoot.
Add Slack and Strain Relief
Cables should not be pulled tight from device to outlet. Tight bends can damage connectors and cause random disconnects over time.
Add a small slack loop near plugs, cameras, lights, and interfaces so movement does not stress the cable. This is especially important for gear you adjust often, such as webcams, microphones, and key lights.
Keep the Setup Easy to Reset
Cable management should support your workflow, not trap your desk in one layout forever. You may need to clean, travel, change a camera angle, or switch from recording to editing.
A good system lets you disconnect the right device quickly without tearing apart the whole setup. Labels, quick-release routes, and a small cable kit make this much easier.
Label the Cables You Might Forget
Labels are useful when several cables look the same. Mark the webcam, microphone, light, interface, and charger cables near the desk edge or power zone.
This saves time when you need to unplug one device without guessing. Simple masking tape, small tags, or reusable labels are enough for most home setups.
Keep a Small Cable Kit Nearby
A small drawer kit can save a recording session when something shifts or breaks. Keep extra Velcro straps, cable clips, adapters, short USB cables, and a few labels in one place.
This makes quick fixes easier and stops you from leaving temporary cable mess on the desk. A setup is easier to maintain when the tools for fixing it are already nearby.
Keep Your Creator Desk Clean and Ready
A clean creator desk starts with clear routes, separated cable groups, and simple tools you can reopen. Keep power contained, protect your audio chain, and route video and lighting cables where they will not enter the shot.
Label what matters and leave enough slack so your gear can move without pulling connectors. When your cables support the workflow, your desk feels easier to use and your recording setup stays ready.