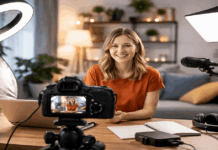
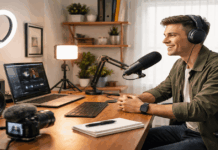
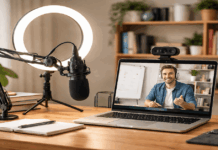
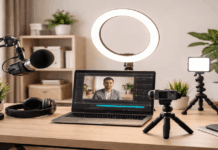
A workable home video setup is less about owning impressive gear and more about removing the small things that make you delay filming.
When the microphone is close, the light stays steady, and the camera is already in the right place, recording becomes easier to start.
That suits tutorials, lessons, product demos, and calls. The aim is clear communication and repeatable habits, not a room that looks like a professional studio.
Pick a Recording Spot You Can Return to Easily
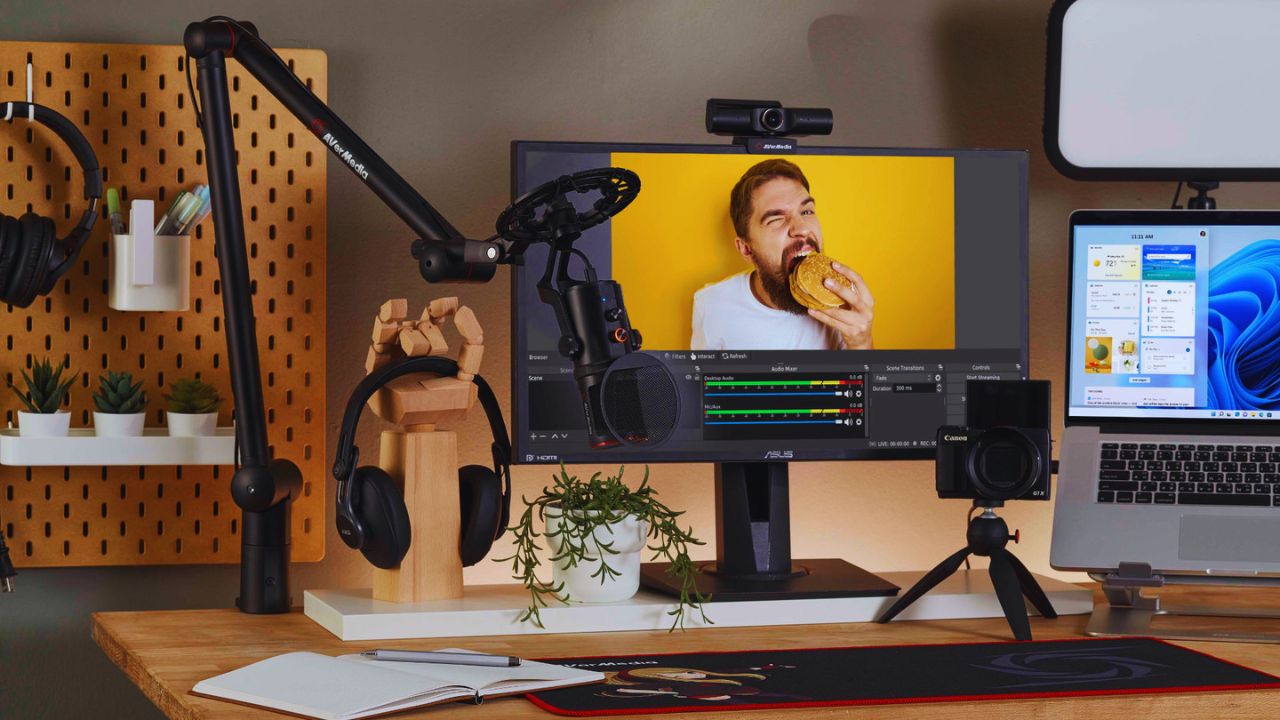
Choose the place you can use without difficulty each day. A bedroom corner, desk against a quiet wall, or section of the living room can work well when it has less traffic, fewer hard surfaces, and a background you do not need to hide.
Listen for traffic, appliances, and household activity before committing to it. A dependable recording corner is usually more useful than a better camera in a constantly changing room.
Keep the Background Simple but Believable
A curtain, plain wall, bookcase, or tidy work area can look natural without looking staged. Leave a little space behind your chair when you can, since this reduces the shadow around your head and stops the frame from feeling cramped.
Remove private papers, bright screens, or anything that pulls attention away from the message. One plant or lamp can add warmth, but it should stay quiet in the frame and remain secondary to your face.
Let the Room Do Some of the Audio Work
Hard floors, bare walls, and empty corners can make speech sound hollow, even with a decent microphone.
Before purchasing foam or panels, try the more furnished side of the room, close curtains, put down a rug, or sit beside a bookcase.
Those everyday changes will not make the room silent, but they can reduce the short reflections that make voices seem far away. You want a less reflective space and a more direct voice, while keeping the room usable.
Make Speech Clear Before Chasing a Better Camera
Most viewers will accept an ordinary image more easily than a voice that is distant, muffled, or fighting with a desk fan.
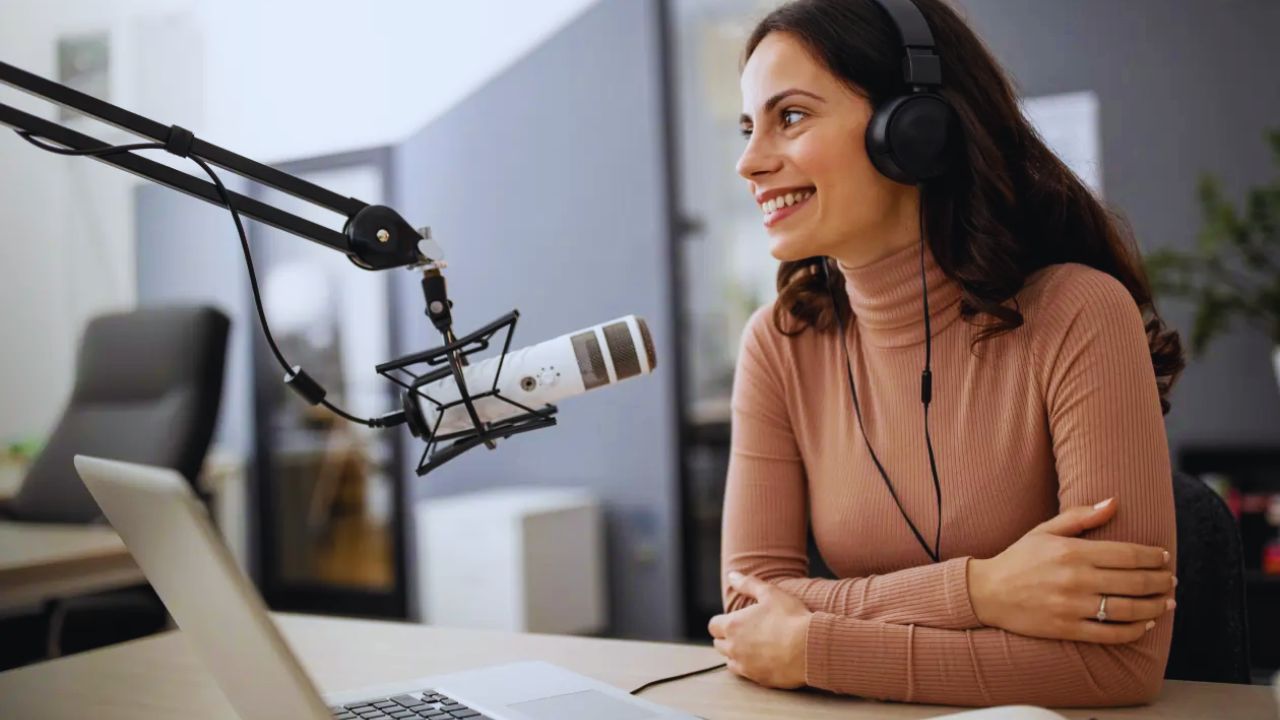
Start with whatever microphone you own and make its job easier by moving it close enough to hear you before it hears the room.
A lavalier can suit moving demonstrations, while a USB microphone may fit a desk routine. The main goal is clear speech and a comfortable position you can repeat.
Also Read: Audio Monitoring Basics: Headphones vs Speakers
Keep the Microphone Close and Slightly Off-Axis
Start with the microphone around a handspan from your mouth, then adjust after listening to a sample.
Too close may exaggerate breath and plosive sounds; too far can force you to raise the gain and capture keyboard clicks, traffic, and echo. Point the microphone a little past your mouth rather than straight into it.
A small stand or boom arm makes the same distance easier to maintain and gives you steadier volume when you move.
Test Before You Commit to a Long Take
Record ten seconds before the actual session. Leave a little silence at the beginning, speak normally, move in your chair, and listen through headphones.
A short test can reveal a buzzing light, loose cable, background fan, or a microphone that has drifted too far away.
Change one thing, test again, and keep the improvement. This simple habit turns quick listening into a useful safeguard instead of finding a problem after a full session.
Give Your Camera Enough Light to Work With
A newer camera cannot always fix a dark room. When a webcam or phone has too little light, it raises internal gain, which can add grain and remove detail from hair, clothing, and skin.
One soft source near the camera can make a basic device look much more dependable without crowding the room. The target is even facial light and natural colour, not a dramatic backdrop or the highest brightness setting.
Use a Window When It Fits the Way You Record
Window light can be useful when you face it or sit slightly to one side, especially on an overcast day.
A sheer curtain can reduce direct sun and help the light fall more gently across the face. The limitation is that daylight changes with weather, season, and time, so clips made hours apart can look noticeably different.
Use it when convenient, but have a backup for late recordings and shifting weather rather than relying on perfect sunshine.
Add One Soft Source Before Adding Several Lamps
A diffused LED panel, raised ring light, or lamp bounced from a pale wall can serve as a dependable key light.
Put it above eye level and slightly to one side of the camera, then move it closer before turning up its brightness. That can soften shadows and reduce reflections in glasses.
Turn off clashing ceiling bulbs when possible, since cool and warm sources may confuse the camera. One well-placed light is often better than several competing lamps.
Keep the Frame Stable and the Reset Simple
A steady frame makes a recording feel calmer, and it gives autofocus and exposure less to react to.
A desk mount, phone tripod, webcam clip, or sturdy shelf can work when the device is secure and the lens sits near eye level.
Keep cables from pulling on the camera, microphone, or light when you shift in your chair. The most practical setup is the one that provides steady framing and a comfortable eyeline without taking over the room.
Buy the Next Tool Only When You Can Name Its Job
After several recordings, the weak point should be easier to see. Use that limitation to guide the next purchase, rather than buying a better camera when the real issue is echo, glare, or unstable framing. Check compatibility, storage, and mounting before you spend:
- Distant voice: bring the microphone closer or add a lavalier.
- Dark face: reposition the window or use one soft light.
- Shaky shot: secure the device with a tripod or desk mount.
Keep Your Setup Useful on a Busy Day
Take a photo of the finished arrangement, including the light angle, chair position, and camera height, so you can recreate it without guessing.
Do a short sound-and-light check before recording, then stop adjusting once the image is clear and the voice is easy to hear.
Perfection is not the requirement; a process that helps you publish consistently is. When the room, microphone, light, and camera work together, your message stays central and your recording habit lasts.