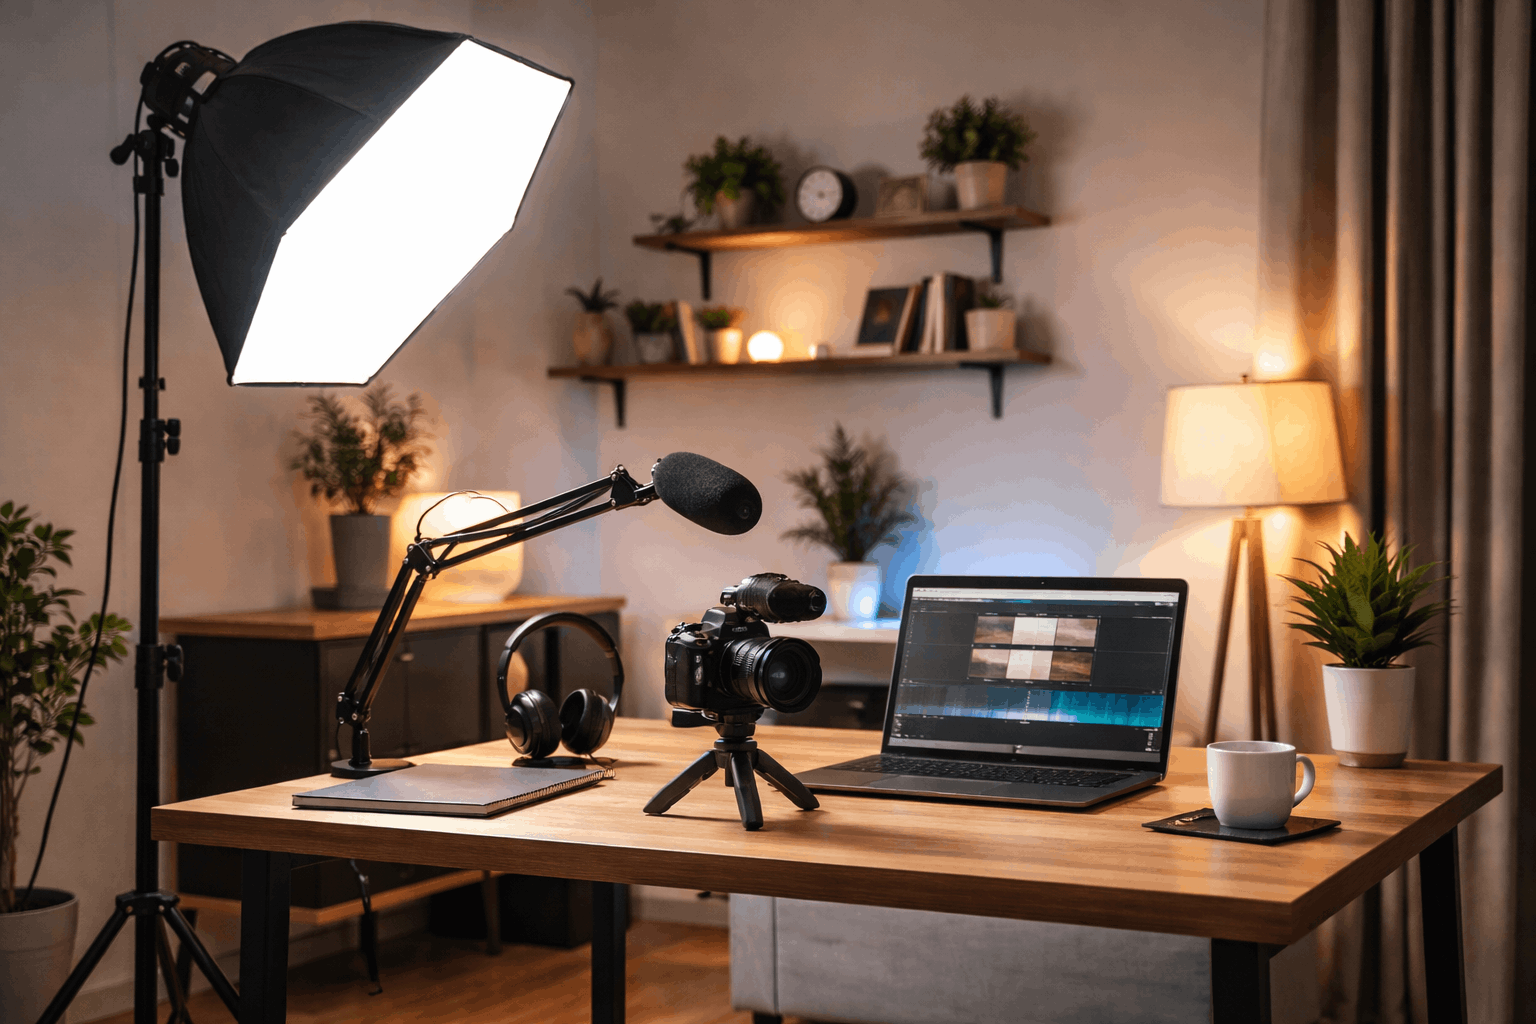
Creating a clean video at home does not require a full studio or a large lighting kit. For many creators, one well-placed light is enough to improve YouTube videos, online courses, podcasts, livestreams, and short-form content.
The goal is to make your face clear, your background controlled, and your setup easy to repeat. A one-light setup works best when you focus on placement, softness, and consistency instead of adding more gear too early.
Why One Light Can Be Enough for Home Creators?
A one-light setup keeps the recording process simple. Instead of adjusting several lights before every session, you only need to control one main source.
This is useful for small rooms, shared spaces, and creators who need to record quickly. It also helps you learn how light direction changes the way your face and background look.
Simplicity Helps You Record More Often
A simple setup reduces the number of decisions you need to make before recording. When the light, camera, and chair stay in the same place, you can start faster.
This matters for creators who publish weekly or batch several videos in one day. A setup that is easy to repeat usually helps more than a setup that looks impressive but takes too long to prepare.
Placement Matters More Than Quantity
One light can still look polished when it is placed with care. If the light is too low, too harsh, or too centered, your face may look flat or unnatural.
Placing it slightly to one side creates soft shadows that add shape. The goal is not to remove every shadow, but to keep your face clear and natural.
Choosing the Right Light for a Small Setup
The best light for a home creator is not always the strongest or most expensive one. It should fit your room, recording style, and comfort level.
A useful light should be easy to adjust, quiet enough for recording, and stable enough to stay in place. Before buying, think about where the light will sit and how often you will move it.
LED Panels, Ring Lights, and COB Lights
LED panels are practical for small rooms because they are compact and easy to control. Ring lights are quick to set up, but they can make the face look flat when used directly in front.
COB lights with a softbox can create a more studio-like look, but they need more space and setup time. For most beginners, a simple adjustable LED panel or softbox is easier to manage.

Brightness, Color, and Noise
A good light should let you adjust brightness instead of forcing you to use full power. Too much brightness can cause shiny skin, harsh highlights, and eye strain.
Color temperature control also helps because it keeps skin tones from looking too yellow or too blue. If the light has a fan, make sure it is quiet enough that your microphone does not pick it up.
Setting Up One Light for a Natural Look
A one-light setup should make your face easy to see without making the video feel harsh. The safest starting point is to place the light slightly above eye level and a little to one side.
From there, you can adjust distance, angle, and softness until the image looks balanced. Always check the result through the camera because your eyes may see the room differently.
Place the Light Slightly Off-Center
Avoid placing the light directly below the camera like a flashlight. That position often removes natural shape and makes the face look too flat.
Move the light about 30 to 45 degrees to one side for a more natural look. If the shadow side becomes too dark, bring the light closer to the camera or use a white wall as a soft reflector.
Soften the Light Before Increasing Power
Soft light is usually more flattering than harsh light. You can soften the light with a softbox, diffuser cloth, curtain, or by bouncing it from a nearby wall.
If your face looks too shiny or the shadows look sharp, do not simply make the light brighter. Try changing the distance or diffusion first so the image stays comfortable to watch.
Controlling Background and Camera Settings
One light affects more than your face. It can also brighten the wall, create shadows, or reveal distractions behind you.
A clean background and stable camera settings help the setup look more intentional. These small controls make a basic home setup feel more professional.
Also Read: Beginner-Friendly Home Studio Setup Guide
Create Separation From the Background
Sitting too close to the wall can create harsh shadows behind your head. Leaving space between you and the background gives the frame more depth.
A plain wall, curtain, or tidy shelf usually works better than a busy background. Keep the brightest part of the image on your face so viewers know where to focus.
Match the Camera to the Light
After placing the light, adjust the camera settings instead of relying completely on auto mode. Lock exposure if possible so brightness does not shift while you move or speak.
Match white balance to the light so skin tone stays natural. If the image still looks noisy, add more soft light before increasing digital brightness.
Keeping the Setup Repeatable
A one-light setup becomes more useful when you can rebuild it quickly. Once you find a look that works, save the details instead of guessing next time.
Take a photo of the light, tripod, and chair positions. You can also write down the brightness and color settings if your light allows it.
Do a Short Test Before Recording
A short test clip can catch problems before you record the full video. Check whether your face is bright but not overexposed.
Look for harsh shadows, glare on glasses, and background distractions. Listen to the audio too, especially if your light has a fan or sits near the microphone.
Use One Simple Setup Checklist
Before recording, use one quick checklist to keep your setup consistent:
- Place the light in its usual position.
- Check that your face is clear but not overexposed.
- Look for harsh shadows or glare.
- Confirm the background is not brighter than your face.
- Record a short test clip before filming the full video.
This checklist keeps the setup practical without making it feel complicated.
Adjust for Different Content Types
Talking-head videos usually need soft and steady light on the face. Product videos may need the light moved slightly to the side to show shape and texture.
Livestreams need a comfortable setup because the light may stay on for a long time. Use one default setup for your main content, then make small changes only when the video requires it.
Keep One Light Simple and Reliable
A one-light setup works because it removes unnecessary decisions from the recording process. Start with one light that fits your space, place it slightly above eye level, and soften it before adding more brightness.
Keep your background simple and save your best positions so the look is easy to repeat. With practice, one light can make home videos look clean, natural, and consistent without turning your room into a full studio.


