Creating videos, recording audio, editing clips, or livestreaming at home often means spending long hours at a desk.
For everyday creators, comfort affects more than posture; it can also influence voice control, focus, and on-camera confidence.
A simple creator setup can still support better ergonomics if the desk, chair, screen, microphone, and lights are arranged with care.
The goal is not to build a perfect workstation, but to create a space that helps you record longer without unnecessary strain.
Start With the Desk and Chair Before Adjusting Gear
A creator desk usually has more than a keyboard and monitor. It may hold a microphone, camera, light, notebook, control pad, headphones, and cables.
If the desk and chair are not comfortable, every other part of the setup becomes harder to use. Before moving the camera or buying accessories, make sure the basic sitting position supports your body.
Set the Desk Height for Relaxed Arms
Desk height affects your shoulders, wrists, and upper back during long sessions. If the desk is too high, your shoulders may lift without you noticing.
If it is too low, you may lean forward or bend your wrists awkwardly while typing, editing, or controlling audio. A better position keeps your elbows near a right angle and your forearms relaxed.
You do not always need a new desk to fix this. A chair adjustment, footrest, keyboard tray, or small riser can help adapt a fixed desk.
The important thing is to avoid forcing your body to match the furniture. Your setup should make your natural posture easier, not harder.
Choose a Chair That Supports Recording Comfort
The chair matters because it supports you through the full recording or editing session. A stylish chair that looks good on camera may still be uncomfortable after 30 minutes.
Look for support in the lower back, enough seat depth for your thighs, and a height that lets your feet rest flat. Comfort should come before appearance, especially if you create often.
Lumbar support helps keep the lower back from rounding during long takes. If your chair does not have built-in support, a small cushion or rolled towel can help.
Your back should feel supported without forcing you into a stiff position. A good chair lets you sit tall while still breathing and speaking naturally.
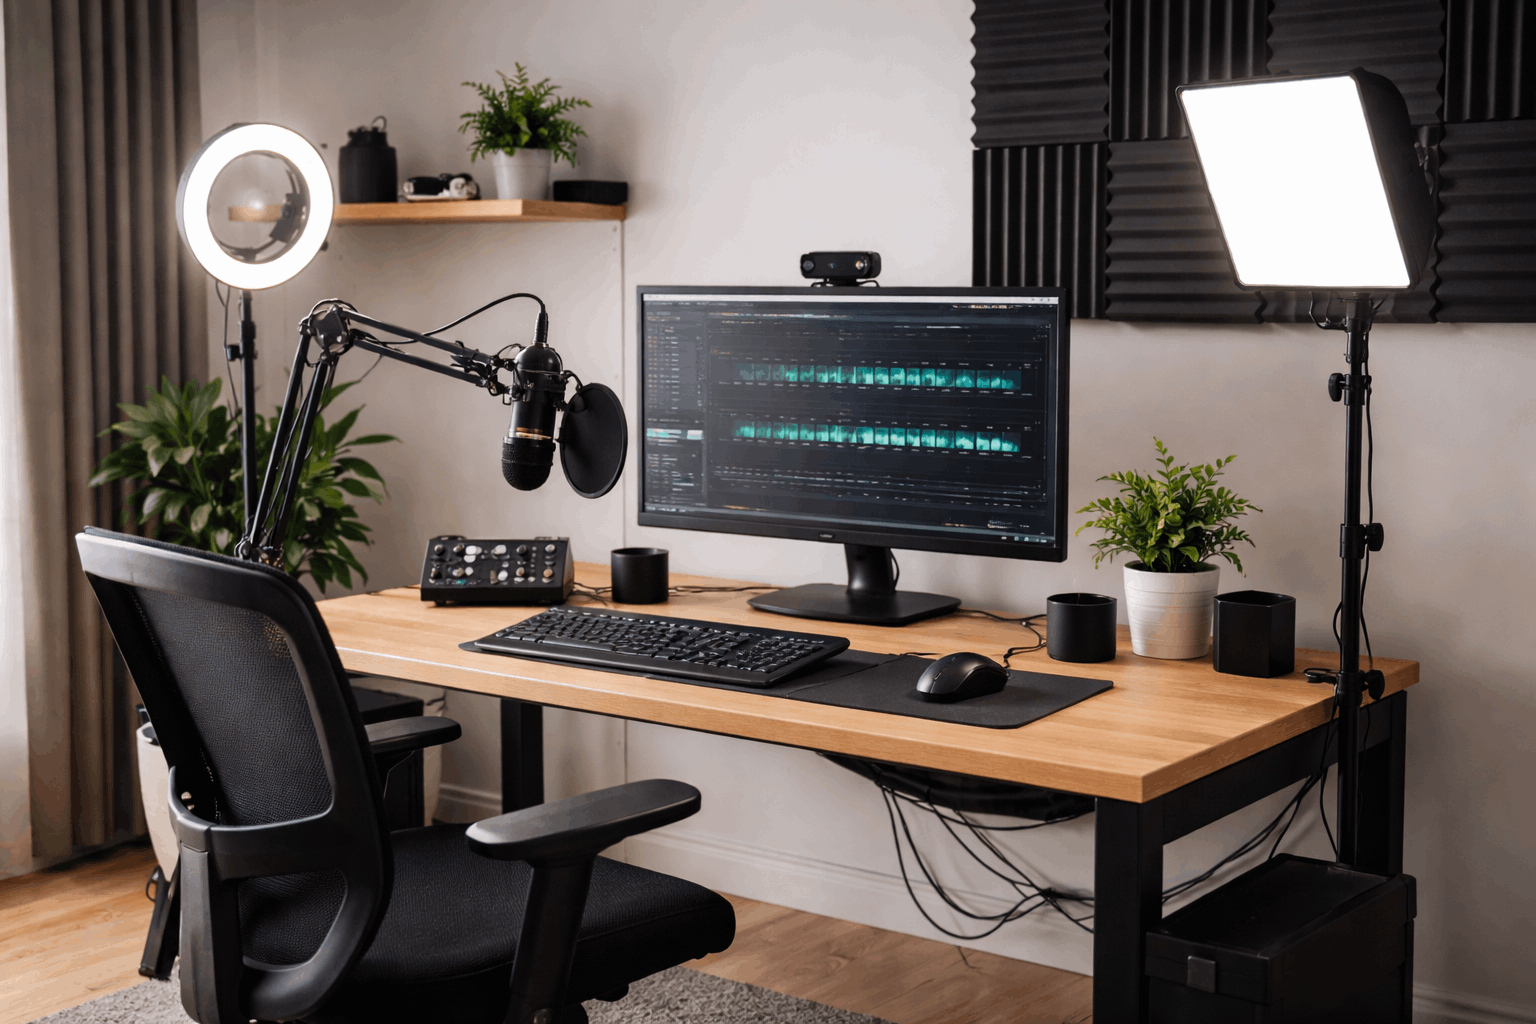
Place Your Creator Gear Around a Neutral Posture
Creator gear should support the way you sit, not pull you out of position. A webcam that is too low, a microphone that is too far away, or a light that needs constant adjustment can slowly create strain.
These problems may seem small at first, but they become noticeable during longer sessions. Better placement helps your body and improves recording quality at the same time.
Keep the Screen and Webcam at a Natural Height
Monitor height affects your neck more than many creators realize. If the screen is too low, you may tilt your head down for long periods while editing, reading notes, or checking framing.
A better setup keeps the top of the screen close to eye level, so your head stays more neutral. Books, monitor risers, or laptop stands can help if you are working with a fixed desk.
Webcam placement also matters for presentation. A camera near eye height usually looks more natural and reduces the need to hunch or lift your chin.
If you use a laptop camera, raising the laptop can help, but you may need an external keyboard and mouse to avoid awkward typing. The camera should meet your posture, not force you into a pose.
Put the Microphone Close Without Making You Lean
Microphone placement affects both sound and comfort. If the mic is too far away, you may lean forward without realizing it.
That can tighten your neck, affect breathing, and make your voice less consistent during recording. A microphone should sit close enough to capture clear speech while letting you remain upright.
A boom arm can help because it brings the mic toward you without taking over the desk. It also makes small adjustments easier if you switch between recording, editing, and typing.
A desk stand can still work, but it needs careful placement so it does not block your screen or force your shoulders forward. The best option is the one that keeps your voice clear and your body relaxed.
Also Read: How to Build a Lighting Setup Step by Step
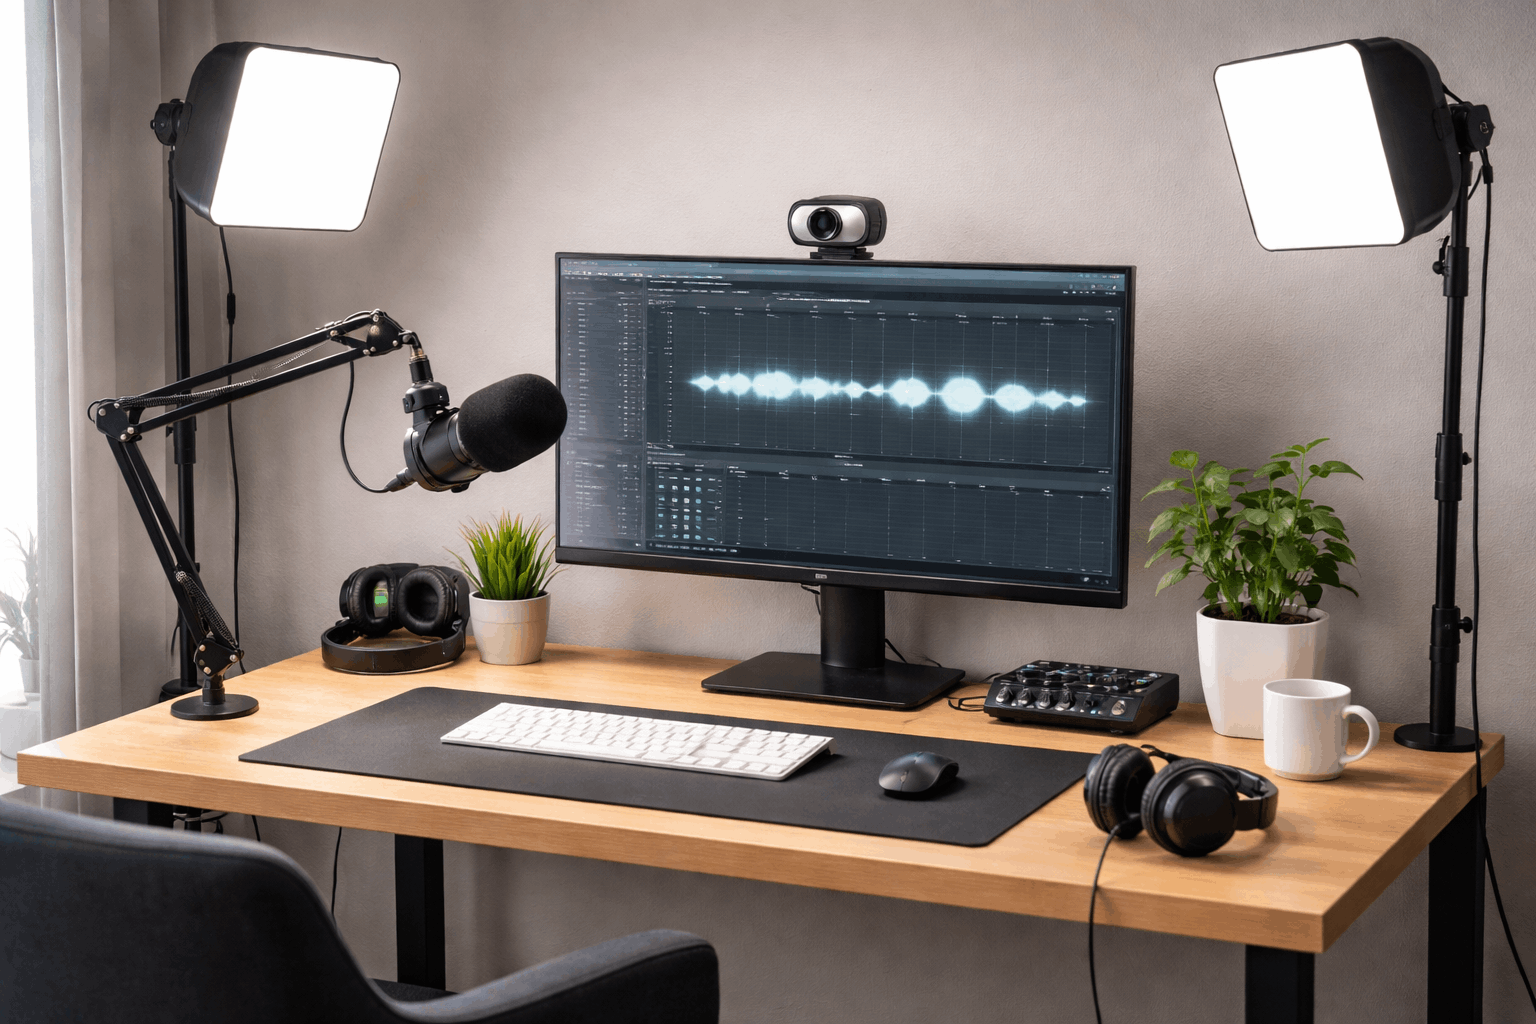
Place Lights Where They Do Not Create Strain
Lighting should stay predictable once it is set. If you keep reaching to move a lamp, adjust brightness, or avoid glare, the setup is probably working against you.
A key light slightly above eye level and angled toward your face can create a clean look without forcing you to sit awkwardly. Stable stands or clamps help prevent constant repositioning.
Also consider heat and glare. A light that shines directly into your eyes can make long sessions tiring.
A light that throws heat toward your face can make recording uncomfortable, especially in a small room. Diffusion, side placement, and lower brightness can make the setup easier to use for longer periods.
Keep the Desk Clear Enough for Real Work
A creator desk can become crowded quickly. Extra cables, small tools, memory cards, headphones, chargers, notebooks, and props can limit movement and create stress.
A clean layout does not have to look empty, but it should make the most-used items easy to reach. When the desk supports your workflow, recording and editing feel less tiring.
Arrange Controls Within Easy Reach
Keyboard, mouse, stream deck, audio interface, and editing controls should sit where your hands naturally go.
Reaching too far or twisting your wrist repeatedly can build discomfort over time. Keep frequently used items close and place occasional-use items farther away. This protects posture and helps you work faster.
A simple check can help you improve the setup:
- Keep your feet flat or supported while seated.
- Keep elbows relaxed and close to the body.
- Place the screen near eye level.
- Keep the microphone close without leaning forward.
- Store cables and small tools away from your main work area.
This kind of check is useful before long recording days. It catches problems that may not seem obvious during a quick session.
Small fixes can prevent discomfort from building across the week. The easier your desk is to use, the easier it is to stay focused on the content.
Manage Cables and Small Items Before They Slow You Down
Cable clutter affects more than appearance. Loose cables can block movement, pull devices out of place, or make it harder to reset the desk before recording.
Use clips, ties, or simple cable routes along the desk edge to keep the surface clear. You do not need a perfect cable system; you just need one that prevents daily frustration.
Small items also need a regular home. Batteries, adapters, lens cloths, memory cards, tape, and chargers are easy to lose when they sit randomly on the desk.
A drawer tray, pouch, or small box can keep them reachable without taking up work space. Predictable storage saves time and helps the desk stay comfortable.
Build Habits That Protect Comfort Over Time
Even a well-arranged desk cannot replace movement. Long editing or recording sessions can still create stiffness if you stay in one position for too long.
Ergonomics works best when the setup and habits support each other. A comfortable desk gives you a better starting point, but short breaks help you last longer.
Take Breaks Before Discomfort Builds
Short breaks every 30 to 45 minutes can help reset posture and reduce tension. Standing for a minute, rolling the shoulders, or gently stretching the neck can make the next recording or editing block feel easier.
These breaks do not need to be long. They just need to happen before stiffness becomes distracting.
Breaks can also help voice performance. Slouching and tension can affect breathing, which may change how your voice sounds on camera or on mic.
A quick reset helps you return to a more natural speaking position. For creators who record regularly, this can support more consistent delivery.
Improve the Setup With Budget-Friendly Fixes
Ergonomics does not have to be expensive. Books can raise a monitor, a cushion can improve back support, and a footrest can be made from a stable box.
A clip-on light, simple riser, or better cable storage can also make the desk easier to use. The best upgrade is the one that removes a repeated source of discomfort.
Start with the chair, screen height, and microphone reach because these affect most sessions. Then adjust lighting, cable placement, and storage.
Avoid buying large furniture before testing smaller changes. A creator desk should improve based on how you actually work, not on how a perfect studio setup looks online.
Conclusion
A good creator desk supports your posture, your focus, and your recording quality. Start with the basics: desk height, chair support, screen position, microphone reach, and lighting comfort.
Keep the layout simple enough to use during long sessions without constant adjustment. When your desk feels comfortable and organized, creating becomes easier to repeat.


