A recording can sound distant even when the microphone is expensive, simply because it is sitting on the far side of a desk. Microphone placement decides how much of your voice reaches the capsule before the room, keyboard, fan, and traffic do.
That matters for podcasts, online lessons, livestreams, voiceovers, and everyday calls made from home.
The goal is not to copy a studio diagram; it is to create a clear voice and a setup you can use without rethinking it every time you press record. It also explains why a small adjustment can beat another purchase when the real issue is placement.
Stop Treating the Microphone Like a Desk Decoration
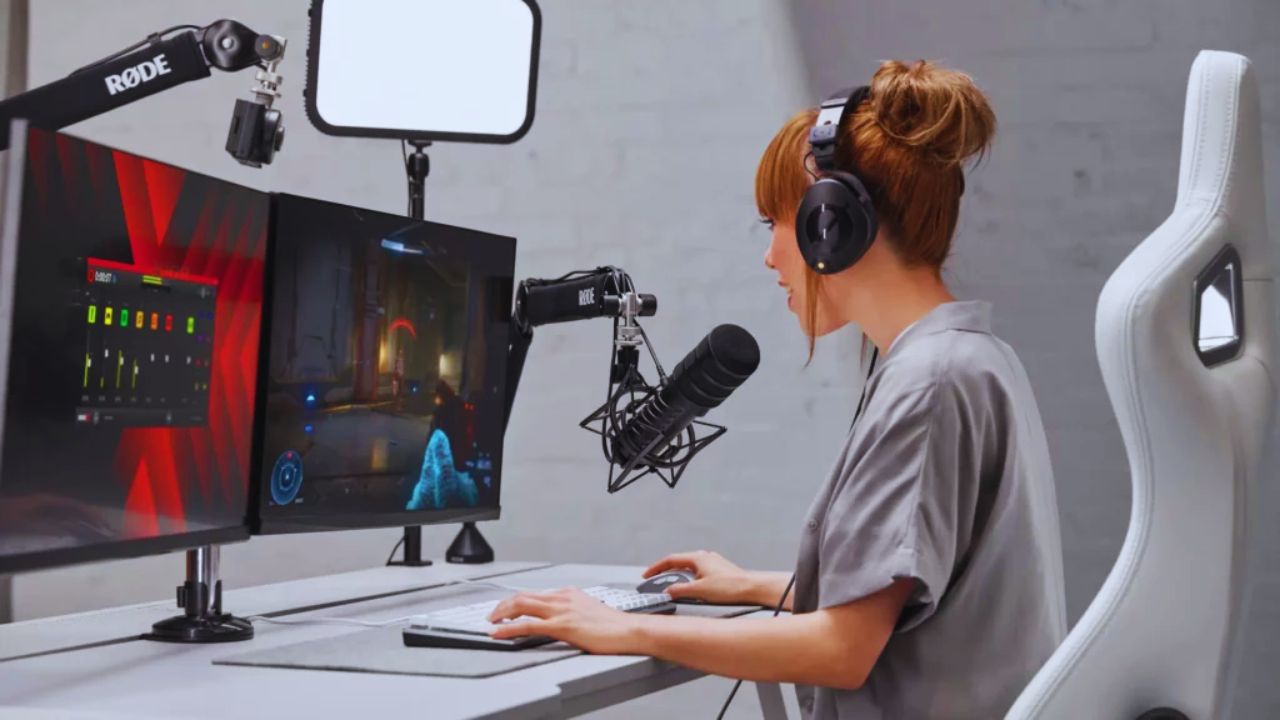
Most poor home audio starts with a microphone placed wherever there was open space. It may sit behind a monitor, beside a keyboard, or low on the desk while the speaker leans toward it at random.
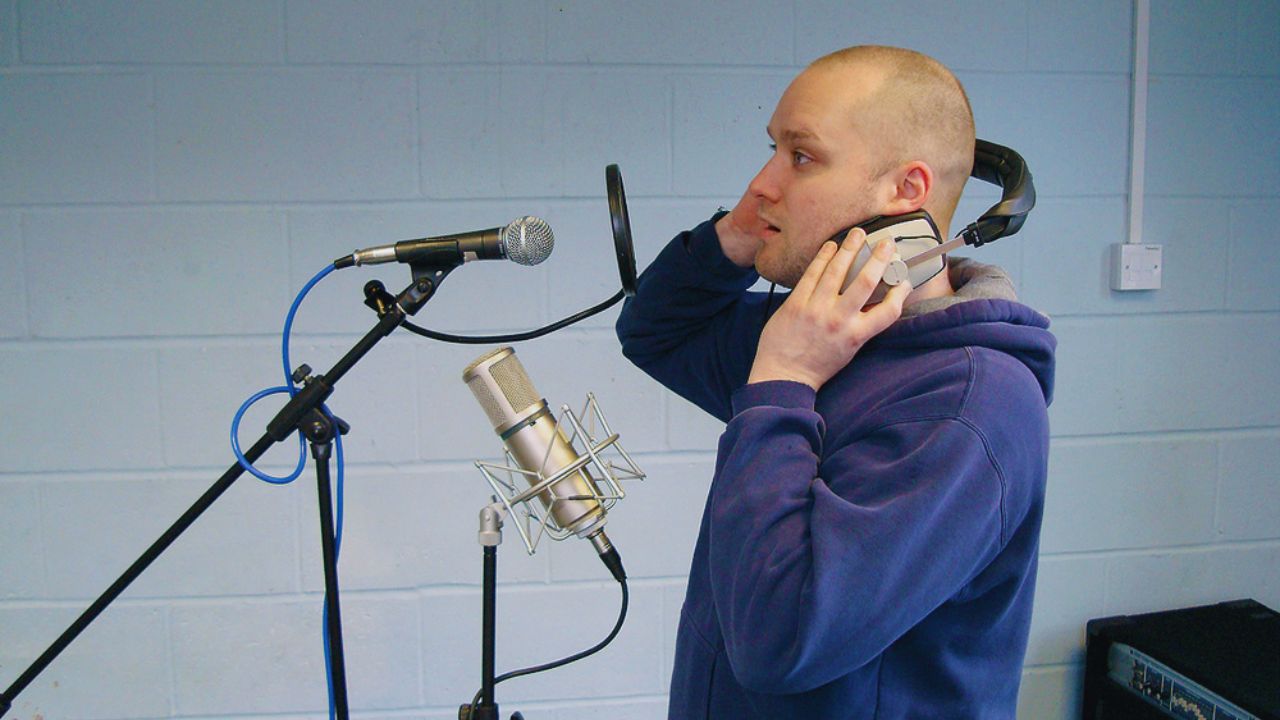
In that position, the microphone has to work harder, so people raise the input level and accidentally record more room noise.
Before changing software or shopping for gear, move the microphone into a position where it can hear your normal speaking voice at a comfortable distance. That single change often makes the rest of the recording chain easier to manage.
Let Distance Do the First Part of the Work
For spoken content, begin with the microphone roughly a handspan away, then listen rather than treating one number as a rule.
Too close can make breaths heavy, exaggerate low frequencies, and create sharp plosive bursts; too far makes the voice thin and lets reflections become obvious.
Keep the microphone close enough that you can lower the gain, but far enough that you can speak naturally without worrying about every breath.
A boom arm or small stand helps because the same distance is easier to repeat than a microphone that moves whenever you type, turn, or reach for notes.
Aim the Capsule Past Your Mouth Instead of Into It
Once the distance is reasonable, the next improvement usually comes from angle. Speaking straight into the capsule can make P, B, and T sounds hit it with a fast stream of air, even when your voice level is normal.
Turn the microphone slightly to one side and speak across it, not away from it. This slightly angled position preserves speech detail while reducing air bursts, and it feels less restrictive than trying to control every word you say.
Use the Mic Style as a Clue, Not a Complication
Different microphones react differently, but the practical question stays the same: how much of your room is getting into the take? A dynamic microphone often works well close to the mouth in a busy home because it tends to favour nearby sound.
A condenser may capture more detail, but it can also reveal a bare wall, computer fan, or chair movement when placed too far away.
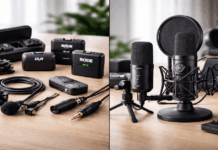
Lavalier microphones need a secure position on clothing so fabric does not rub against them. USB models follow the same rules as other microphones: prioritize stable placement and clean proximity before relying on their built in settings.
Make the Room Less Noticeable Than the Speaker
A microphone cannot separate your voice completely from the room around it. Hard floors, bare walls, windows, and empty corners reflect sound back into the recording, making a clear voice seem boxy or far away.
You do not need to cover a bedroom in foam to improve this. Start by moving away from corners, closing a curtain, and choosing the more furnished side of the room.
A rug, bookshelf, couch, or clothes rack can reduce the strongest reflections and create a drier sound without turning the space into a permanent studio.
Listen for Clues Before You Buy an Accessory
Make a short test clip in your usual place, then use the same words and volume after each small change. Listen on headphones and a phone speaker because each can reveal a different problem.
This approach keeps a specific problem connected to a practical fix and stops you from buying a shock mount for an echo problem or acoustic panels for a noisy laptop fan. The following clues make it easier to decide what to adjust:
- Boomy or hollow voice: move away from hard corners and add softer surfaces nearby.
- Thumps or clicks: isolate the microphone from the desk or move it away from typing.
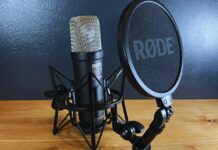
- Sharp breaths or pops: shift the angle, increase distance slightly, or add simple pop protection.
Set the Gain After You Have Set the Position
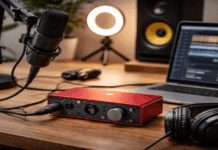
Gain should support a good position, not rescue a poor one. Once the microphone is close and angled well, speak at the loudest level you normally use, including emphasis or laughter, then set the input so it does not clip.
A signal that stays pinned at the top can distort in a way that editing cannot fully repair. A quieter recording can be raised later, but only within reason.
Leave safe headroom so sudden words do not break up, and avoid chasing a waveform that looks permanently full on screen. If you use a laptop or USB microphone, keep the software meter visible but do not stare at it during every sentence.
Also Read: Essential Gear for Home Video Recording
Build a Quick Test Into Your Recording Routine
Before a lesson, episode, or call, make a ten second recording and listen for the same few issues: room sound, plosives, steady hum, and changes in volume when you move.
Keep a photo of the microphone position or mark where the boom arm sits, especially if you must pack the desk away. This helps when others share the room or the desk moves between work tasks.
That small habit matters more than constantly switching settings because it gives you a repeatable starting point. When a clip sounds wrong, change one thing at a time and record again; otherwise, you will not know which adjustment created the better result.
Let Placement Guide Every Later Upgrade
A clear home recording usually comes from a close microphone, a sensible angle, manageable room reflections, and gain that leaves room for natural speech.
Start with the equipment you already have, test it under household conditions, and solve the loudest problem first. Only add a pop filter, boom arm, shock mount, or room treatment when it has a job you can clearly name.
This keeps your microphone positioning practical and your future purchases tied to evidence, not frustration.
Five calm minutes before recording can protect an entire session from the kind of problems that no expensive software tool completely fixes afterward and prevent purchases later.