A home video can have good lighting and a clean frame yet still fail when the voice is thin or buried in room noise.
The best audio recording settings begin with the microphone and room, then move through file format, gain, and editing.
This guide is for tutorials, voiceovers, interviews, and short videos made at a desk or in a shared room. The aim is a clear, repeatable track without heavy repair after a rushed recording day.
Start With a Signal Chain You Can Manage
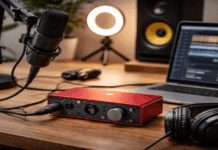
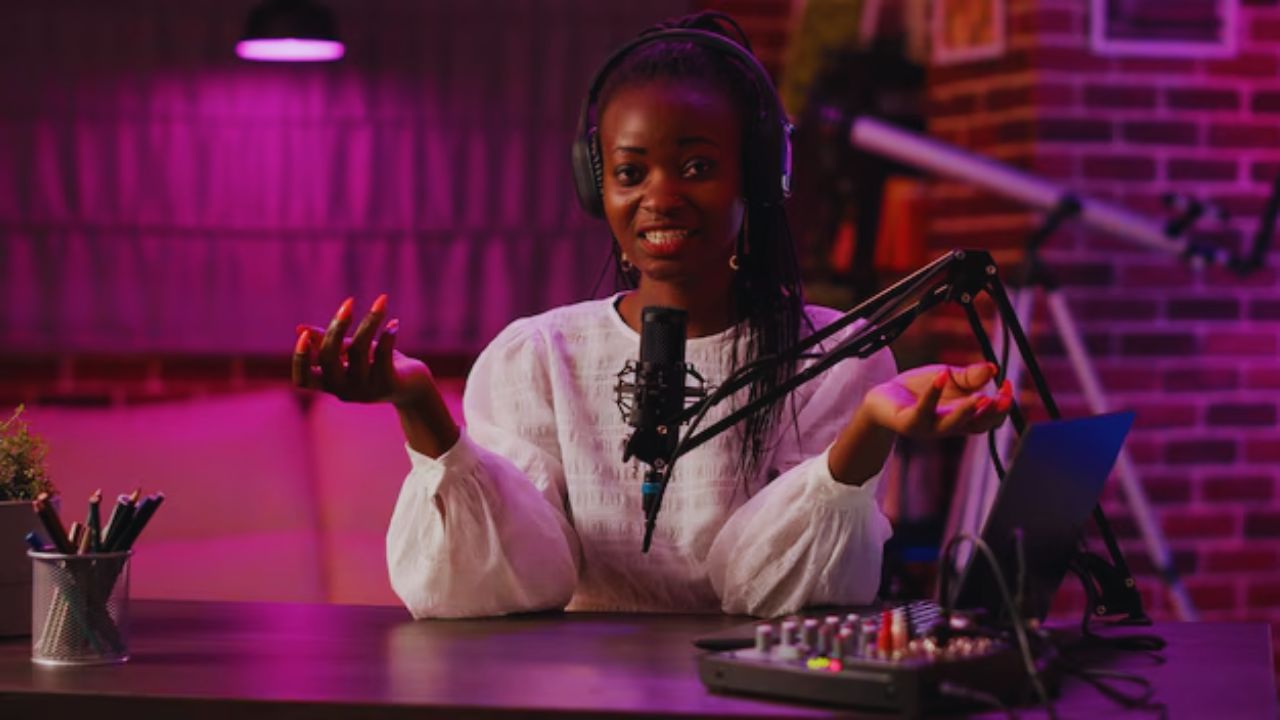
Clean audio is easier when fewer devices share control. Choose the mic connection, monitoring route, and recorder before changing settings, adding filters, or starting a test recording.
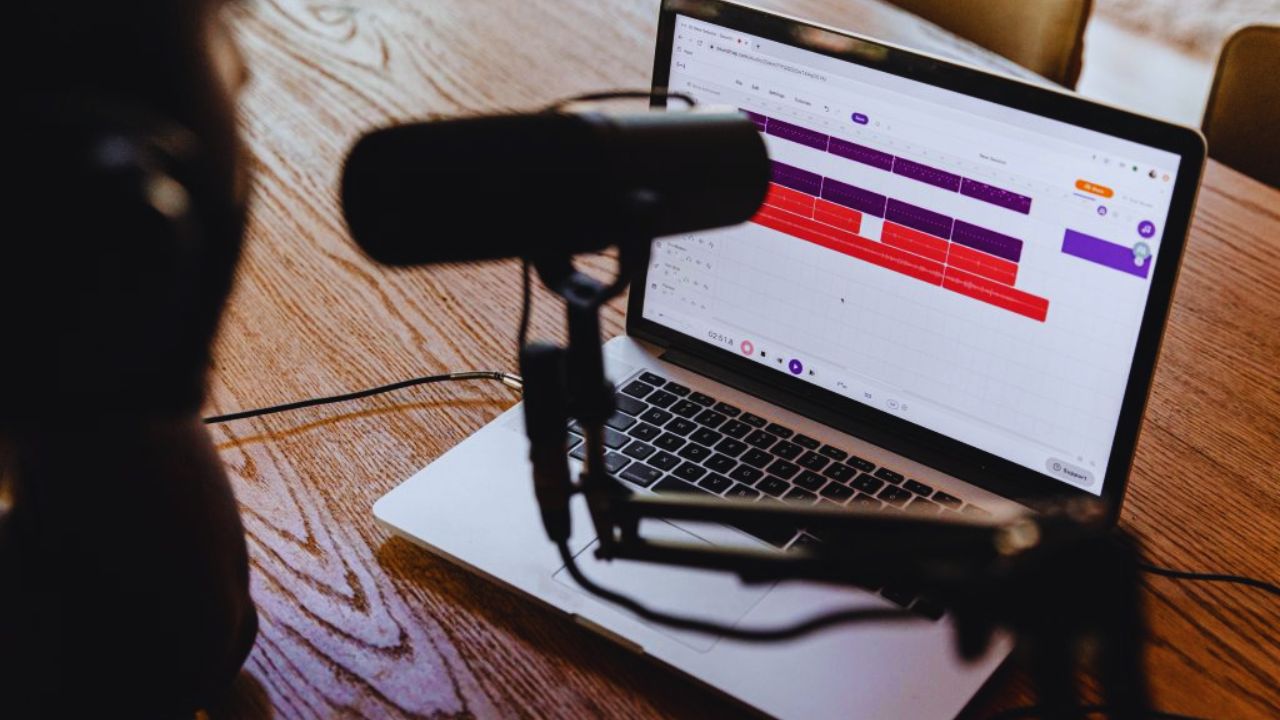
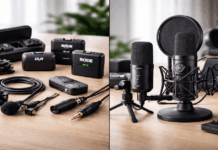
Match the Mic to the Space and the Task
Close dynamic mics suit traffic, fans, or reflective walls by favoring nearby speech. Condensers capture detail in quiet corners but may reveal clicks and echo from keyboards and bare walls.
Lavaliers help with demos or any recording that takes you from the desk. Choose for your recording routine and real room conditions, not a product page.
Put the Capsule Where Your Voice Is Strongest
Bring the mic close enough to hear your normal voice without raising it. For speech, a handspan away and slightly off-axis reduces plosives while keeping it full.
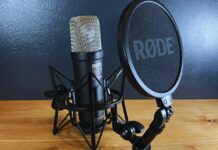
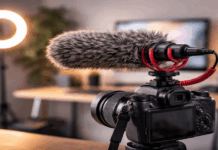
A boom arm helps with desk vibration, while a pop filter or windscreen may soften sharp P and B sounds during close speech. This creates a better voice-to-room balance and reduces the need for repair later.
Set the Recording File Before Pressing Record
File settings shape the edit but cannot rescue noisy audio or distant microphone placement. Choose a project baseline and keep it consistent through the final export.
Use 48 kHz for Most Video Projects
For most video projects, 48 kHz is practical because it matches common editing workflows. Music-only projects may use 44.1 kHz, but mixing rates can add conversion work or sync problems.
Use the same setting in the recorder, editing software, and export whenever possible so the edit remains stable. Keep sample-rate choices tied to the project you are making, not the biggest number in a menu.
Also Read: How Much Should You Spend on a Home Microphone?
Record at 24-Bit and Keep a WAV Master
When supported, 24-bit recording leaves more room before clipping than 16-bit files. It does not remove background noise or replace careful gain, but it makes small level mistakes less punishing during an energetic take.
Record in WAV or PCM first, then create an MP3 only after editing. A 24-bit WAV master preserves editing options if you need to revisit audio later.
Set Manual Gain Around Your Real Voice
Set gain using the way you actually speak during a full video. The meter should leave room for emphasis and space below clipping.
Leave Headroom Instead of Chasing Maximum Level
For spoken voice, normal speech may sit around -18 to -12 dBFS, while louder peaks can reach roughly -12 to -6 dBFS.
These are starting ranges, as voices and recorders differ. Stay below 0 dBFS because clipping can make a strong syllable harsh and nearly impossible to repair. Watch natural speaking peaks and leave room for emphasis before a full take.
Turn Off Automatic Gain When You Can
Automatic gain control can raise fan noise during pauses and lower an energetic voice.
Disable it where possible, then set input manually. If you cannot disable it, make a short test and listen for a rise and fall between phrases and try a louder sentence as well.
Manual input offers steadier dialogue and avoids the pumping sound that makes recordings feel uncontrolled.
Before the main take, run this quick audio check once:
- Keep the microphone close to your mouth.
- Leave space below the red meter.
- Listen for noise during silence.
Treat the Room as Part of the Recording Setup
The room changes the recording before software can help or editing can hide the issue. Fans, walls, glass, and desk vibration are part of the audio chain and the final sound.
Reduce Noise Before the Recorder Hears It
Turn off fans, silence alerts, close windows, and move from appliances when possible.
If a computer must stay on, place the microphone so its least sensitive side faces the machine where the pickup pattern allows it.
Curtains, cushions, rugs, and soft furniture may reduce reflections around the recording corner. Those small room changes improve every new clip without turning the space into a studio.
Keep Desk Vibration Out of the Voice Track
Typing and desk bumps can travel through a stand and become loud. A boom arm, shock mount, or floor stand can reduce that transfer.
Keep the mic out of the direct path of your hands so you do not hit it during a demonstration.
Protecting the physical setup may matter more than stacking another software filter onto the voice.
Monitor a Short Test Under Normal Conditions
Record a brief test in the same position as the real video. Speak normally, add one louder line, and leave silence so you can hear the room.
Listen on headphones, then speakers, because each reveals different problems. This real-world check catches clipping and distractions before a longer take.
Edit to Clarify, Not to Cover Up
Processing should support a good, well-recorded source, not disguise it. Use a tool only when you can name the problem you hear and its likely cause.
Use Gentle Tools in a Sensible Order
A high-pass filter can reduce rumbles from traffic, footsteps, and desk bumps. Light noise reduction may help a steady hum, but pushing it hard can make words metallic or hollow.
Use small EQ changes for muddiness or harshness, then gentle compression only when levels vary noticeably. The goal is cleaner speech with a natural texture, not a processed voice.
Monitor the Export, Not Only the Edit Window
Listen to the finished file through headphones and ordinary speakers before publishing. Check the opening words, loudest line, and music entries, because level changes can hide there.
For online video, aim for consistent listening comfort instead of making one upload louder than everything else.
A final playback review protects viewer comfort and catches mistakes while the project is easy to adjust.
Conclusion: Keep the Good Settings Easy to Reuse
The best audio recording settings fit your voice, microphone, room, and normal working habits. Start with a close mic, 48 kHz, 24-bit WAV where supported, manual gain, and a real test.
Save the position and input level so the next video begins from a sensible, familiar baseline each time.
With clean source audio and small, deliberate adjustments, home recordings can stay clear without becoming overproduced.