A microphone budget should solve the sound problem you have, not chase the most impressive model on a product page.
A low-cost lavalier can outperform an expensive studio microphone when you film standing up, while a costly condenser may make a bare bedroom sound worse.
For home creators, the target is reliable audio that suits how you record, edit, and publish. This guide explains where spending helps and how to avoid equipment that does not fit your room.
Match the Microphone to the Way You Record
Before comparing prices, picture one ordinary recording session. Where you speak, how often you move, and what creates background noise will shape results more than a product box.
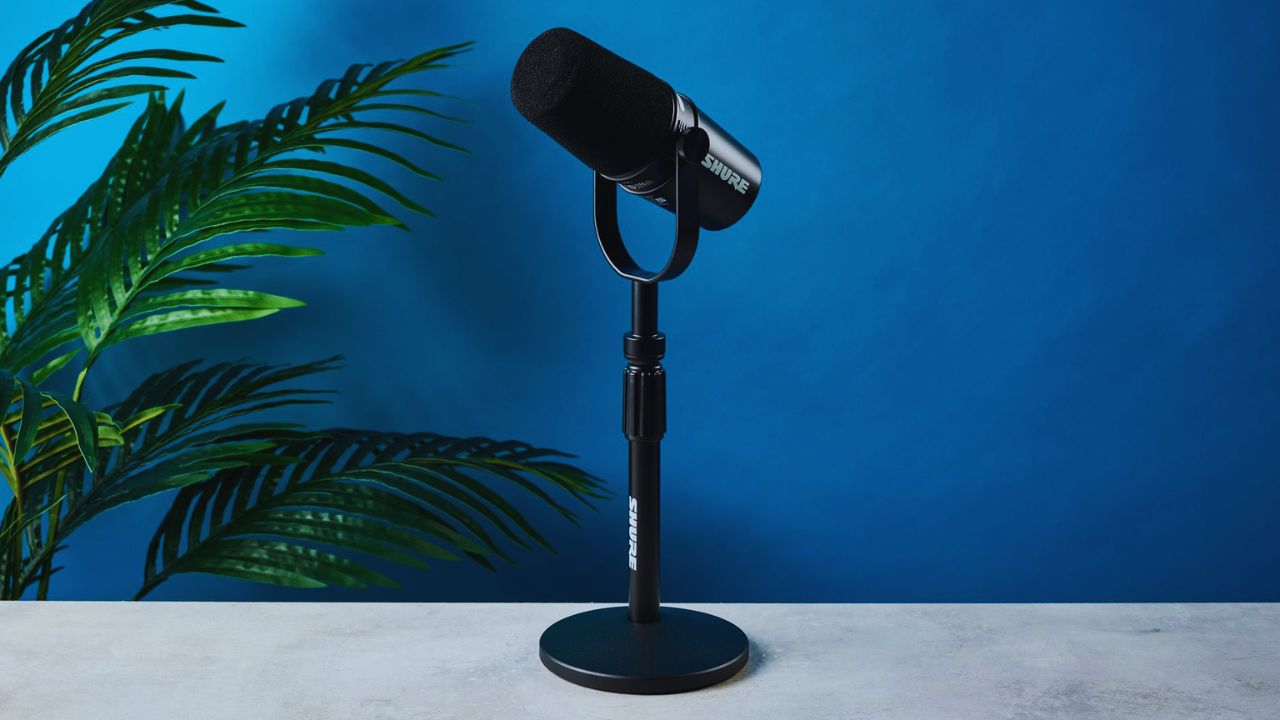
Desk Videos Usually Need Simple, Close Placement
For tutorials, commentary, online lessons, and streams, the clearest improvement usually comes from keeping the microphone close enough to hear your voice more than the room.
A USB microphone is a practical starting point because it connects directly to a computer without an interface.
In a home with fan noise, traffic, or other people nearby, a dynamic microphone may help when used close to the mouth. Test better placement first: move it nearer, lower the gain, and compare two short recordings.
Filming While You Move Has Different Priorities
Phone videos, cooking clips, workouts, and demonstrations create another issue: volume changes whenever you turn or step back.
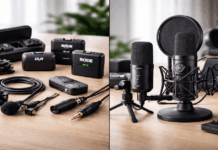
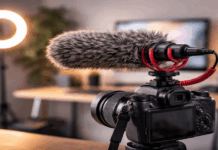
A wired lavalier is often an affordable way to keep speech close, as long as the connector works with the phone or camera. Wireless systems can be useful when cables interrupt a shot or slow repeated takes.
Here, the extra money pays for freedom of movement and steadier volume, not a promise that every location will sound quiet.
Interviews and Voice-Overs Need a Broader Plan
A two-person interview often needs more than one microphone. You may need two transmitters, a receiver, headphones, clips, and a way to separate voices during editing.
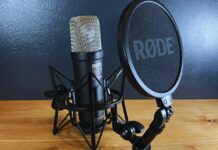
Voice-over has another trade-off: a condenser can capture detail, but it can also expose keyboard clicks and room reflections.
For paid work, budget for backup basics such as spare cables and batteries to protect the recording day.
Also Read: LED vs Fluorescent Lights for Home Recording
Treat the Budget as a Small System, Not One Purchase
A microphone is only part of a home recording setup. Keep money for accessories and room changes that make sound more consistent between sessions.
A Modest Starter Setup Can Be Enough
A lower budget can suit short-form videos, casual uploads, or anyone testing a publishing routine. A wired lavalier or entry USB microphone may record clean speech in a quiet room when it is positioned correctly.
The limitation is usually fewer controls and less protection from echo or household noise. Treat it as an accessible starting point, then notice what actually frustrates you before a larger upgrade.
The Middle Range Often Pays for Easier Workflows
For weekly tutorials, streaming, desk reviews, and early podcasting, a mid-range budget can make the process less fragile.
It may cover a dependable USB microphone plus a boom arm, stand, or simple pop protection, helping you keep the same distance each time.
That consistency can reduce editing because clips do not jump between thin, distant, and overly loud audio. The value is repeatable results and fewer interruptions, rather than instant professional status.
Higher Spending Needs a Clear Job to Do
A more expensive setup can suit paid voice-over, regular client work, or a channel where spoken audio carries the experience.
The purchase should answer a known issue, such as multiple inputs, better monitoring, or sturdier construction.
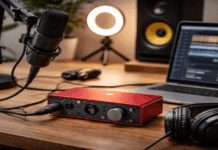
An XLR setup may require an interface, cables, a mount, and time to learn gain settings. Tie the expense to a specific limitation, not the appeal of professional-looking gear.
Spend First on the Problem You Can Hear
Replacing a microphone before identifying the actual sound issue is an easy way to waste money. Record a brief test, listen through headphones, and name the problem before shopping again.
Echo, Distance, and Noise Need Different Fixes
Echo comes from hard surfaces, so a sensitive microphone can make it more noticeable. Distance problems often improve when the microphone moves closer on a stable arm instead of when gain is raised.
Noise from fans, appliances, or traffic may call for a quieter time, a different room corner, or a close-used dynamic microphone. Try these inexpensive changes before upgrading:
- Move away from bare walls and reflective windows.
- Keep the microphone close without blocking your face.
- Pause avoidable household noise during recordings.
Connections and Listening Matter More Than They Seem
A microphone can look affordable until you add the adapter, mount, cable, or headphones it needs.
USB models are simple for computers, but phone support varies by connector, software, and power requirements.
XLR microphones need an interface, while some condensers need phantom power; check the official specifications before ordering. Confirming compatibility can prevent an annoying return and a delayed recording session.
Build for the Work You Will Do Next
The best purchase supports your next few months of publishing, not an imagined studio you may never build. Start with the projects you plan to make and a workflow you can repeat without extra friction.
Let Your Next Projects Set the Shopping List
A phone-video creator may need only a lavalier, windscreen, and spare adapter. A desk-based teacher may get more value from a USB microphone and boom arm than from a premium model placed too far away.
A narrator may eventually need an interface, but room softness and mic placement should be tested first. This keeps spending tied to real tasks rather than equipment that stays unused.
Test the Setup Under Ordinary Conditions
Do not judge a microphone from one quiet test late at night. Record real clips during the same hours you normally film, then listen through headphones and a phone speaker.
Check whether the setup saves time, keeps volume steady, and makes you more willing to record next week.
A useful home recording microphone should improve daily production, not add technical chores.
Make the First Purchase Easy to Use Every Week
The right home microphone is not necessarily the most expensive one; it is the one that addresses a real limitation without making each session harder.
Identify whether the main obstacle is echo, distance, or movement, and spend on the change that directly addresses it. Test the setup while you can still return it, including recordings made in your normal room during ordinary household activity.
Once your process feels steady, future upgrades will be based on evidence rather than expensive guesses or one polished demo recorded in an unusually quiet room.