A good home recording does not require a foam-covered studio or a desk full of expensive equipment. The microphone has to match your room, your voice, and the kind of recording you make most often.
This guide is for creators making YouTube videos, podcasts, online courses, voiceovers, and remote presentations from a bedroom, living room, or small office.
Let the Room Decide the Starting Point
Listen to the room before comparing models. Fans, traffic, bare walls, and keyboard taps affect what gets recorded, while soft surfaces create a more forgiving space.
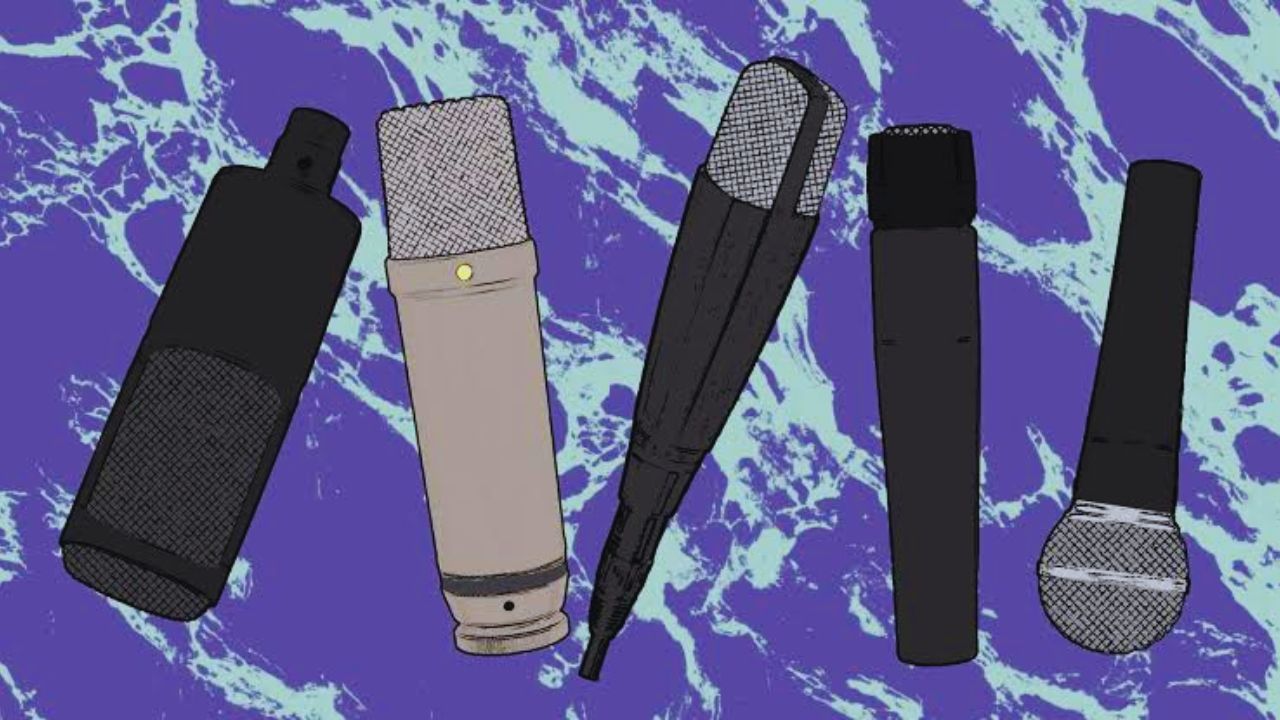
When a Dynamic Mic Keeps the Voice Forward
Dynamic microphones are often safer when traffic, air conditioners, or room echo are part of daily life.
They generally work best close to the mouth and capture less surrounding sound than many condensers.
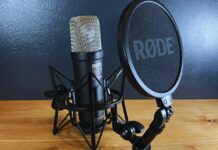
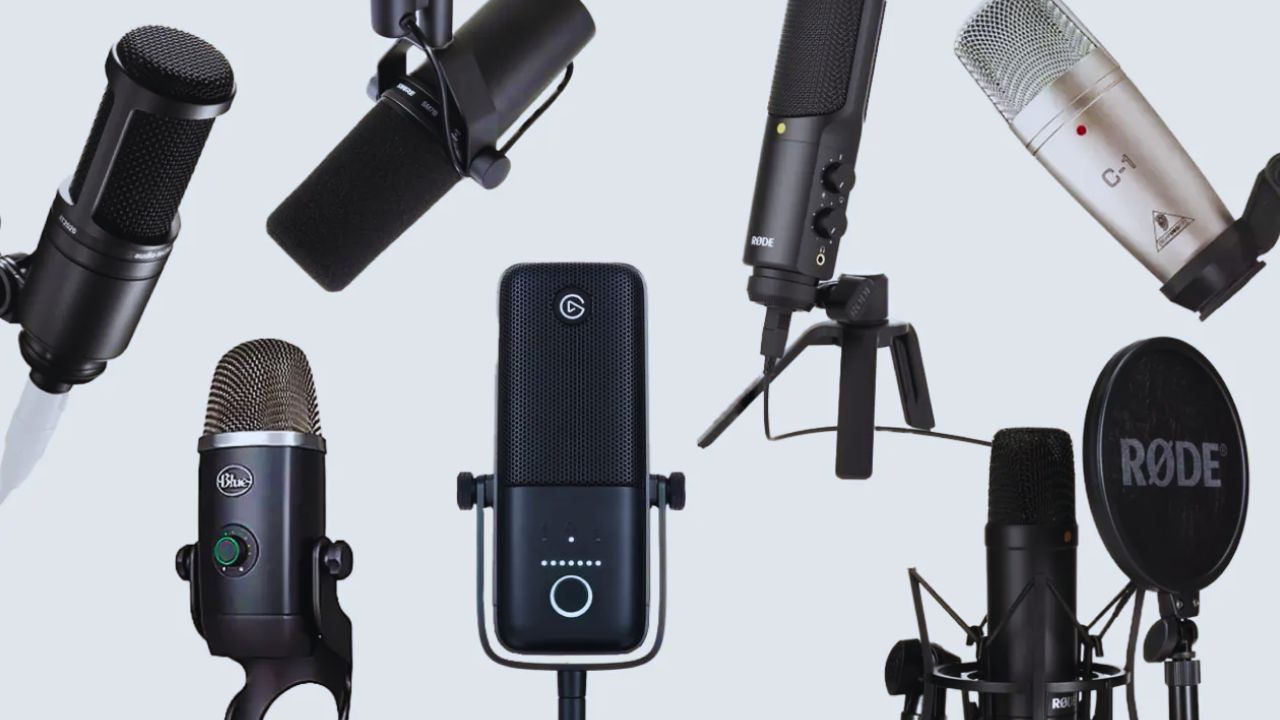
The Shure MV7+, RØDE PodMic, and Shure SM7B are familiar spoken-word examples. They keep the voice direct only when you stay close rather than speaking across a desk.
When a Condenser Adds Detail Instead of Echo
Condenser microphones can capture more detail, which may suit narration, singing, music, or carefully recorded lessons.
The RØDE NT-USB+, AT2020USB-X, and NT1 5th Generation can work in a quieter room with soft surfaces.
Their sensitivity is not always an advantage because it also reveals clicks, reflections, and passing cars. Choose one when extra detail will not become extra editing.
Choose the Connection Around Your Routine
USB is usually simpler for one-person content, while XLR becomes more useful when more control or multiple inputs are real needs.
Neither route is automatically more professional; the better option is the one you will use consistently.
USB Mics Keep Solo Setups Straightforward
A USB microphone connects directly to the computer, which is useful for desk videos, livestreams, online courses, calls, and basic podcasts.
The Blue Yeti has multiple patterns, though solo creators usually need cardioid. The Elgato Wave:3 fits a computer-focused workflow, while the NT-USB+ and AT2020USB-X are more traditional condenser choices. They still need sensible distance and a check for desk noise.
Also Read: How to Choose a Microphone for YouTube Videos at Home
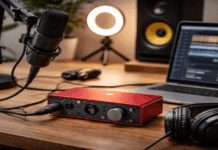
USB/XLR Hybrids and Interfaces Have a Place
A USB/XLR microphone may suit someone who wants a simple start but may add an interface later.
The MV7+ and NT1 5th Generation both offer that flexibility, though one is dynamic and the other is a condenser. A full XLR chain adds an interface, cable, and stand, so it should solve a clear problem rather than satisfy a vague wish to upgrade.
It may suit regular podcasts, interviews, music, or voice work, but not occasional videos.
Match the Mic to the Problem You Hear
Decide whether you are fixing background noise, thin speech, or a lack of future flexibility. Do that before comparing models.
For Fan Noise, Traffic, and Everyday Echo
A dynamic model is usually easier to manage when fans, traffic, or reflective walls are unavoidable.
The PodMic can be a practical XLR option for close spoken voice, and the MV7+ adds USB convenience.
The SM7B costs more and may need plenty of clean gain from an interface. No model removes a loud room by itself, so keep the mic close and record away from the noisiest part of the day.
For Quieter Narration and Music Work
The AT2035 and NT1 5th Generation can suit creators who record both voice and instruments in a reasonably controlled space.
Their sensitivity can make narration sound fuller, but it also catches more room reflection when the mic sits too far away.
The NT-USB+ and AT2020USB-X offer condenser recording without an interface. Use them near soft furnishings, close the window when possible, and turn off nearby noise sources before recording.
Make the Microphone You Own Sound Better First
A well-placed modest microphone can sound more natural than a premium one used at the wrong distance. First correct the physical setup and listen to the signal chain.
Distance and Angle Do More Than a Price Upgrade
Place the microphone close enough that you can speak normally without pushing your voice.
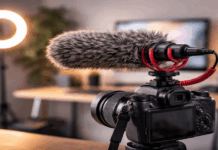
Aim it slightly away from the mouth to soften P and B sounds, then add a pop filter or windscreen if breath noise remains obvious.
A boom arm may help when a desk stand transfers typing or taps into the recording. Good placement captures more voice than room and lowers the need for aggressive gain or noise reduction.
Test the Signal Before an Important Recording
Record a short clip at your normal pace, including a louder phrase and a few seconds of silence.
Listen through headphones and ordinary speakers for clipping, hiss, echo, fan noise, and a voice that changes when you turn toward another screen.
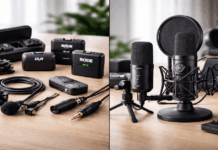
Wireless lavaliers need a check at both the transmitter and receiver because distortion can happen before the camera meter shows it. Do this before interviews, lessons, or voiceovers that are hard to repeat.
Use this short buying check before you commit:
- Is the room quiet enough for a condenser?
- Can the mic stay close to your mouth?
- Does the setup fit your usual routine?
Budget for the Parts Around the Mic
A microphone can require cables, mounts, and headphones. An XLR option may also need an interface and a clean source of gain.
Check What the Box Does Not Include
Confirm included stands, cables, pop filters, adapters, and software features. Check connection requirements, computer compatibility, warranty terms, and whether an interface has enough gain for the microphone you want.
A cheaper purchase can become more expensive when it needs several missing parts. This keeps the real budget clear and prevents post-purchase surprises.
Choose a Setup You Can Repeat Easily
The best arrangement is one you can use without turning every recording day into a technical project.
Leave space for the mic, control cables, and photograph the layout in a shared room. A complicated chain can be worthwhile, but only when it supports the content you make.
When the setup feels familiar, voice quality stays more consistent from one week to the next, especially when videos are made regularly at the same shared desk, even as schedules and shared spaces often change.
Conclusion: Let the Space Guide the Choice
The best microphone for home recording is not always the most expensive or most famous option.
Start with room noise, echo, and speaking distance, then decide whether a close-working dynamic or a detailed condenser fits the space.
USB may cover everyday desk recordings, while XLR becomes useful when you genuinely need more control or inputs. With careful placement, honest test clips, and a setup you can repeat, a normal room can produce clear, finished-sounding audio.