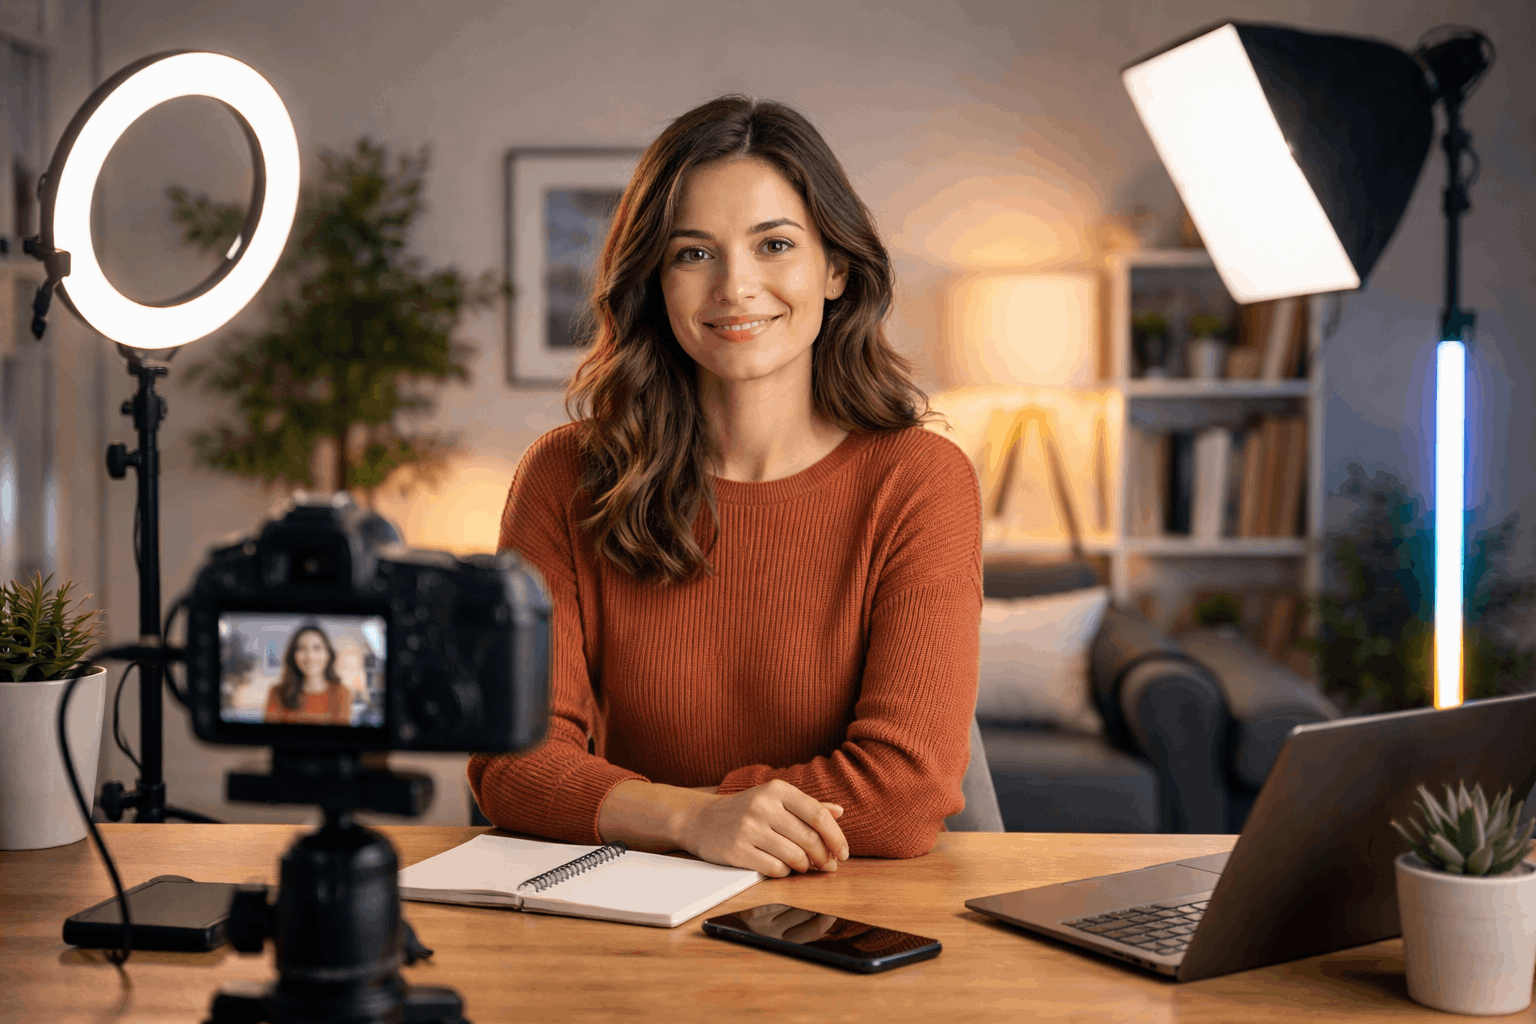
Good lighting is one of the fastest ways to make your videos look clearer and more polished. It helps your camera capture better color, sharper detail, and smoother movement with less noise.
You do not need a studio or expensive gear to start seeing improvement. In many cases, a window, one small light, and better placement can already make your videos easier to watch.
Why Lighting Often Matters More Than the Camera?
Many creators blame the camera when their videos look dull, grainy, or unprofessional. Sometimes the camera is limited, but more often, it is struggling because the scene is too dark, too contrasty, or unevenly lit.
A better camera can help, but it still needs enough light to work well. Fixing the light first gives your current phone, webcam, or camera a fair chance.
Better Exposure Reduces Noise
Most cameras create grainy footage when they do not have enough light. In dark rooms, the camera tries to brighten the image digitally, which often makes shadows look muddy and skin look less detailed.
Adding soft light to your face helps the camera use cleaner settings and capture more natural detail. This is why a basic camera in good light can look better than an expensive camera in a dim room.
Good exposure also protects important details. If a window or lamp behind you is much brighter than your face, the camera may darken you or blow out the background.
Moving the light in front of you usually gives the camera a more balanced scene. That makes your face, hair, clothes, and background easier to see at the same time.
Consistent Light Improves Color and Skin Tone
Lighting affects skin tone more than many filters or editing tools. Mixed lighting, such as daylight from a window combined with warm ceiling bulbs, can make the image look yellow, blue, or uneven.
When your light source is consistent, the camera has an easier time keeping skin tones natural. It also reduces the chance that white balance will shift while you are recording.
This matters for videos where the viewer needs to focus on your face or product. If the color changes from one clip to the next, the video may feel less polished even when the content is useful.
A simple setup with one main light source often looks cleaner than several lights with different colors. The goal is not dramatic lighting, but a stable look that feels easy on the eyes.
Also Read: How to Build a Lighting Setup Step by Step
Start With the Light You Already Have
Before buying a ring light, LED panel, or softbox, look at what your room already provides. Many homes have one or two spots with useful natural light.
The problem is often not the lack of light, but the direction and mix of light sources. Small changes in where you sit can improve the image immediately.
Use Window Light as Your First Key Light
A window can act like a large soft light when used correctly. Sit near the window and face it at a slight angle so the light brightens your face without making the image look flat.
This gives gentle shadows that add shape while still keeping your face clear. Avoid placing the window directly behind you, because it can turn you into a silhouette.
Window light works best when it is soft and controlled. If the sunlight is too harsh, a thin curtain can diffuse it and make it more flattering.
If the light changes too quickly during the day, choose a recording time when the room looks more stable. You can also take a quick reference photo when the lighting looks good so you can repeat it later.
Turn Off Lights That Confuse the Camera
Mixed lighting is one of the most common reasons home videos look strange. Daylight, warm lamps, ceiling bulbs, and colored accent lights can all create different tones in the same frame.
Your eyes may adjust to this in person, but the camera often shows the mismatch clearly. Turning off extra lights can make the video look cleaner right away.
If you need to use lamps, try to keep them similar in color. For example, use one warm lamp style instead of mixing warm bulbs with cool daylight.
If your face looks too yellow or too blue, remove one light source and check the camera again. A simpler lighting mix is usually easier to control and easier to edit.
Build a Simple Home Lighting Setup
A good home lighting setup does not need to be complicated. The basic idea is to light your face clearly, soften harsh shadows, and keep the background from competing with you.
You can use creator lights, household lamps, reflectors, or even white walls to shape the light. What matters most is repeatable placement.
Place the Key Light First
Your key light is the main light on your face. Place it slightly above eye level and a little to one side, rather than directly below or behind the camera.
This makes the face look more natural and gives the shot some depth. If the light creates harsh shadows, move it closer and soften it with diffusion.
Diffusion can be a softbox, curtain, white fabric, or even light bounced from a wall. The larger and softer the light appears to your face, the smoother the shadows will look.
Avoid blasting a bare bulb straight at your face, because it can create shiny skin and strong shadow lines. A softer key light usually looks more professional, even when the light itself is basic.
Use Fill and Background Light Carefully
Fill light helps reduce shadows on the darker side of your face. It does not need to be another powered light; a white wall, foam board, or sheet of paper can reflect enough light back toward you.
Keep the fill weaker than the key light so your face does not look flat. A little shadow is natural and can make the image feel more three-dimensional.
Background light can also help, but it should stay subtle. A small lamp behind you can create depth and separate you from the wall.
Just make sure the background does not become brighter or more interesting than your face. The viewer should notice you first, not the lamp, shelf, or wall behind you.
Match Lighting to the Type of Video
Different videos need different lighting choices. A talking-head video should make your face clear and consistent.
A product video needs enough detail to show shape, texture, labels, or screens. Matching the light to the purpose of the video helps the viewer focus on what matters.
Lighting for Talking-Head Videos
For talking videos, soft front-side lighting usually works best. Your face should be brighter than the background, but not so bright that skin details disappear.
Keep the background a little calmer or darker so attention stays on you. This setup works well for tutorials, online lessons, explainers, reviews, and weekly creator videos.
Try to keep the same lighting angle across sessions. If one video is bright and soft, then the next is dark and yellow, your content may feel inconsistent.
Consistency helps viewers recognize your setup and focus on the message. It also saves editing time because you are not correcting a new lighting problem every time.
Lighting for Products and Desk Shots
Product shots often need light from the side to show shape and texture. If the light is too flat, the product may look dull or unclear.
If it is too harsh, labels, screens, or shiny surfaces may reflect too much. Moving the light higher, softening it, or changing the angle can solve many of these issues.
Overhead desk videos need even light across the work surface. Shadows from your hands can block details if the light is placed badly.
Two soft sources from different sides can help, but one light plus a reflector may be enough for a simple setup. Always check the product or desk area on camera, not just with your eyes.
Quick Lighting Checks Before Recording
A short test can catch most lighting problems before you record the full video. This is especially useful if you film at different times of day or move your setup often.
The goal is to fix obvious issues early, not create a perfect studio process. Use this quick check before pressing record:
- Make sure your face is brighter than the background.
- Check for harsh shadows under the eyes, nose, and chin.
- Remove mixed light sources that create strange colors.
- Look for glare on glasses, screens, labels, or shiny objects.
- Record a short test clip and check exposure, color, and noise.
These steps only take a minute, but they can save a full re-record. They also help you learn what your camera needs in your specific room.
Over time, you will notice which light position works best and which problems keep repeating. That makes future upgrades easier to choose.
Final Thoughts
Simple lighting can improve video quality by reducing noise, improving color, and making your subject easier to see.
Start with the light you already have, then add one controlled light only when it solves a clear problem.
Keep your setup repeatable so your videos look consistent from one recording day to the next. When lighting is handled well, even basic cameras can produce cleaner and more trustworthy videos.


