
Good desk lighting can make your video look cleaner before you touch any editing tool. It helps webcams, phones, and cameras capture clearer skin tones, sharper details, and a more professional-looking frame.
The goal is not to fill your desk with gear, but to control light direction, softness, and color. Once your setup becomes repeatable, your videos will look more consistent from one recording session to the next.
Start With a Clear Lighting Goal
Before buying lights, decide what kind of video look you actually need. A desk used for video calls may need a simple clean face light, while a YouTube desk setup may need more depth and background control.
Tutorials, product demos, and livestreams also need slightly different lighting choices. Setting the goal first keeps you from buying lights that solve the wrong problem.
Check What Your Camera Does in Low Light
Most webcams struggle when the room is dim. They raise digital gain, which can make the image look noisy, soft, or washed out.
Phones and mirrorless cameras may handle low light better, but they still perform best with steady, soft lighting. If possible, lock exposure and white balance so brightness and color do not shift while you record.
Decide the Look Before Buying Gear
Choose whether you want a bright talking-head look, a cozy desk setup, or a clear tutorial frame. This choice affects how strong, soft, and directional your light should be.
Your face should usually be clear, while the background should support the shot with out competing. Once you find a look you like, take a photo of the setup so you can repeat it later.
Choose Lights That Fit a Desk-Sized Space
Desk lighting needs to work in a small area without blocking your camera, keyboard, monitor, or microphone. Small LED lights, desk lamps, panels, and ring lights can all work when used properly.
The best light is not always the brightest one, but the one you can place correctly and control easily. One good key light often looks better than several weak lights aimed from random directions.
Also Read: Simple Streaming Setup for Home Use
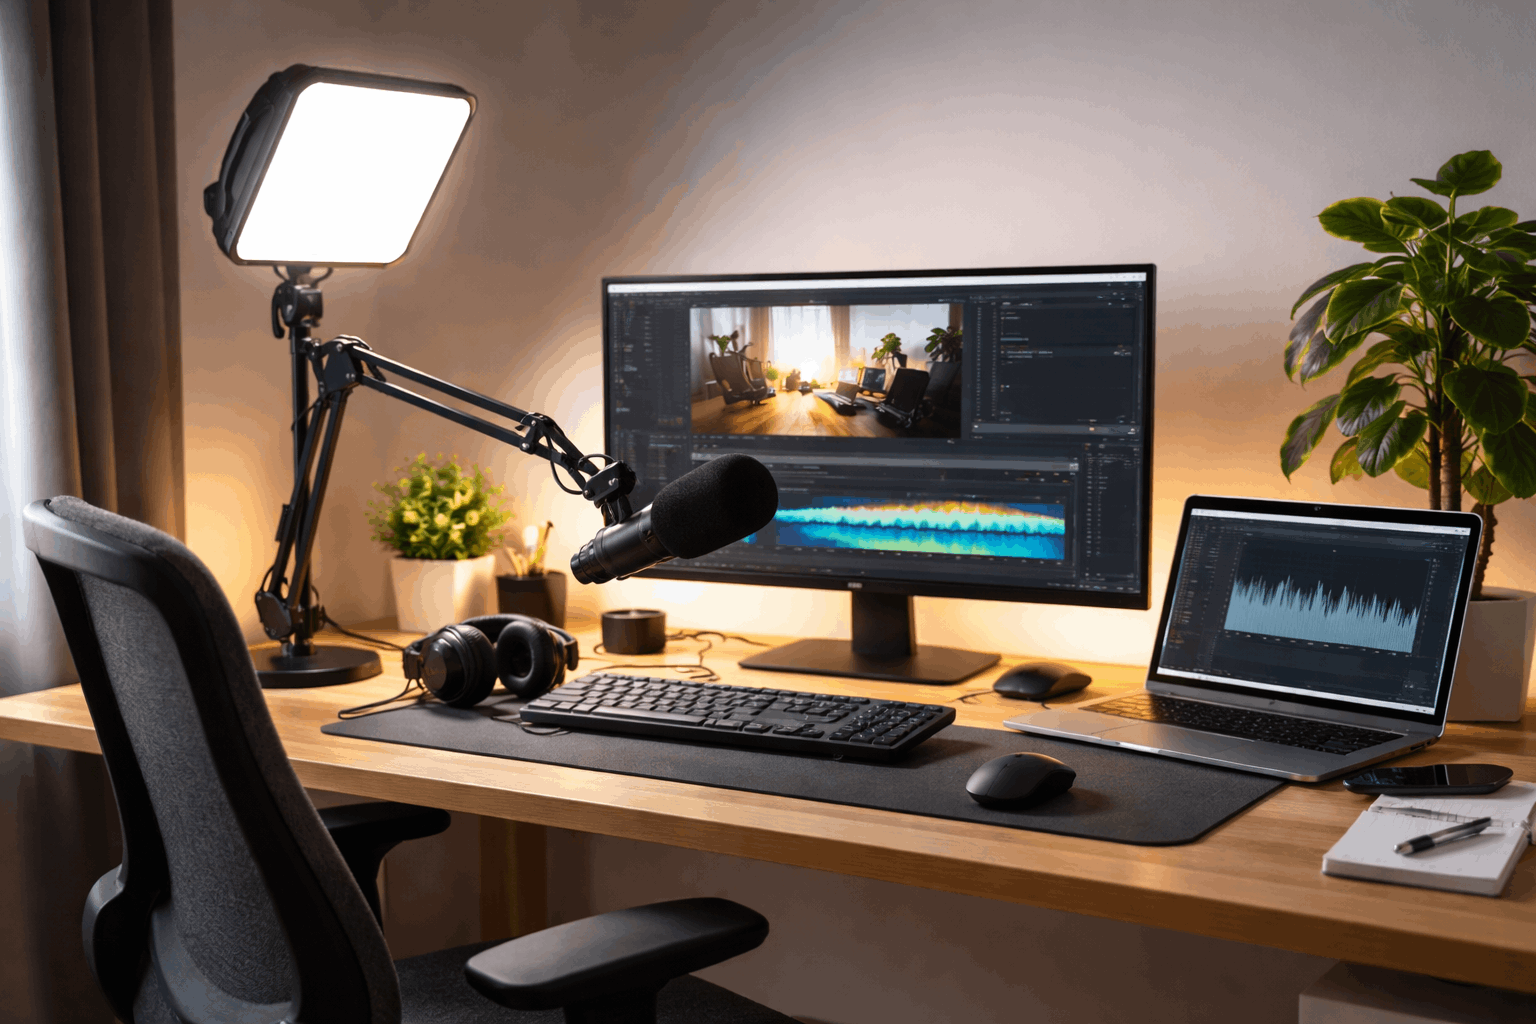
Use a Desk Lamp the Smart Way
A desk lamp can work for video if it is soft enough and placed carefully. Choose a lamp with a large shade or add diffusion so the light does not hit your face too harshly.
Place it slightly above eye level and a little to one side of the camera. Use a neutral or daylight-style bulb, and avoid mixing it with warmer bulbs nearby.
Choose Between a Panel and a Ring Light
A small LED panel gives you more direction than a ring light. This helps shape your face and reduce the flat look that happens when light comes straight from the camera.
A ring light can be useful for quick calls, but it may create circular reflections in the eyes or glasses. If you wear glasses, an angled panel is usually easier to manage.
Place the Main Light for a Flattering Look
Your main light, or key light, does most of the work in a desk setup. It decides how your face looks, how shadows fall, and how professional the frame feels.
Placement usually matters more than brightness, especially in small rooms with white walls or reflective screens. Start with one light, adjust slowly, and judge the result through your camera preview.
Set the Light at a 30–45 Degree Angle
Place the key light slightly to your left or right, not directly above the lens. A 30 to 45 degree angle usually creates natural shape without making the face too shadowy.
Keep it close enough to stay soft, but far enough that it does not enter the frame. If you turn toward a second monitor, rotate the light so it still reaches your face evenly.
Raise and Soften the Key Light
Raise the light slightly above eye level and aim it gently downward. This helps reduce harsh shadows under the nose, chin, and eyes.
Add diffusion with a softbox, clip-on diffuser, lampshade, or thin white fabric when the light looks too sharp. Keep fabric safely away from hot bulbs or lights that produce heat.
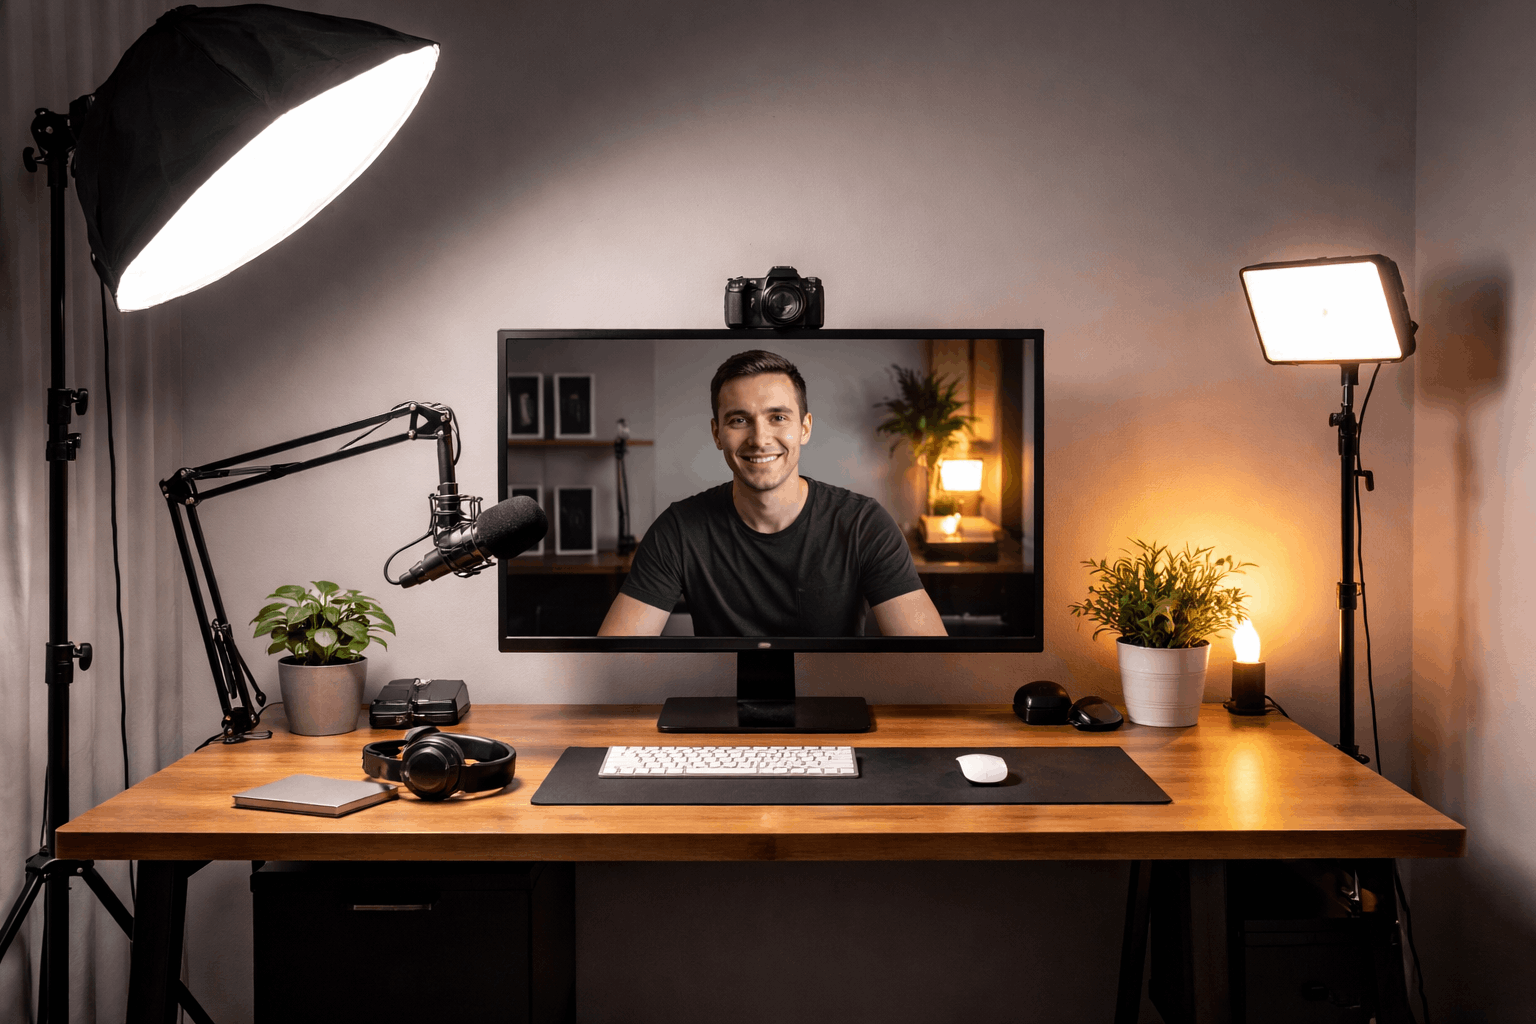
Control Shadows, Color, and Flicker
A clean desk setup depends on more than the key light. Shadows, color temperature, screen glow, and flicker can all make footage look less polished.
These issues are easier to fix before recording than during editing. A quick setup check helps you catch problems before you film a full video.
Add Fill Without Crowding the Desk
You do not always need another powered light to soften shadows. A white wall, foam board, reflector, or light-colored curtain can bounce light back toward the darker side of your face.
Place the reflector opposite the key light, just outside the camera frame. This keeps the setup simple, quiet, and easier to fit around a small desk.
Keep Color and Flicker Stable
Choose one color temperature and make the rest of the room match it as closely as possible. Mixed lighting can make skin look yellow, green, or uneven on camera.
Some cheap or dimmed LEDs can flicker, especially when camera settings do not match the room’s power frequency. Record a short test clip and check for pulsing, banding, or color shifts before you continue.
Use this quick desk lighting check before recording:
- Make sure your face is brighter than the background.
- Check for harsh shadows under your eyes and chin.
- Turn off mixed lights that change skin tone.
- Look for glare on glasses, monitors, and glossy desks.
- Record a short test clip before filming the full video.
Build Repeatable Desk Lighting Setups
A good lighting setup should be easy to rebuild. If your lights, camera, chair, and microphone move every time, your video will look different every session.
Simple marks, notes, and stable mounts can keep your setup consistent. This matters for calls, courses, product demos, livestreams, and YouTube videos.
Try a One-Light Setup First
A one-light desk setup is enough for many calls and quick videos. Place one soft key light at an angle, then use a wall or reflector to fill shadows.
Keep the background simple so the camera focuses on your face instead of clutter. This setup is fast, affordable, and easy to repeat.
Add Separation When You Need More Polish
A second light can help if your background looks flat or your shoulders blend into the wall. Place a small backlight behind you and aim it at your shoulders or hair, not into the lens.
Keep it weaker than the key light so it adds depth without stealing attention. This works well for tutorials, interviews, reviews, and more polished desk videos.
Keep Your Desk Lighting Practical
Good desk lighting is mostly about placement, softness, color control, and repeatable settings. Start with one useful key light, then add reflectors or a small backlight only when they solve a visible problem.
Keep cables, stands, and clamps organized so your setup does not slow you down. When your lighting fits your real workflow, your desk videos look cleaner and become easier to record consistently.










