Your latest video looks sharp. The lighting hits right. But the audio sounds like you recorded inside a bathroom, and no color grade can fix that.
Home audio recording mistakes are sneaky because they hide behind gear upgrades. A creator drops $400 on a new condenser mic, then wonders why the room echo got worse.
A handful of repeatable setup errors cause about 90% of bad home audio. And they all have fixes that cost little or nothing.
This guide breaks down each mistake, starting with the ones that ruin the most recordings, and gives you the specific fix for each so your next recording session sounds clean from the first take.
Why Your Room Wrecks Audio More Than Your Microphone
The room where you record has more control over your sound quality than the microphone itself.
A $60 dynamic mic in a treated corner will outperform a $500 condenser sitting six feet away in a bare living room. That difference surprises people who assume gear is the answer.
Recording in an Echoey Room and Blaming the Mic
Hard walls, tile floors, and big windows bounce sound waves straight back into your microphone capsule. That “bathroom sound” on your recordings isn’t a mic problem. The mic is doing exactly what it should: capturing every reflection in the room.
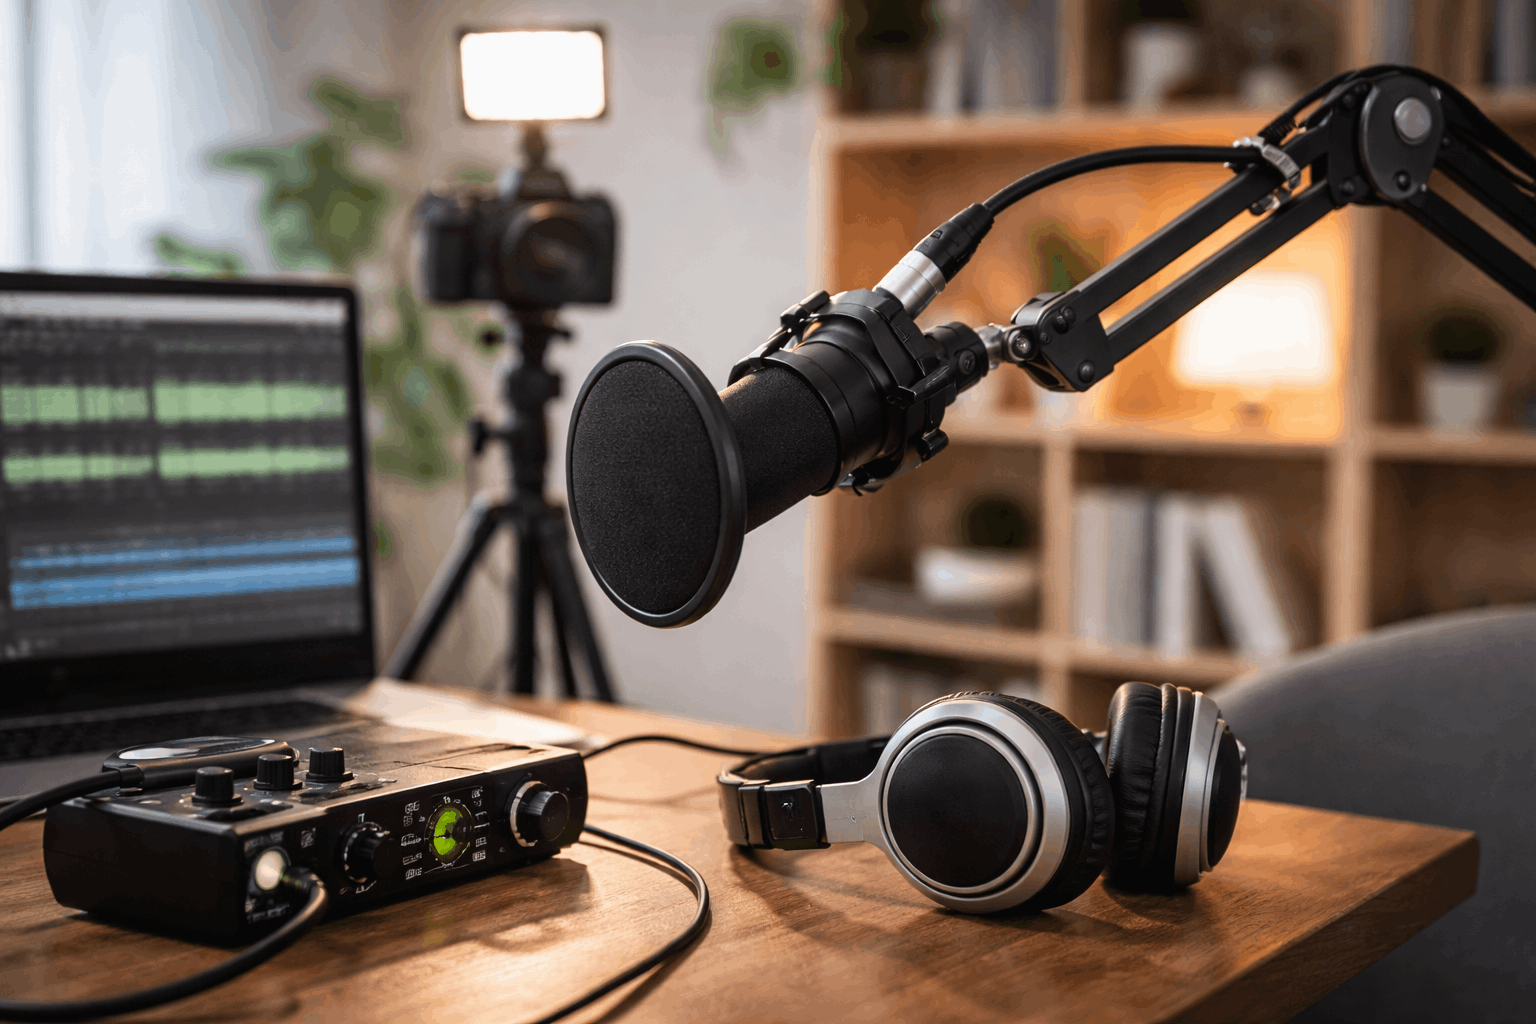
The fix starts with mic distance. Get your mouth 6 to 10 inches from the capsule and reduce your input gain. Closer placement means the mic captures more of your voice and less of the room.
Then soften the space with what you already own:
- Hang a thick blanket or curtain behind or beside the mic to absorb first reflections
- Place a rug under your desk if you have hard floors
- Position yourself so your voice projects toward a bookshelf or curtained window, not a flat wall
The wall behind your mic and the wall behind your head are the two surfaces that matter most. Treat those first and skip the ceiling.
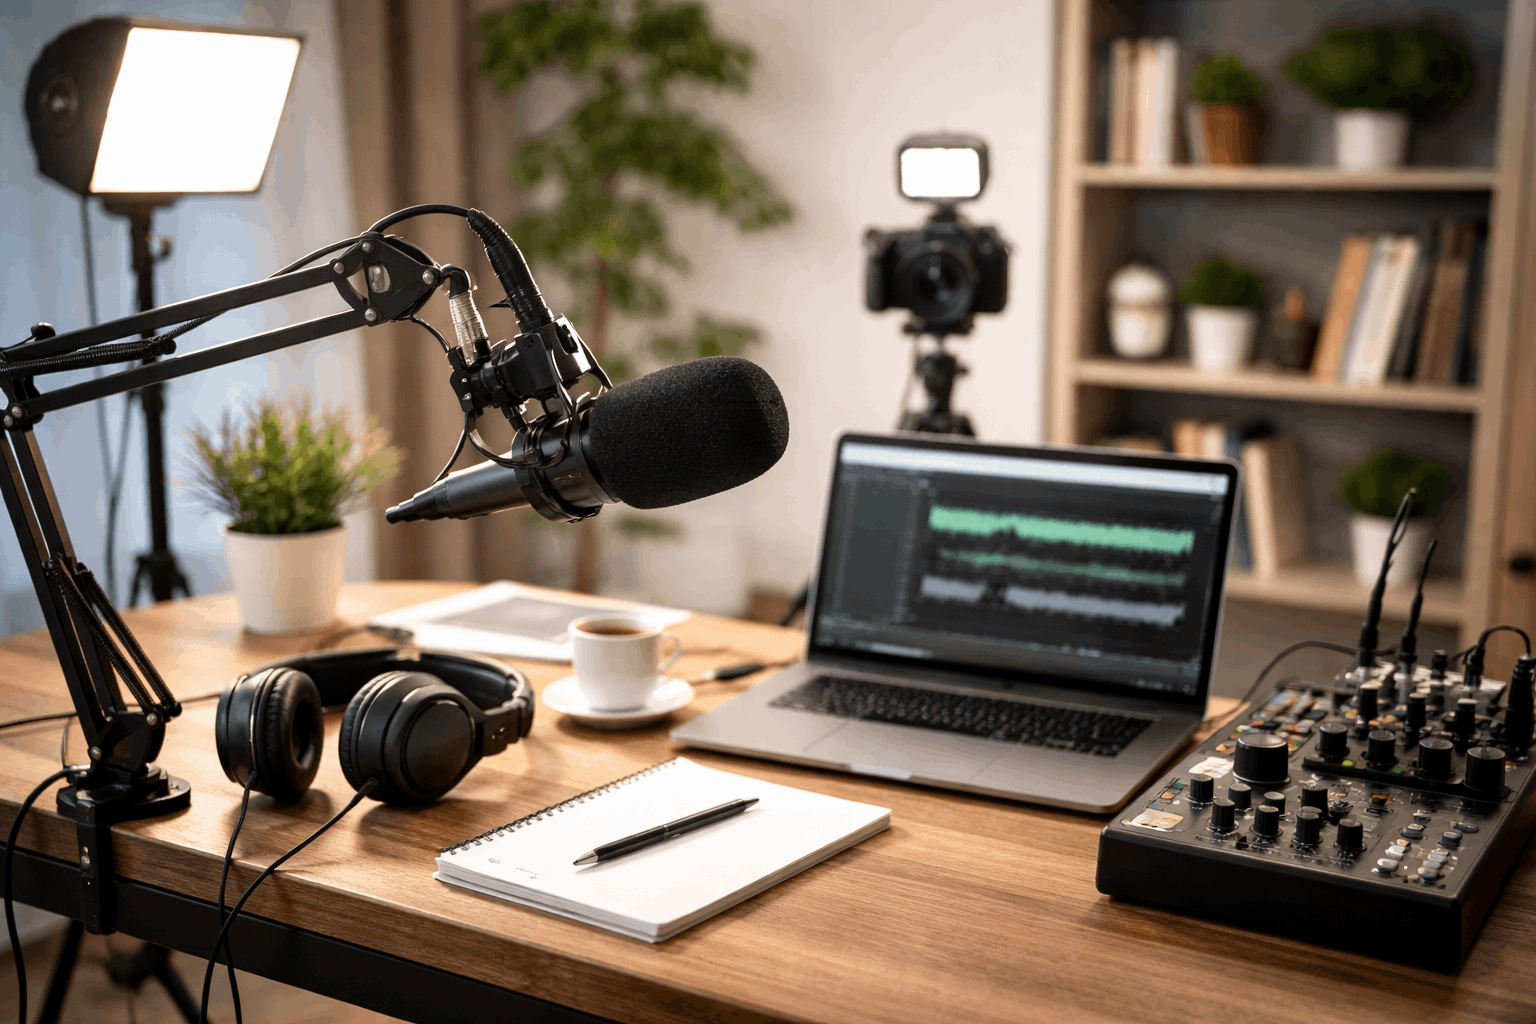
Picking the Wrong Microphone Type for Your Setup
A mic that works perfectly in one situation can sound terrible in another. USB condensers pick up room noise when you sit at arm’s length.
Shotgun mics, which work great outdoors, capture indoor reflections because distance is the enemy in small rooms.
I would pick a dynamic microphone over a condenser for desk recording in an untreated room, and I say that knowing 90% of “best mic for YouTube” lists push condensers.
Dynamic mics have tighter pickup patterns and lower sensitivity, so they reject more room noise at the same distance.
A Shure SM7B or even a budget Samson Q2U at 6 inches will sound cleaner than a condenser at 18 inches in a bedroom with drywall and no treatment.
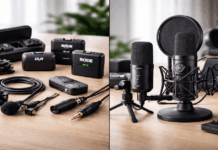
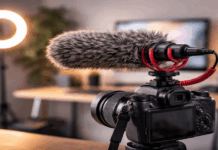
For standing or moving setups, a lavalier mic clipped to your shirt collar gives consistent distance to your mouth. And if you want off-camera placement, a shotgun mic can work, but only if the room is already controlled and you can aim it precisely.
| Mic Type | Best Scenario | Worst Scenario | Room Sensitivity |
|---|---|---|---|
| Dynamic | Desk recording, untreated rooms | Far placement, quiet acoustic performances | Low |
| Condenser | Treated rooms, voiceover booths | Bare rooms, noisy environments | High |
| Lavalier | Moving subjects, interviews | Windy outdoor shoots without a windscreen | Medium |
| Shotgun | Controlled indoor sets, outdoor film | Small untreated rooms, off-angle placement | Medium-High |
The takeaway: match the mic to the room first, then worry about the price tag.
Also read: Audio Interfaces Explained for Beginners
Gain Staging and Monitoring Mistakes That Ruin Takes
Getting the room and mic right means nothing if your levels are wrong or you never check them. These two mistakes destroy more recordings than bad microphones, and they’re the easiest to prevent.
Bad Gain Staging and Clipping
When your audio meters hit red and your waveform looks like a solid brick, that distortion is permanent. No plugin fixes true digital clipping. The opposite mistake is almost as bad: recording too quietly, then boosting the level in post, which drags up the noise floor with it.
Set your levels so normal speech peaks between -12 dB and -6 dB in your recording software. That leaves headroom for louder moments without risking distortion.
A few things to watch for when setting gain:
- Adjust the gain knob while speaking at your normal recording volume, not whispering or shouting
- Turn off auto gain features on webcams and USB mics, because they pump the noise floor up and down between sentences
- Check levels again after repositioning the mic, since distance changes affect input volume
Auto gain is the single most overlooked quality killer on USB mics. The mic hears silence between your sentences and cranks the sensitivity up, pulling in room noise and fan hum.
Then you start talking again and it drops back down. That pumping effect sounds amateurish and it’s almost impossible to fix in editing.
Not Monitoring Audio While Recording
This one stings. Imagine recording a 30-minute take, feeling great about it, then discovering your USB mic wasn’t selected as the input source. Or the cable was loose. Or the audio clipped the entire time.
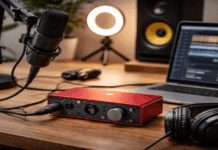
Use closed-back headphones while setting levels and during at least the first minute of every recording. If your audio interface supports it, enable direct monitoring to hear yourself without latency. And before every single session, confirm the correct input device is selected: USB mic, interface channel, or wireless receiver.
Physical Noise, Vibrations, and Electrical Interference
Audio problems don’t always come through the air. Some travel through your desk, your cables, and your power outlets. These are the mistakes that drive people crazy because the noise source isn’t obvious.
Handling Noise and Vibrations From Stands and Desks
Desk taps, keyboard typing, and even small camera adjustments travel through the stand or boom arm directly into the mic.
A tripod on a hard floor transmits foot taps and vibrations from the room below. A mic mounted directly on a hard surface picks up low-frequency rumbles that muddy your audio.
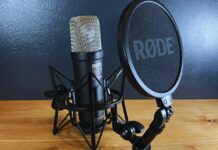
The fix involves mechanical isolation. Use a shock mount if your mic supports one. Move the mic off the desk entirely with a boom arm or separate floor stand.
Put the tripod and mic stand on a rug or foam pad if you have hard floors. And during recording, keep your hands off the desk and route cables so they don’t pull on the mic.
Fans, Lights, and Electronics Adding Constant Noise
Computer fans, air conditioners, and certain LED panel lights add a persistent hiss or hum to recordings. Cheap cables and power adapters can introduce electrical interference that shows up as a 60 Hz buzz.
Place noisy devices as far from the mic as possible and aim directional mics away from them. If you hear a hum, try plugging everything into the same power strip.
Swapping to a different USB port or using shorter, higher-quality cables can also eliminate interference. Some LED panels produce a high-pitched whine at certain dimming levels, so test your lights at full brightness versus dimmed to isolate the issue.
Plosives, Sibilance, and Post-Production Traps
The last category of home audio recording mistakes involves the sounds your mouth makes and the editing habits that make bad audio worse.
Plosives and Sibilance Ruining Vocal Clarity
The letters P and B create bursts of air that hit the mic capsule and cause low-frequency blasts. The letter S can become harsh and piercing, especially on bright condenser mics. Both problems are fixable before they reach your recording software.
A pop filter handles plosives on condenser mics. For dynamic mics, angling the capsule a few degrees off-axis works just as well because built-in windscreens on most dynamic mics already dampen airflow.
A de-esser plugin can tame sibilance in post, but use it lightly. Aggressive de-essing makes voices sound lispy and dull.
Overusing Noise Reduction in Editing
Heavy noise reduction removes hiss, but it also removes clarity. The result is a voice that sounds watery or robotic, like a phone call from 2008.
I think creators reach for noise reduction plugins too early when the real fix sits upstream at the recording stage, specifically at mic distance and gain staging.
Reduce noise at the source first: closer mic placement, a quieter room, and proper gain levels. Then apply noise reduction lightly if needed.
A subtle EQ boost around 3 kHz to 5 kHz can restore intelligibility without creating processing artifacts. A small amount of room tone in a recording often sounds more natural than the weird digital silence left behind by aggressive noise gates.
Sample Rate Mismatches and Audio Sync Drift
This mistake is invisible at first. Your webcam records audio at 44.1 kHz. Your audio interface runs at 48 kHz. Your screen recorder uses something else entirely. Over a 20-minute recording, the audio and video slowly drift apart.
Standardize everything to 48 kHz, which is the standard for video work. Set your audio device and recording software to the same sample rate before hitting record.
And if you record separate audio and video, clap once at the start of every take. That spike in the waveform gives you a visual sync point during editing.
Sync issues caught at the start of a project take seconds to fix. Sync issues discovered after a full edit take hours.
Questions People Ask About Home Audio Recording Mistakes
Q: Do I need acoustic foam to get good audio at home?
Acoustic foam on random walls does almost nothing. The two surfaces that matter are the wall behind the mic and the wall behind your head. A thick blanket or heavy curtain at those two points will outperform foam tiles scattered around the room.
Q: Should I use a condenser or dynamic mic for YouTube videos?
A dynamic mic is usually the better pick for untreated home rooms because it rejects more background noise. Condensers shine in treated spaces or dedicated voiceover booths where room reflections are already controlled.
Q: What dB level should I record at for voiceover or video narration?
Aim for peaks between -12 dB and -6 dB. That range gives you clean audio with enough headroom so louder moments don’t clip. Recording too quietly forces you to boost the level later, which drags up the noise floor.
Q: How do I stop my desk from adding noise to my recordings?
A boom arm or separate floor stand isolates the mic from desk vibrations. A shock mount adds another layer of protection. If the tripod sits on a hard floor, place a rug or foam pad underneath to absorb footstep vibrations.
Q: Is noise reduction software worth using on home recordings?
Light noise reduction can help, but aggressive settings strip clarity from your voice and leave robotic artifacts. Fix the noise at the source first through closer mic placement and better gain staging, then apply noise reduction as a finishing touch, not a rescue tool.
Conclusion
Clean home audio comes down to five setup habits, not five expensive upgrades or a studio lease.
Mic distance, room treatment at two walls, correct gain staging, and vibration isolation solve the majority of problems. The $15 blanket behind your mic matters more than the $400 condenser sitting three feet away.
Fix the room and the levels first, and the gear you already own will surprise you. Check this guide on gain staging from iZotope for deeper technical reading, and the Shure microphone technique guide is a solid reference for placement fundamentals.