Every bedroom creator has hit the same wall. The gear arrived, the software is installed, and the recording still sounds like a tin can lecture filmed inside a closet.
That frustration rarely comes from cheap equipment. The problem is almost always the room itself, the mic position, or the light angle. Fixing those three things costs close to nothing.
A solid home studio setup for voice and video doesn’t require a dedicated room or a four-figure budget. It requires a sequence: room first, audio second, lighting third. Get that order wrong and expensive gear just records expensive-sounding problems.
This guide is built for creators recording in apartments, spare bedrooms, or shared spaces who want clean output without tearing down walls.
Why the Room Matters More Than the Microphone
The single fastest way to ruin a $300 microphone is to use it in a bare room with hard walls and tile floors. Echo turns a decent mic into a bad one, and no amount of post-production can fully undo that damage.
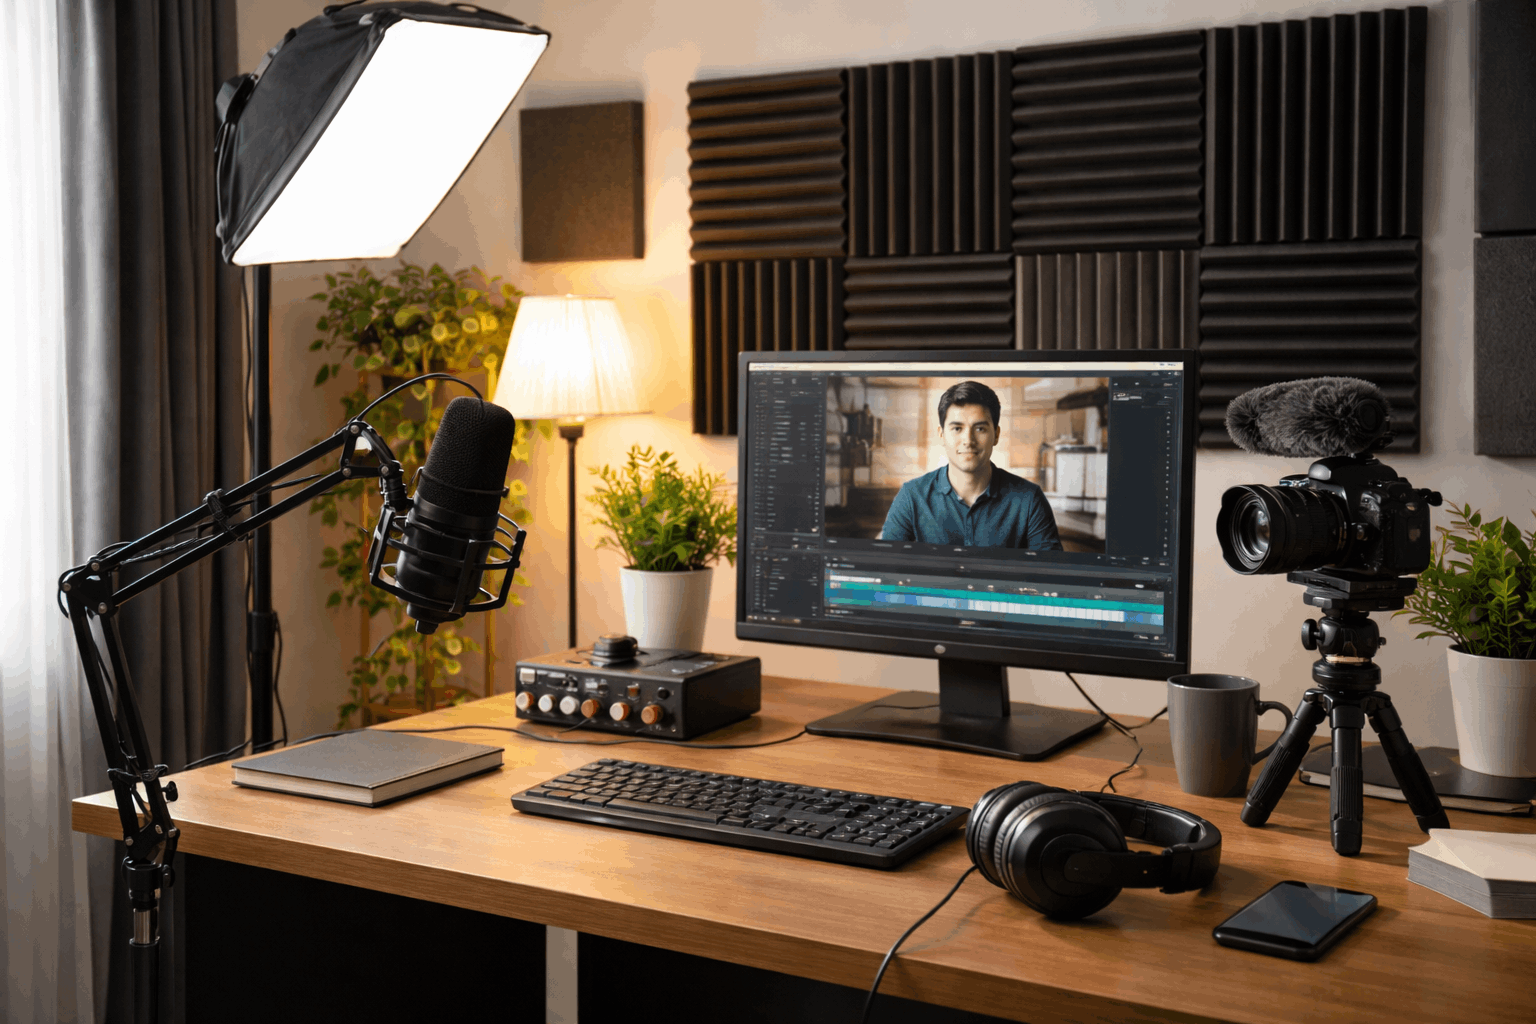
Sound bounces off flat, hard surfaces and returns to the mic slightly delayed. That delay creates a hollow, “cheap” quality that viewers notice instantly, even if they can’t name the cause. The fix is simple: put soft stuff between your voice and those walls.
Pick the Quietest Corner, Not the Biggest Room
Size doesn’t help. A large, empty spare room will sound worse than a cluttered bedroom with a rug and curtains. Listen to your space at different times of day before committing to a spot.
Traffic peaks, neighbor routines, air conditioning cycles, and even a refrigerator compressor two rooms away will show up on a sensitive mic.
Test by recording 60 seconds of silence at 9 AM, 2 PM, and 8 PM. The quietest window becomes your recording window.
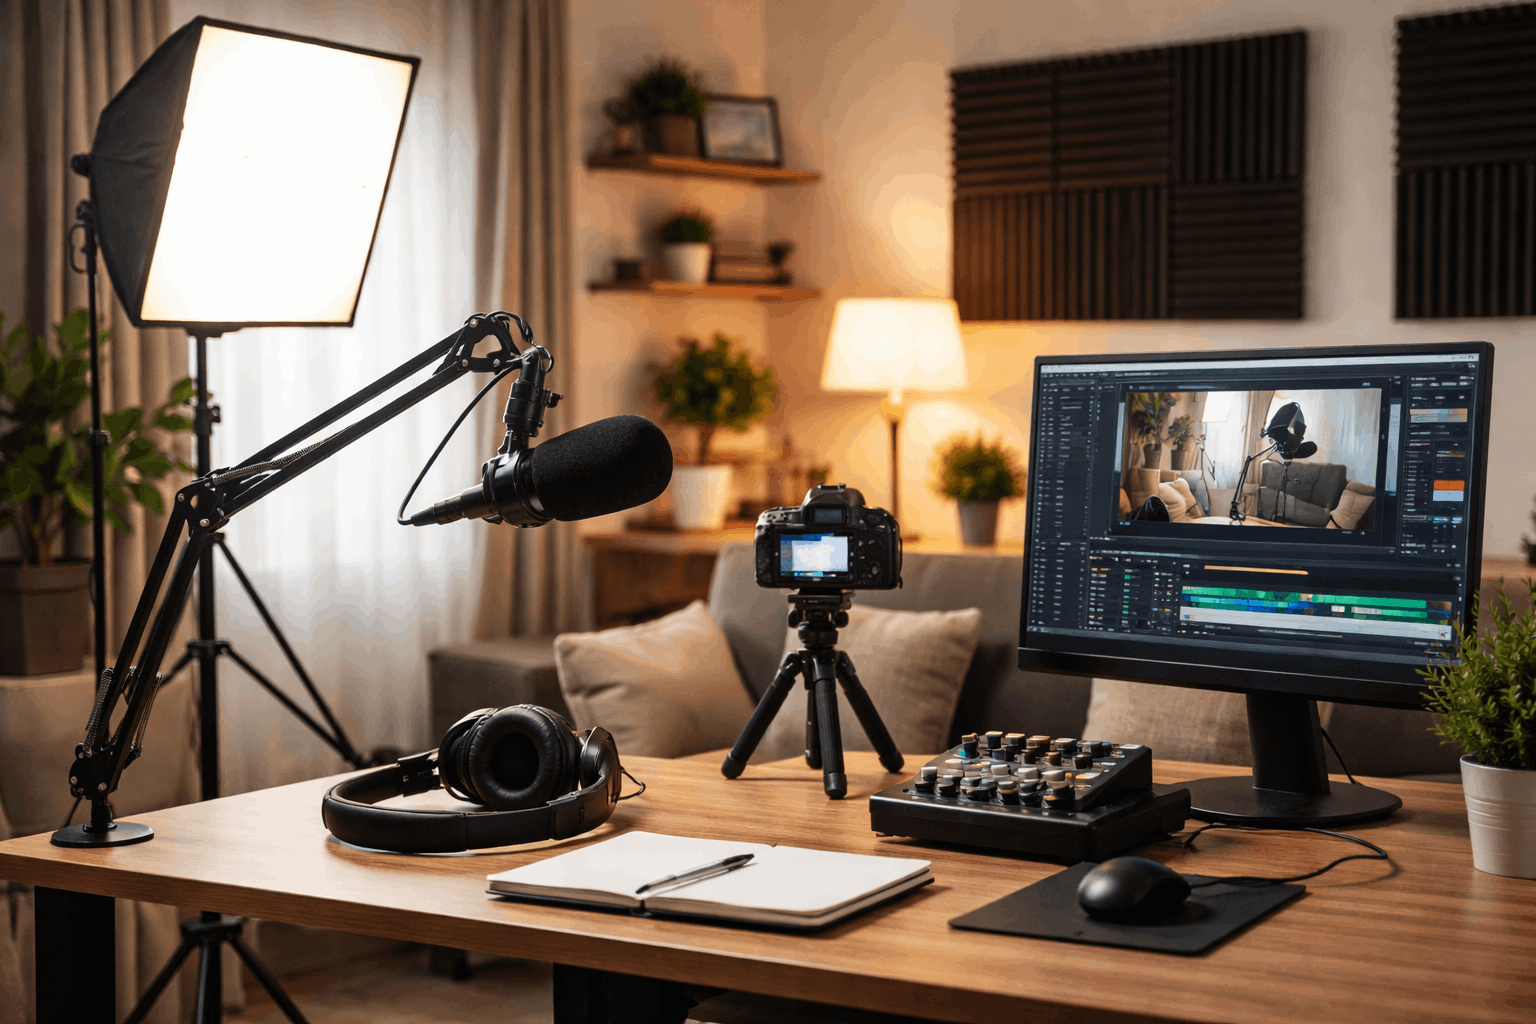
Look for a spot with these features:
- A door that closes, soft surfaces like curtains or a couch nearby, and minimal street-facing windows
- Enough depth to keep your mic 15–25 cm from your mouth and your camera at eye level
- Power outlets close enough that cables don’t cross walking paths or create tripping hazards
Also read: Creator Setup Mistakes Beginners Make
Cheap Echo Fixes That Work Better Than Foam Panels
I would skip acoustic foam panels for any creator spending under $500 on their full setup, because household items solve 80% of the echo problem at zero cost.
A curtain behind your mic position, an open closet full of clothes to one side, and a thick rug under your desk will absorb more reflections than a $60 pack of 1-inch foam squares glued to a wall.
The trick nobody mentions: place soft material behind the camera too. Pillows, folded towels, or a fabric wall hanging on the wall facing you will catch the reflections that bounce off your face and back toward the mic.
If you later want proper panels, mount them at the first reflection points, which are the spots on each side wall where sound from your mouth hits first. But try the closet-and-curtain method for a month before spending money.
Audio Setup for Home Recording: Get This Right First
Viewers will tolerate shaky framing and uneven color. They will not tolerate muffled, echoey, or distorted audio. A clear voice track makes content feel professional even when the video is shot on a phone.
The audio chain has three parts to get right: microphone type, mic placement, and background noise control. Each one matters roughly equally, which is why upgrading only the mic rarely fixes bad audio.
Dynamic Mic vs Condenser Mic for Home Studios
I think the standard advice to buy a condenser mic as your first studio microphone is wrong for bedroom creators, because condensers pick up room reflections and background noise that dynamic mics reject.
A $70 dynamic mic in an untreated room will produce a cleaner vocal track than a $200 condenser in that same room.
| Feature | Dynamic Mic | Condenser Mic | Lavalier Mic |
|---|---|---|---|
| Room noise rejection | Strong | Weak | Moderate |
| Detail and clarity | Good | High | Moderate |
| Best use case | Untreated rooms, voice work | Treated/quiet rooms | On-camera movement |
| Typical price range | $50–$150 | $100–$300 | $20–$80 |
| Needs audio interface | Sometimes (XLR models) | Often | Rarely |
The takeaway: match your mic to your room condition, not to your ambition.
A USB dynamic mic is the simplest starting point. It plugs directly into a computer without an audio interface.
XLR dynamic mics offer more flexibility if a future audio interface purchase is planned, but USB works fine for solo voice recording.
Mic Placement Fixes That Cost Nothing
Placement beats brand. A poorly positioned $300 mic will sound worse than a well-positioned $60 one. Two rules handle 90% of placement issues.
Rule one: keep the mic 15–25 cm from your mouth, angled slightly off-center so breath bursts don’t hit the capsule directly. Talking straight into a mic creates plosive pops on “P” and “B” sounds that a pop filter can reduce but not eliminate.
Rule two: keep the distance consistent. Volume jumps are the number one editing headache for solo creators. A boom arm attached to the desk locks the mic in place. If the desk vibrates from typing, a shock mount between the arm and mic will absorb those thumps.
Kill Background Noise at the Source
Post-production noise removal tools like the ones built into Audacity can clean up mild hiss. But they cannot restore vocal detail that was masked during recording. Noise control starts before hitting record.
A quick pre-session checklist that saves editing hours:
- Turn off fans, air conditioning vents aimed at the mic, and any buzzing fluorescent or LED lights
- Silence phone notifications and move vibrating devices off the desk surface
- If the computer’s cooling fan is loud, use a longer USB cable and place the tower farther away, or switch to a quieter laptop during sessions
Record 10–15 seconds of room tone (silence) at the start of every session. That clip becomes the noise profile your editing software needs to subtract background hum during post.
Camera and Lighting Setup for Home Video
Once audio is locked down, camera and lighting are the next priorities. The good news: a phone camera from the last three years is sharp enough for talking-head video if the lighting is right.
Eye-Level Camera Framing for Talking-Head Video
The camera should sit at eye level, not on the desk looking up at your chin. A basic tripod or a stack of books under a webcam fixes this in two minutes.
Frame your face so it fills a meaningful part of the screen. Leave a small gap above your head. The background should be tidy but not sterile. A bookshelf or a simple wall works.
Avoid windows directly behind you because they confuse the camera’s exposure and turn your face into a silhouette.
If a dedicated webcam is on the shopping list, prioritize low-light performance over resolution. A 1080p webcam that handles dim rooms will outperform a 4K webcam that over-sharpens skin and blows out highlights under normal bedroom lighting.
One-Light Setup That Looks Professional
Lighting is the single biggest visual upgrade for home video, and one light is all it takes.
Place a soft light source slightly above eye level, angled about 30–45 degrees from one side of your face. This creates subtle shadows that add depth without making one side of the frame go dark.
If the shadow side looks too harsh, a piece of white foam board propped on the opposite side bounces enough light back to fill it. Total cost: about $2.
Ring lights are popular, but I would choose a softbox or diffused LED panel over a ring light for any creator who wears glasses, because ring lights produce circular reflections in lenses that are distracting and difficult to fix in post.
A rectangular softbox creates a more natural catch light. B&H Photo’s lighting guide covers the specific panel models worth checking.
Keep lighting identical between sessions. Changing the light position between recordings creates color and exposure shifts that make your uploads look inconsistent.
The Consistency Tax Nobody Talks About
A home studio setup is only as good as its repeatability. The “consistency tax” is the time spent rebuilding your setup every session because gear got moved, lighting shifted, or settings were lost.
Build a Workflow That Survives Being Interrupted
Lock in a folder structure on day one. Something like Project > Date > Audio / Video / Exports keeps files findable six months later. Name files by date and topic, not “final_v3_REAL_final.”
A pre-record checklist eliminates the most common session mistakes:
- Test record 10–15 seconds and listen back through headphones before starting the real take
- Check audio levels so the voice peaks around -6 dB without clipping
- Confirm camera framing and focus haven’t shifted since last session
- Record room tone for editing cuts
Export Settings That Stay Reliable
Editing doesn’t need to be complex at this stage. Clean cuts, consistent loudness, and a light EQ to reduce muddiness if the voice sounds “boxy” will handle 95% of needs. Use compression carefully: too much makes the voice sound flat and squeezed.
Export at whatever resolution and frame rate your camera natively shoots. Upscaling a 1080p recording to 4K adds file size without adding quality. Consistency across uploads matters more than maximum resolution.
Questions People Ask About Home Studio Setup
Q: Can a phone camera replace a webcam for home studio video?
Absolutely. Phones from 2023 onward shoot sharper video than many $100 webcams. The catch is stabilization: use a phone tripod mount, not a hand or a stack of books that wobbles.
Q: Do I need acoustic foam panels for home recording?
For a first setup, no. Curtains, rugs, and an open closet full of clothes absorb enough reflection to clean up a bedroom recording. Foam panels help at first reflection points later, but they are not a starting requirement.
Q: How much should a beginner home studio cost in 2026?
A functional voice and video setup can land between $150 and $400. The mic and a single light are the two purchases that matter. Everything else (room treatment, framing, placement) costs time, not money.
Q: Should I record audio and video separately?
For solo talking-head content, recording both simultaneously is simpler and fast enough. Separate audio tracks become worth the effort when recording interviews, multi-camera setups, or when the room audio quality differs between devices.
Q: What is the best free editing software for home studio recordings?
Audacity handles audio editing and noise reduction well. DaVinci Resolve is a free video editor that covers color correction and audio mixing in one program. Both run on Windows, Mac, and Linux.
Conclusion
A home studio setup for voice and video starts with the room, not the receipt. Fix echo and mic placement before spending a dollar on new gear.
One soft light at the right angle does more for your image than any camera upgrade. The creators who sound and look professional are the ones who stopped buying and started positioning.