A persistent hum, a neighbor’s television, or a nearby desk fan can make a home recording difficult to hear.
The microphone is not always the problem. Often, the voice is simply competing with room sound or a habit that adds avoidable noise.
This guide is for creators, streamers, podcasters, and remote workers who want clearer recordings without buying equipment they do not need.
Start by Identifying What the Microphone Is Hearing
Background noise is not one thing. Traffic, desk vibration, electrical interference, and echo need different fixes, so a random “noise reduction” accessory can waste money.
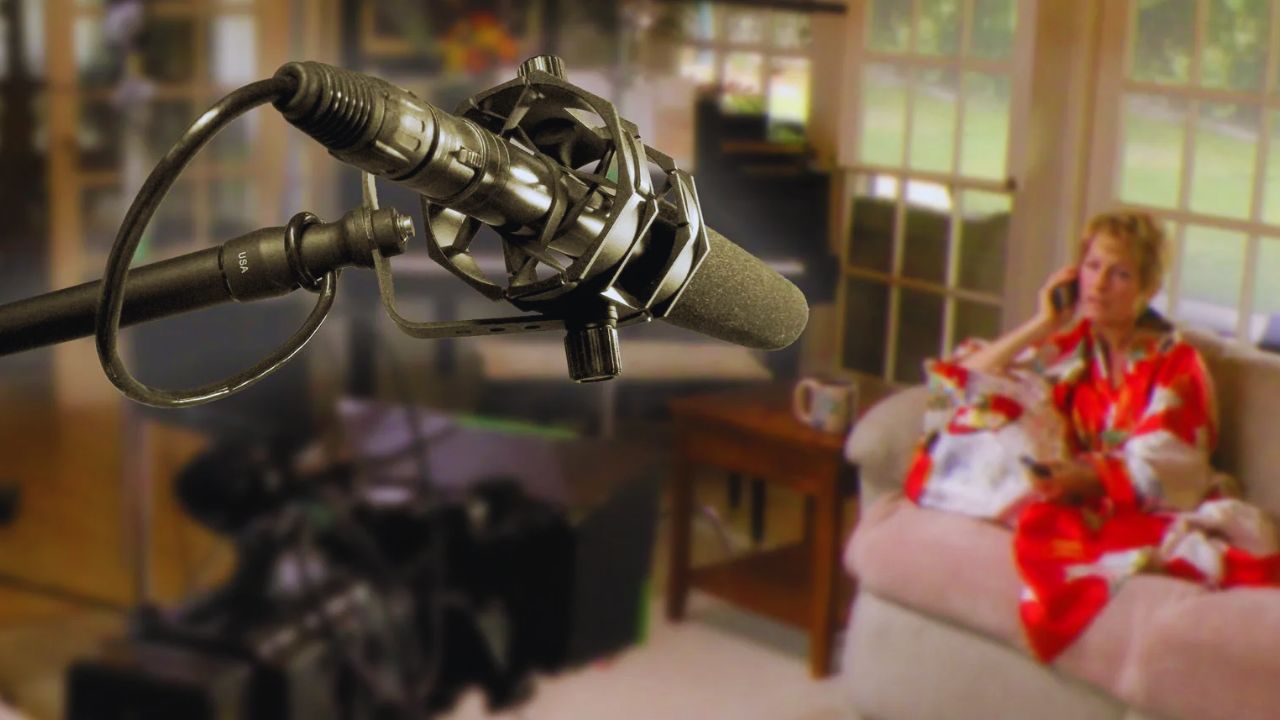
Make one short test recording under the same conditions you use for actual work. Keep your usual equipment on, because it reveals the real sound problem.
Record the Room Before You Begin Talking
Leave five to ten seconds of silence at the start of the clip. You may notice a laptop fan, air conditioner, refrigerator, distant road noise, or a light fixture that buzzes.
Then speak, type, and move normally. Listen once on headphones and once through a phone speaker; headphones expose low hums, while a phone often makes roominess easier to notice. That stops you fixing a problem that is not there.
Tell Echo Apart From Outside Noise
If your voice seems hollow, boxy, or slightly far away, you may be hearing reflections from walls, windows, tile, or an empty corner.
Do not treat it like fan noise. First, move away from the corner, close a curtain, or record beside a bookcase or soft chair.
These changes can reduce the hard reflections around speech and give you a more direct voice without turning the room into a studio.
Give Your Current Microphone a Better Chance
Many creators upgrade too soon because a microphone is sitting across the desk, pointed at the wrong place, or picking up every tap through its stand. Before replacing it, improve the distance and stability of the setup.
Move Closer, Then Lower the Gain
A microphone placed far away has to be turned up, which also turns up the computer fan, keyboard, and room.
Bring it closer, keep it slightly off to one side of your mouth, and speak across it instead of directly into it.
This reduces sharp bursts from P and B sounds while giving your voice more presence. Compare two takes before buying anything. Better mic placement often produces a clearer voice-to-room balance than a more expensive model used at the same distance.
Stop Desk Noise From Traveling Into the Take
Low rumbles and taps often come through the desk, not the air. Typing, a rolling chair, or a mug placed beside the stand can create noise.
A compatible shock mount may help, but you can also put the microphone on a separate arm or move it away from the keyboard.
Check mounting threads, weight limits, and clamp depth before ordering a support. A good isolation setup reduces physical vibration; an unstable arm can create a new problem.
Also Read: Microphone Accessories That Actually Improve Sound
Make the Room Quieter in Ways You Can Repeat
You may not control traffic, neighbors, or every sound in a shared home. You can still lower the background level by choosing a better spot and a repeatable routine that avoids the loudest interruptions.
This preparation is usually more useful than hoping software will perform a complete cleanup later.
Use Timing and Placement Before Buying Foam
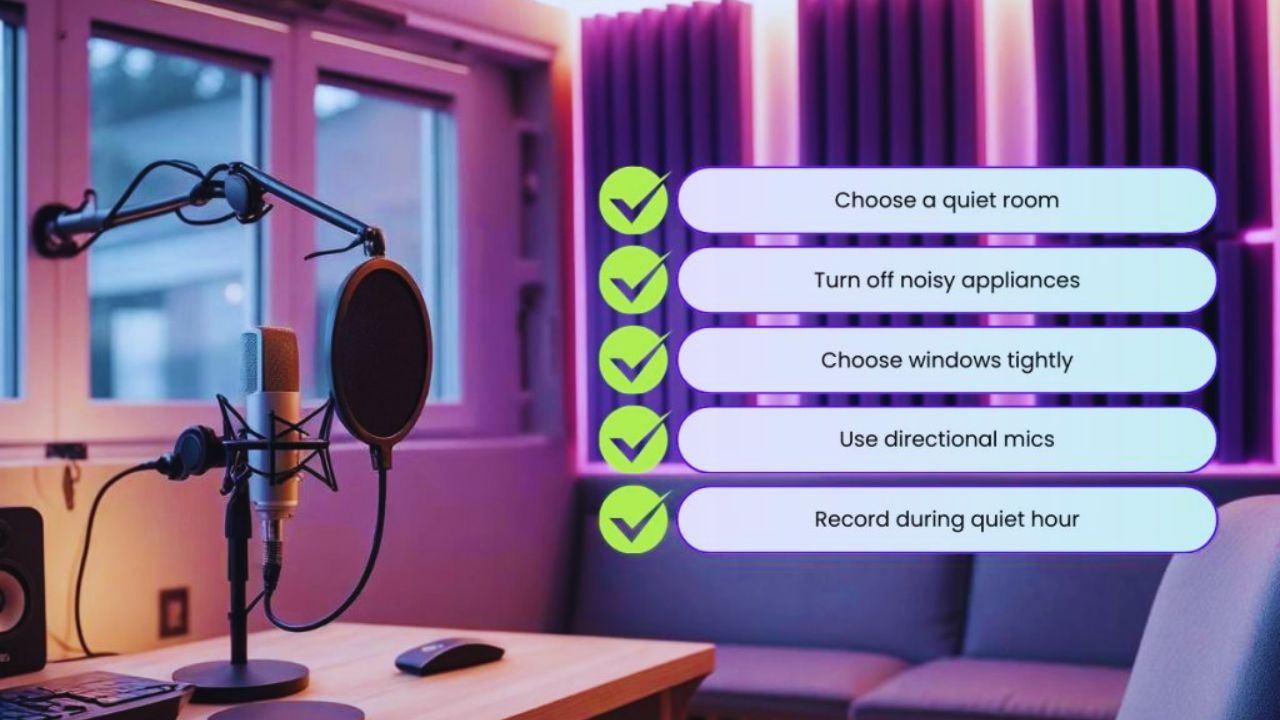
Turn off an unnecessary fan during a short take, close a window, and wait for a washing machine or other loud appliance to finish when possible.
Let people nearby know that you need a quiet ten minutes, especially for a voice-over or meeting. If you hear too much reflection, use what is already in the room: curtains, a rug, shelves, or a soft chair near the recording area.
The aim is a calmer background, not perfect silence. A furnished corner often sounds more natural than a bare wall covered with cheap foam.
Choose Accessories That Solve One Clear Issue
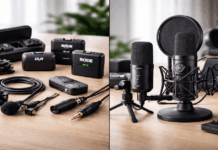
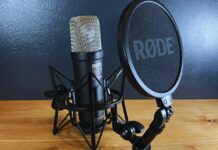
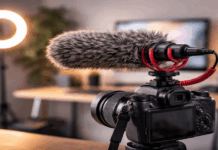
A pop filter is useful for bursts of air, while a windscreen may reduce mouth noise and light air movement.
A shock mount helps with bumps, and a stable boom arm holds the microphone at the same distance each session.
Those are separate jobs, which is why an oversized bundle can leave you with accessories you never use. Start with one concern from your test clip:
- Pop filter for close speech and plosive sounds.
- Shock mount for taps and desk vibration.
- Boom arm for steady microphone placement.
Read the official product page for compatibility, included adapters, and weight limits. Treat each item as a practical tool, not a shortcut to professional audio.
Protect the Recording Before You Reach for Software
Software is valuable when a dog barks, a vehicle passes, or a small hum remains after you have prepared the room.
It cannot restore details buried under heavy noise or repair clipped speech. The cleaner the source, the more natural the finished voice will sound after a light editing pass.
Keep Enough Space on the Level Meter
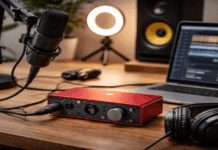
Set your input level while speaking at your normal loudest volume, including emphasis or laughter.
If the meter stays at the top, lower the gain before recording the full take. A quieter recording can be raised later; distortion from clipping usually cannot be removed convincingly. Avoid chasing a waveform that looks permanently full.
Leaving safe headroom protects the natural dynamics of the voice and gives you room to edit without making everything brittle.
Remove Noise Gradually and Compare Versions
Capture a short sample of the background sound, apply a modest reduction, and listen to the result before adding more.
Overdoing the effect can make consonants vanish or leave a metallic, underwater quality behind. Light equalization and compression can help speech sit more comfortably, but neither replaces good placement or a quieter room.
Save an untouched copy of the original take so you can compare it against the edited version. That habit makes editing decisions grounded in what listeners hear, rather than what looks impressive in a software panel.
Build a Quieter Routine, Not a Bigger Shopping Cart
Clean home audio usually comes from several small choices working together: a close microphone, lower gain, a stable mount, a less reflective corner, and a quick test before the main recording.
Start with the one noise that distracts you most, then change only the part of the setup that causes it.
Once you can identify whether the issue is echo, vibration, or a noisy connection, you can spend more carefully later, or keep using the equipment you already own with greater confidence.