
A foam board and a window can outperform a $200 ring light. That sounds like a stretch, but I’ve seen the side-by-side results enough times to stand behind it.
The soft lighting advice floating around the internet keeps pointing beginners toward gear. Buy this panel. Get that ring light. Grab a softbox kit off Amazon.
But soft lighting has nothing to do with how much money sits on your desk. Three physical properties control it: source size, distance, and diffusion.
Once those click, creating soft lighting without expensive gear stops being a workaround and becomes a real skill.
The Three Controls That Make Any Light “Soft”
Every light source, whether it costs $500 or sits in your living room wall, follows the same physics. Getting soft light on camera comes down to manipulating three things, and none of them require a credit card.
Source Size Changes Everything
A bigger light source creates softer shadows. That’s physics, not opinion. A window is large, so the light wrapping around your face spreads the shadow edges out gradually. A bare desk lamp bulb is tiny, so it throws hard lines under your nose and chin.
The trick that trips people up: you can make a small source behave like a large one. Aim a desk lamp at a white wall, and the wall becomes your light source.
That wall is massive compared to the bulb, so the shadows soften immediately. Same energy, completely different result.

Distance to the Subject Matters More Than Wattage
A light placed close to your face appears larger relative to you, and larger means softer. Push that same light across the room, and it shrinks in relation to your face. The shadows harden.
This is the single most overlooked adjustment in home video setups. People buy brighter bulbs when they should be scooting the lamp closer. A dim LED panel 18 inches from your face, just outside the frame, can produce softer light than a powerful lamp six feet away.
The camera benefits too. Closer light means the sensor needs less gain, which reduces visible noise in the image. Two problems solved at once.
Diffusion and Bounce Turn Cheap Lights Into Studio Lights
Diffusion spreads a beam by passing it through translucent material. Bounce redirects light off a large surface. Both do the same thing: they make the effective light source bigger.
A white shower curtain pinned to a window frame diffuses harsh direct sunlight into a smooth wash. A desk lamp aimed at a white poster board bounces into a wide, soft glow.
Neither costs more than a few dollars, and both produce results that would fool people scrolling past your video.
Window Light as a Free Softbox for Home Video
The sun through a window is the single best soft light source available to anyone filming at home. It costs zero dollars, runs silent (which matters if a microphone sits nearby), and can be shaped with household items.
Correct Positioning for Window Light
Sit facing the window at roughly a 30 to 45 degree angle. Not directly facing it, and absolutely not with the window behind you. Backlighting from a bright window forces your camera to expose for that bright background, which turns your face into a silhouette.
The 30 to 45 degree angle creates gentle shadows on the far side of your face, giving the image depth and shape. Straight-on window light works too, but the result can look flat, which brings up a point I’ll get to in a minute.
Adding Simple Diffusion to Harsh Sunlight
Direct sun through a window is harsh. It’s a massive source, but the light is directional enough to create strong shadows. A thin white curtain, a shower curtain liner, or a clean white bedsheet hung over the window spreads the beam and softens it.
The goal is to diffuse the light, not block it. If the material is too thick, you lose brightness and start fighting exposure problems. Thin and translucent is the target.
Filling Shadows With a Reflector
If one side of your face looks too dark on camera, a white foam board placed on the shadow side fixes it.
The foam board catches the window light and bounces it back into the dark areas. A white poster board, a large notebook opened flat, or even a white t-shirt stretched over a clipboard can do the same job.
This simple tool, a flat white surface, replaces the need for a second light in most home setups.
Also read: How to Match Lighting for Day and Night Recording
Turning Cheap Lamps Into Soft Lights
Not everyone has a usable window. Some rooms face the wrong direction. Some people film at night. Cheap household lamps can produce excellent soft light if you treat them correctly.
The Bounce Method: Aim at a Wall, Not at Your Face
Point a lamp at a white wall or ceiling so the reflected light hits your face. The wall becomes your light source, and a wall is enormous compared to a bulb. This single move transforms a harsh desk lamp into something that looks professional on camera.
A common mistake: pointing a bright lamp directly at the face with no diffusion. The result is shiny skin, hard shadows under the eyes, and an interrogation-room look. Bouncing costs nothing and fixes all of it.
The DIY Diffusion Frame
Place translucent material between the lamp and your face. A white shower curtain stretched across a frame, or tracing paper taped to a cardboard rectangle, both work well.
One safety note: keep diffusion material far enough from the bulb to avoid heat buildup. If your lamp uses older incandescent or halogen bulbs, swap them for LED bulbs first. LEDs run cool enough that a sheet of tracing paper six inches away won’t be a fire risk.
A Simple Two-Light Setup Using One Lamp and a Reflector
I think the widely repeated advice to “buy two matching lights” sends beginners down the wrong path, because a second uncontrolled light source often creates crossed shadows that look worse than a single lamp with a reflector.
One soft light plus one foam board reflector gives a cleaner, more flattering result for talking-head video than two budget LED panels aimed at the face.
Placing the Main Light
The main light, whether it’s a window, a bounced lamp, or a diffused lamp, goes slightly above eye level and off to one side.
Too high creates deep shadows under the eyes. Too low makes the image look eerie. A slight overhead angle, about 15 to 20 degrees above the lens, tends to look natural.
Using the Reflector as Fill
Place a white board on the darker side of the face. Adjust the distance until the shadow side looks natural without going completely flat. If the result has zero shadow, the reflector is too close. Pull it back until some shape returns.
A list of items that work as reflectors in a pinch:
- White foam board from a dollar store (the classic choice, stiff and easy to prop up)
- A white poster taped to cardboard for a lighter, portable option
- An open white notebook or laptop screen tilted to catch the light at the right angle
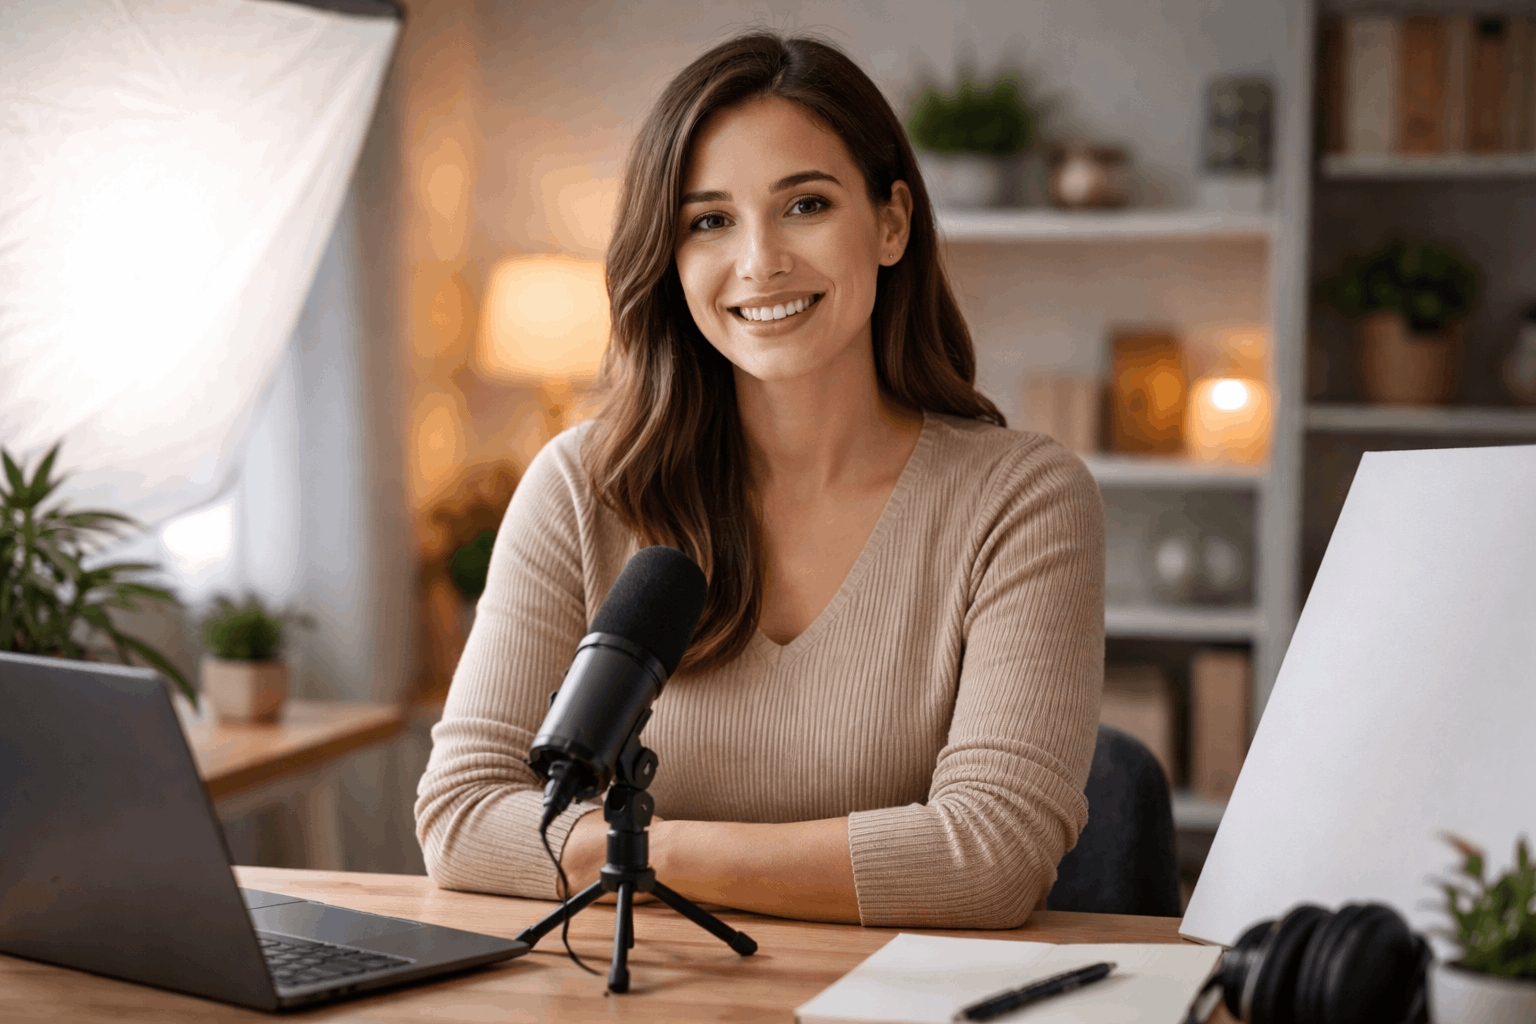
This two-piece setup fits on a desk alongside a microphone and tripod, which matters for creators working in tight spaces.
Color Temperature: The Soft Lighting Detail People Ignore
Shadows can be perfectly soft, and the image will still look off if the color temperature is mismatched. Mixing warm lamp light with cool daylight creates an orange-and-blue cast across the face that no amount of diffusion fixes.
Matching Light Sources in the Same Shot
| Scenario | Problem | Fix |
|---|---|---|
| Window open + warm desk lamp on | Face splits into cool and warm halves | Turn off the desk lamp or close the window |
| Two lamps with different bulb types | Skin tone shifts depending on which side you view | Use matching LED bulbs in both lamps |
| Overhead room light on during filming | Flat top-down light competes with the setup | Switch off the ceiling light entirely |
Matching light sources matters more than most people realize, and it saves editing time later.
Picking One Type and Sticking to It
If a window is the main light, turn off warm lamps in the room. If lamps are the main source, close blinds to reduce daylight contamination. Two sources of different color temperatures will fight each other on camera, and neither one wins.
Negative Fill and Flags: Small Fixes That Look Professional
Soft light can go too far. Too much bounce and fill creates a flat image with no depth, and flat video looks boring even when it’s well-lit.
Adding Contrast Back With Negative Fill
A dark surface, a black foam board, a dark towel, or even a black shirt draped over a chair, placed on one side of the face absorbs stray light. The result is gentle contrast that gives the face dimension.
Negative fill is something portrait photographers use constantly, but home video creators almost never mention it.
I would put it in the top three most underused techniques for anyone filming at a desk, right next to bounced light and color temperature matching.
Blocking Spill Light Behind the Camera
If a lamp hits the wall behind you, it can bounce back into the lens and wash out the image. A piece of cardboard or a book stood upright between the light and the wall blocks that spill. Photographers call this a “flag.”
These small moves make a home setup look deliberate rather than accidental:
- Flag the spill from a lamp that hits the back wall by placing cardboard between the light and the wall
- Pull your chair forward so shadows don’t land on the wall directly behind your head
- Add a dim background lamp behind you and to the side for depth, keeping it dimmer than the face
Questions People Ask About Soft Lighting Without Expensive Gear
Q: Can I use a ring light for soft lighting at home?
A ring light produces flat, even light that eliminates shadows almost entirely. That’s fine for makeup tutorials, but for talking-head video, it tends to flatten facial features and create unnatural circular catchlights in the eyes that can look strange. A bounced lamp or window often produces a more natural result for less money.
Q: Does soft lighting work with a phone camera?
Phone cameras exaggerate contrast and sharpen faces in low light. Soft, close light sources reduce that effect because the sensor gets enough data to produce a clean image. The improvement can be dramatic even on a budget phone.
Q: How close should a light be for soft lighting?
The closer the better, as long as it stays outside the camera frame. An 18-inch distance between a diffused or bounced source and your face is a good starting point. Closer than that may create uneven lighting across the face.
Q: Do I need to buy LED panels for home video?
Standard LED household bulbs in a desk lamp, bounced off a white wall, can match the softness of a $50 LED panel. The panel offers easier adjustments, but if budget is tight, a $5 LED bulb and a white board get you 90% of the way there.
Q: What’s the best background for soft lighting setups?
A background that sits at least three feet behind you, dimmer than your face, and free of bright hotspots or distracting patterns. A plain wall with a small background lamp off to the side adds depth without pulling attention away from the subject.
Conclusion
Soft lighting at home depends on three controls: source size, distance, and diffusion or bounce. A window, a white foam board, and a cheap LED bulb can match expensive gear results.
The difference between amateur and polished video lighting usually comes down to placement, not price. Start with one soft source and one reflector, then adjust from there.










