A clear voice can carry a home video even with simple gear. Choosing a microphone for home videos depends less on a famous model than on your room and recording habits.
A desk recording, cooking demonstration, and handheld vlog place the mic in very different positions.
This guide focuses on recording style, room noise, connection type, and setup details that matter every time you press record.
Start With the Way You Actually Record
Your filming routine should guide the microphone choice before product specifications.
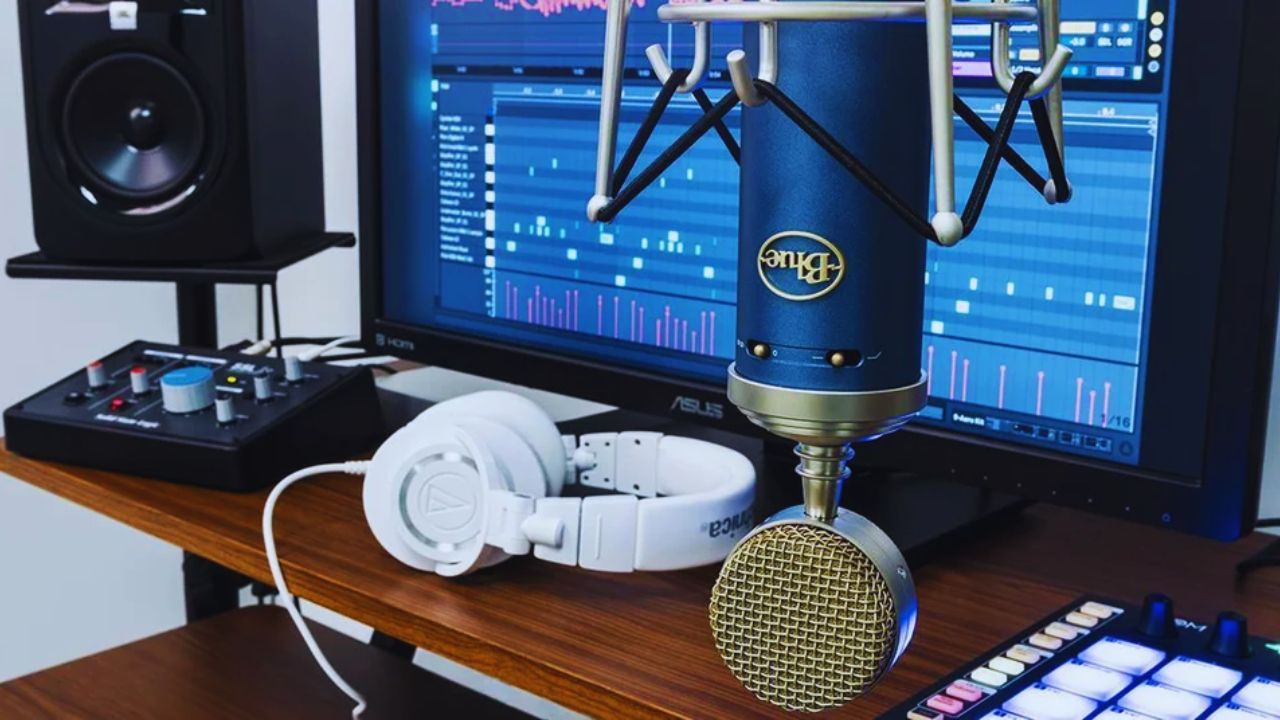
Consider where you stand, how often you move, and whether the mic can stay close enough to capture your voice well.
Desk Videos Need a Stable, Close Source
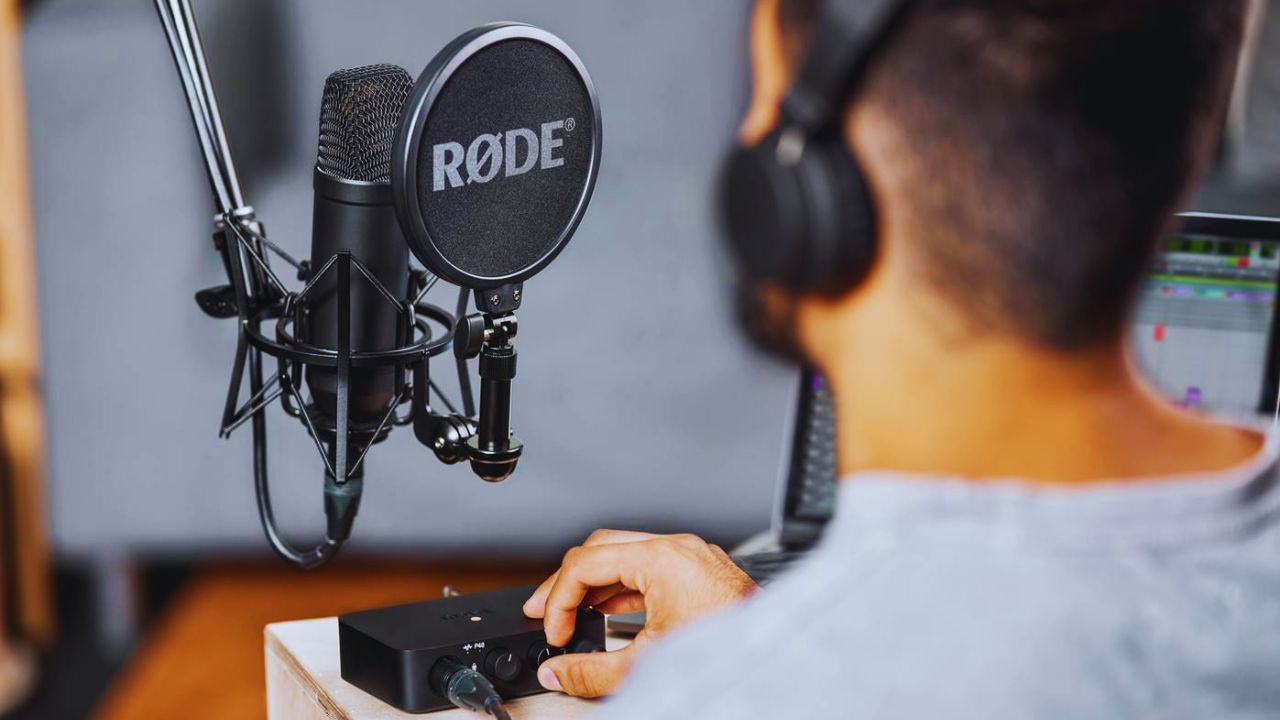
For talking-head videos, streaming, online courses, and voiceovers, a desktop USB microphone can be practical.
It stays in one place and works well when the camera, chair, and lighting are set. Put it on a stand or boom arm close to your mouth rather than far away.
That creates steadier speech and reduces the keyboard and room sound that rise with distance.
Moving Tutorials Need the Mic to Move With You
Cooking clips, product demonstrations, fitness instructions, and DIY videos become harder to hear when the presenter steps away.
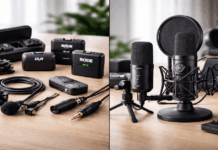
A wired or wireless lavalier can help because it stays attached to clothing and keeps the voice at a similar distance.
Check for fabric rubbing, necklaces, hair, and loose collars before an important take. Good placement protects consistent dialogue while allowing natural movement around the room.
Listen to the Room Before Choosing a Mic Type
A quiet-looking room may still contain hard reflections, traffic, fans, or computer hum. Your room conditions should steer the choice between a forgiving dynamic microphone and a more detailed condenser.
Dynamic Mics Often Suit Noisy, Untreated Rooms
Dynamic microphones usually work close to the mouth and may capture less distant room reflection than many condensers.
They can suit bedrooms near traffic, living rooms with appliances, or desks beside a noisy computer.
They still need good technique; speaking across the room makes any mic sound thin and echoey. A close dynamic setup may give a more direct voice without demanding a fully treated room.
Condensers Need a Quieter, More Controlled Space
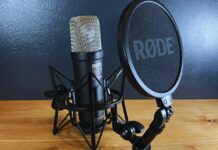
Condenser microphones can capture more detail in speech, singing, and instruments. That may suit a quiet office or a room softened by curtains, rugs, and furniture.
Their sensitivity also reveals keyboard clicks, air conditioning, and reflections you barely notice while working. A condenser offers richer detail when the recording environment is ready for it.
Choose a Connection That Fits the Rest of Your Setup
The connection affects the extra equipment you need and how easily the microphone fits into your workday. USB, XLR, and hybrid options each have a place, but simple operation may matter more than future upgrade plans.
USB Works Well for Solo Computer Recording
A USB microphone sends audio straight into a laptop or desktop. It suits remote lessons, commentary videos, streaming, and voiceovers where you record alone at one desk.
The cable path stays short, and software or a headphone jack can help you monitor levels. USB is often sensible when faster setup matters more than advanced routing or multiple microphones.
Also Read: Best Budget Microphones for Clear Voice Recording
XLR Is Worth Considering When You Need More Control
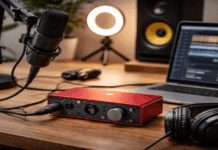
XLR microphones need an interface or mixer, a cable, and usually a stable stand.
That setup may suit podcasts with more than one person, music recording, regular interviews, or creators who need tighter gain control.
It is less useful for occasional webcam videos when another device would crowd the desk. Choose XLR for a clear production need, not because a complex chain looks more serious.
Let Pickup Pattern and Placement Work Together
A pickup pattern shapes what a microphone hears, but it cannot replace careful positioning. Better results come from matching microphone direction with your distance and movement in a quieter room.
Cardioid Is a Reliable Starting Point at a Desk
Cardioid microphones focus mainly on sound in front and reduce some sound behind them.
For solo desk recording, that pattern is often easier to manage than a wide pickup that captures the room.
Face the correct side, because some mics record from the front while others use a side-facing capsule. This keeps spoken voice focused and gives a cleaner starting track for editing.
Lavalier and Shotgun Mics Need Realistic Expectations
Many lavaliers use an omnidirectional pattern, which keeps speech steadier when you turn but may catch more room sound.
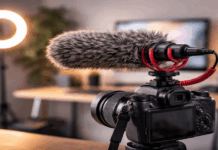
A shotgun microphone is directional, yet it still sounds distant when it sits on a camera several feet away.
Bring an off-camera shotgun as close as framing allows and point it toward the mouth, not the chest. These options work best when distance stays short and the recording plan matches their limits.
Test the Setup Before You Commit to It
Product pages cannot show how a mic reacts to your desk, voice, and normal speaking habits. A short real-world test reveals more than a page of technical specifications.
Make a Test Clip Under Normal Conditions
Record twenty seconds at your usual volume, then include a louder phrase and a few seconds of silence.
Listen on headphones and ordinary speakers for echo, clipping, fan noise, clothing rustle, and changes when you turn toward another screen.
Test during your normal recording time because traffic, family activity, and appliances can change the room. This gives useful evidence before long recordings or a new purchase.
Account for the Small Parts Around the Microphone
A mic may need a pop filter, windscreen, boom arm, cable, adapter, headphones, or an interface before it works well.
Check connection compatibility, stand options, power needs, warranty terms, and whether the device blocks your screen or casts a camera shadow.
A low-priced mic can become less practical when several missing items are needed immediately. Thinking through the full setup prevents unexpected costs and keeps the desk manageable.
Before buying, ask these three questions first:
- Can the mic stay close to your mouth?
- Does it fit your room noise?
- Will you use the whole setup regularly?
Pick the Option That Fits Your Routine Next Month
The best microphone is usually the one that fits how you already make videos, not the one with the longest feature list.
Begin with your recording habits, room noise, and mic distance. A close USB mic may cover desk videos, a lavalier may suit demonstrations, and XLR may be worthwhile only when the work truly needs it.
When the choice supports a repeatable workflow, home recordings become clearer without turning every session into a technical project.