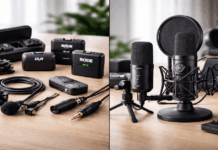
A video can look polished and still feel tiring when the voice is faint, hissy, or rough on louder words.
Audio gain controls how strongly the microphone signal enters the recorder. This guide covers home recording setups, from USB mics to phones and lavaliers.
It explains how to build steady voice levels before editing without rescuing a quiet or clipped take later.
Why Gain Matters Before You Edit
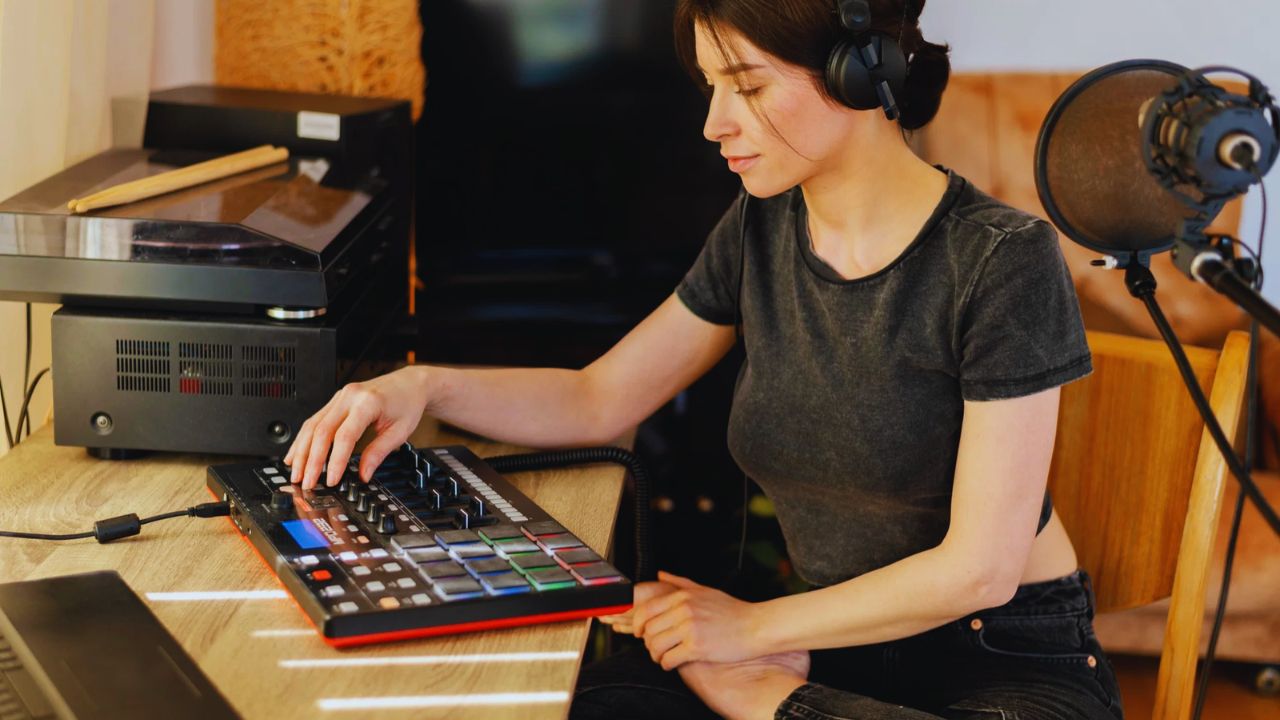
Gain is an input setting, not a final loudness control. Set it first for usable signal strength and enough safety margin.
Gain, Faders, and Speaker Volume Have Different Jobs
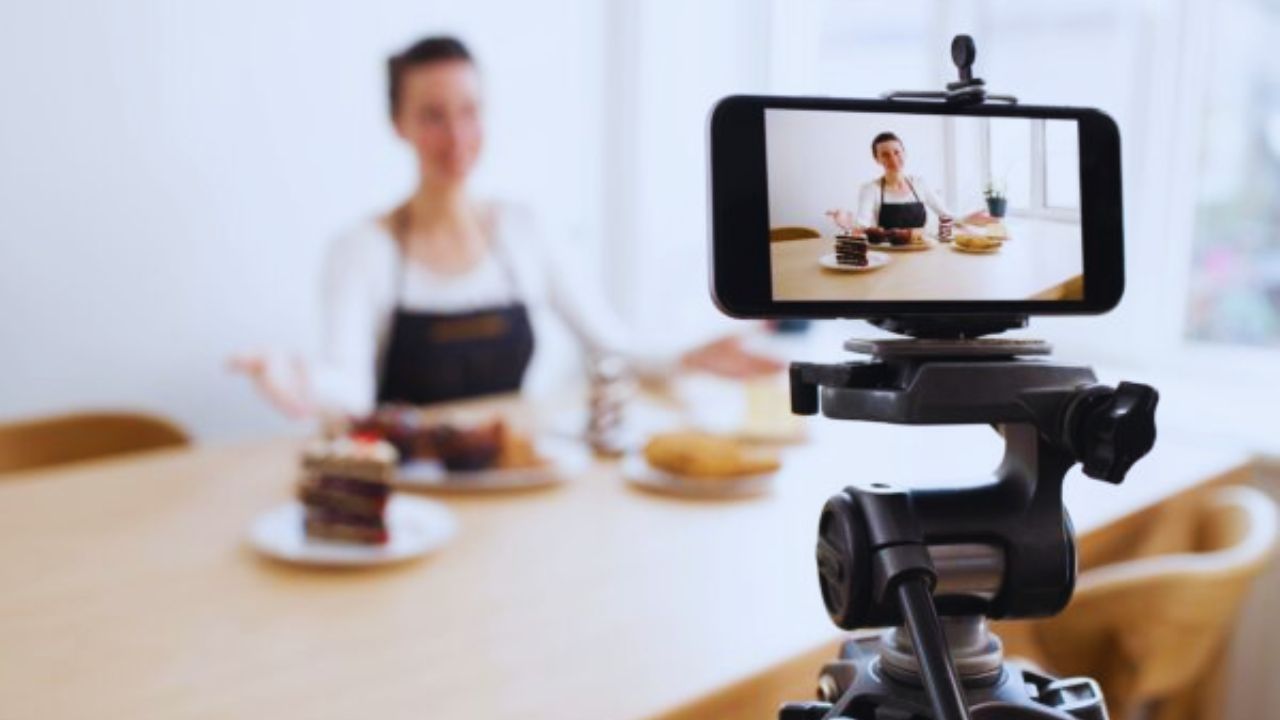
Gain strengthens the microphone signal at the start of the chain. A fader or slider changes how loud that track sits inside recording software, while speaker volume changes only what you hear.
Raising headphones cannot repair weak audio, and lowering a fader cannot restore clipped detail. Keeping those controls separate prevents a software workaround from hiding an input problem.
Home Rooms Make Weak Levels More Noticeable
A bedroom or desk area may include a fan, keyboard taps, computer hum, traffic, and hard surfaces that reflect speech.
With gain too high, those sounds rise along with your voice; with gain too low, boosting later brings them forward.
That is why mic distance and room noise matter before plugins. The aim is a clean starting signal that does not turn ordinary noise into part of every sentence.
Set Levels From Your Real Recording Position
Do not set gain while holding the microphone or leaning closer than you will during the actual video.
Your chair height, speaking energy, and mic distance shape the recording level because they change how the input meter behaves.
Fix Microphone Distance First
Moving the mic closer usually improves clarity more safely than turning gain to the maximum.
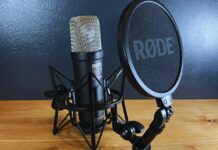
Keep a dynamic microphone close and slightly off to the side of your mouth, while a sensitive condenser may need more room to reduce breath noise.
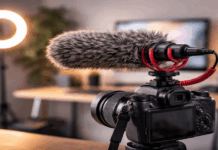
For a camera-mounted shotgun, bring it as near as the frame allows and aim it toward your mouth. Thoughtful microphone placement reduces extra amplification.
Also Read: Best Microphones for Home Recording Without a Studio
Speak as You Plan to Speak on Camera
Read several real sentences at your normal pace, then include the loudest emphasis you expect to use.
Do not whisper during setup if the video will be energetic, and do not shout if you are recording a calm tutorial.
A lavalier should stay secure on clothing, while a desk mic should remain close when you glance at another screen. This provides a realistic test instead of a misleading level that fails once recording starts.
Read the Meter Without Chasing the Top
Meters show whether the signal has room before it reaches the digital ceiling. They are a safety tool, not a scorecard that rewards the loudest recording.
Leave Room for Your Loudest Words
For spoken voice, a useful starting range is about -18 to -12 dBFS for normal speech, with stronger peaks around -12 to -6 dBFS.
Those numbers are not a rule for every device, but they leave headroom below 0 dBFS, where clipping begins.
Watch the meter while laughing, stressing a phrase, or reading the loudest line. Leaving headroom protects the take from unexpected peaks.
Listen for What a Meter Cannot Explain
A meter can show a safe level, but it cannot tell you whether your voice sounds distant, echoey, or buried under computer noise.
Record a short clip with a normal sentence, a louder phrase, and a few seconds of silence, then listen with headphones and speakers.
This often reveals breath pops, fan noise, desk vibration, or room echo that is easy to miss while speaking. The test gives practical feedback before a long recording session becomes hard to fix.
Avoid Corrections That Create New Problems
Creators often try to repair levels after the file is already recorded. Editing tools help, but they work best on a decent source rather than a file needing heavy rescue work.
Do Not Rely on Software to Lift a Quiet Voice
Raising a quiet track makes words louder, but it also increases hiss, room sound, and other low-level distractions.
First check whether the mic is close enough, aimed correctly, and away from noisy equipment.
Then raise hardware gain gradually and make another test. A stronger original recording leaves more editing flexibility than a weak file pushed upward later.
Check Automatic Gain and Heavy Filters Carefully
Some phones, webcams, conferencing apps, and cameras use automatic gain control, or AGC.
It may raise background noise during pauses or pull the level down when you speak forcefully, so compare short tests with it on and off where possible.
Keep compression, noise reduction, and software gain light until you hear a clear reason to add them. The aim is predictable sound, not an overprocessed voice that pumps or turns metallic.
Match the Adjustment to the Gear You Own
Gain appears in different places depending on the setup. Find the first useful control in your chain, then make that your main adjustment point instead of pushing every setting at once.
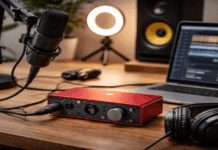
USB Microphones and Audio Interfaces
A USB mic may have a physical gain dial plus a computer input setting.
Start with the computer control near the middle, then use the mic dial to reach safe peaks; with an XLR microphone, use the interface preamp as the primary control.
If high preamp settings add hiss, revisit placement and room noise before buying accessories. This keeps hardware gain doing the essential work and avoids a noisy digital boost.
Wireless Lavaliers and Camera Inputs
Wireless setups may use a transmitter sensitivity setting and a receiver output level, so test both.
A transmitter can overload before the camera meter warns you, especially when the lav sits near a loud voice.
When recording into a camera, send it a clean signal from the receiver and avoid maxing out the camera input. Checking the entire audio chain catches hidden distortion before it appears in the edit.
Before an important take, run this short gain check and quick test:
- Speak at your real recording level.
- Leave room below the red meter.
- Listen for noise and clipping.
Conclusion: Make Clean Input a Habit
Audio gain decides whether your microphone enters the recording with enough strength and enough room for louder moments.
Put the mic in the right place, speak naturally during setup, leave headroom, and listen to a short test before a full take.
Use software processing only when it improves a problem you can hear, not as a replacement for good input. With clean recording levels and a repeatable routine, your voice becomes easier to edit and more comfortable to hear.