A USB mic got you started. Now every recording has that same flat, slightly hollow sound, and no amount of software tweaking fixes it.
That itch to upgrade is real. An audio interface for beginners seems like the obvious next step. But the spec sheets read like a different language.
The good news: the device itself is simple. The bad news: buying one before fixing a couple of cheaper problems will waste your budget fast.
This is the guide I wish existed when I first searched “do I need an audio interface” and got buried in 48 kHz vs. 96 kHz debates that didn’t matter yet.
What Does an Audio Interface Do and What It Doesn’t
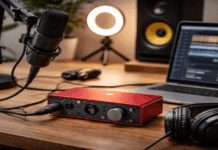
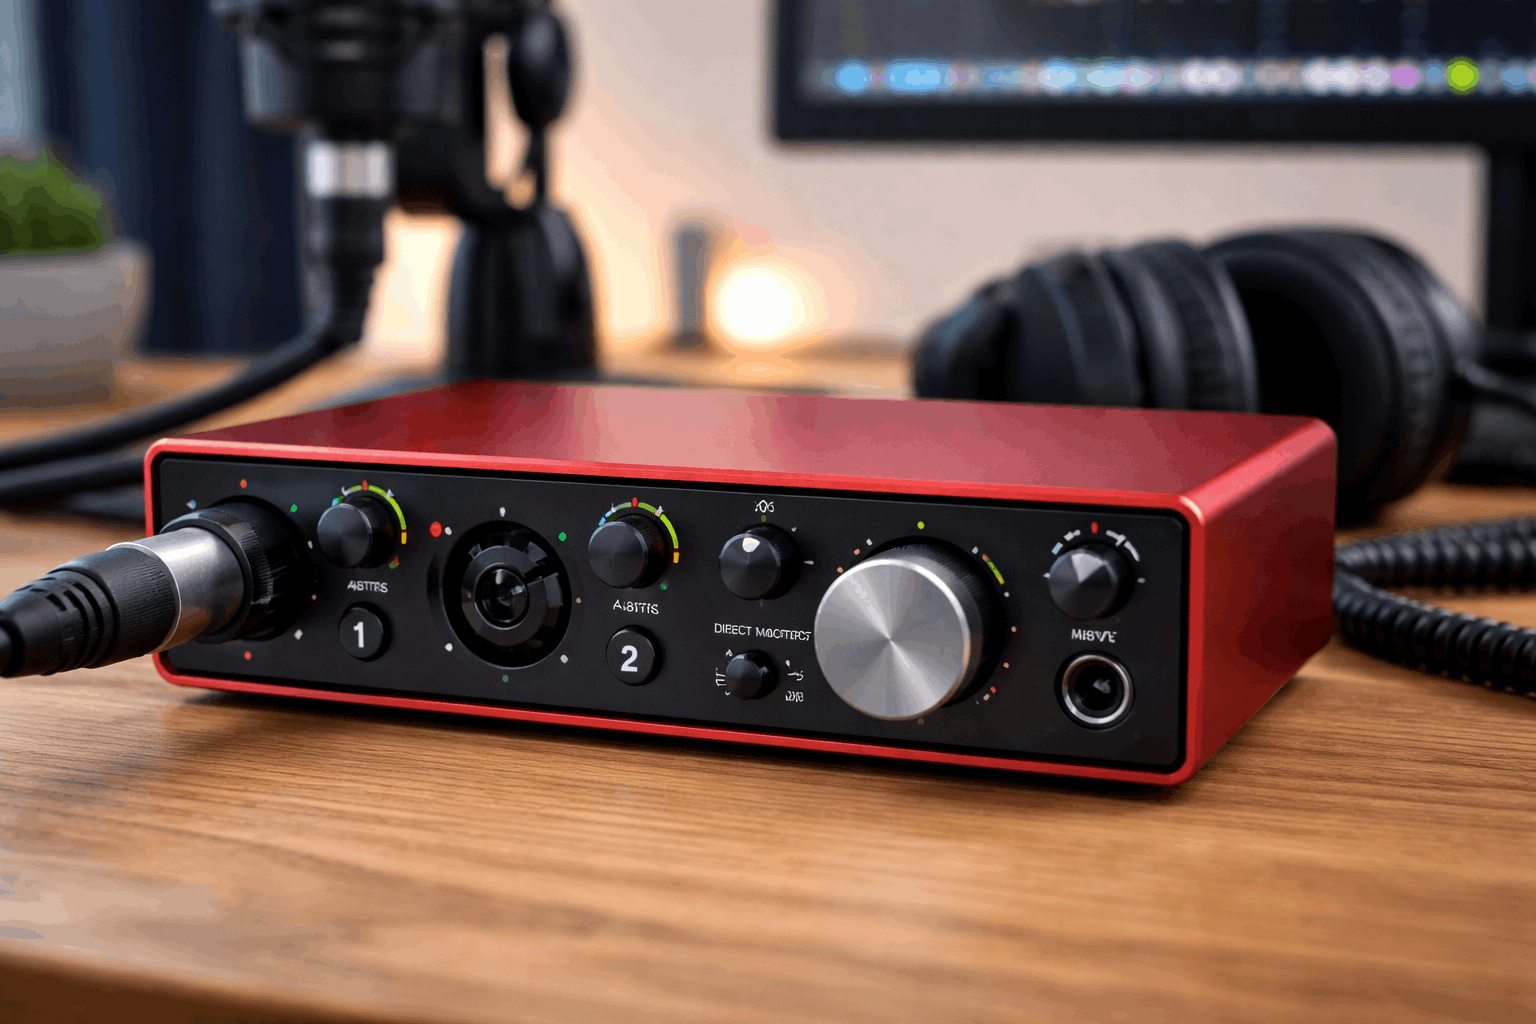
An audio interface is a small box that sits between your microphone and your computer. It converts the analog signal from an XLR mic into digital audio your recording software can use, and it sends audio back out to your headphones or speakers.
If that sounds familiar, it should. A USB microphone already does this conversion internally. The difference is control.
A standalone interface gives you a physical gain knob, a headphone output with real volume, and the ability to swap between different XLR microphones without replacing the whole chain.
Why USB Mics Hit a Ceiling
USB mics lock you into one microphone, one preamp, and one converter built into that single device. The gain is usually software-controlled, which means hunting through menus mid-recording to adjust levels.
And if you ever want a second mic for a guest or a different sound, you’re buying an entirely new USB mic rather than just plugging in a different XLR cable.
A separate interface removes that bottleneck. Once you own one, swapping mics takes about ten seconds.
The Phantom Power Question
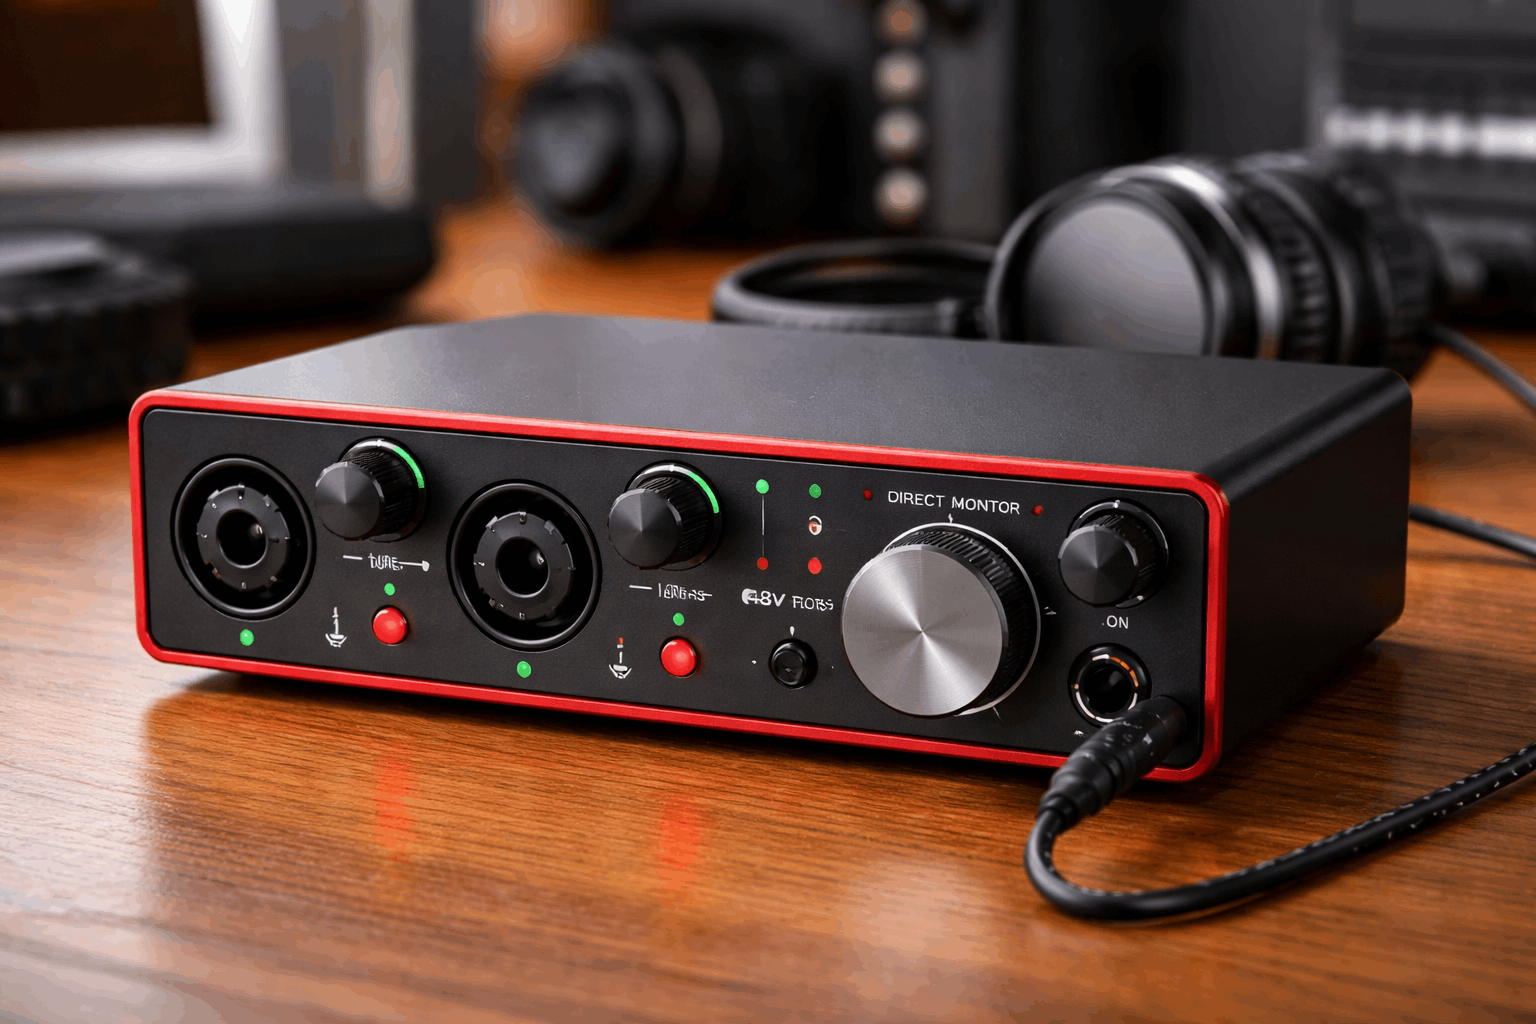
Phantom power (labeled 48V on most interfaces) sends electrical power through the XLR cable to condenser microphones that need it.
Dynamic mics don’t need phantom power, and plugging a dynamic mic into a phantom-powered input won’t damage it in the vast majority of cases. The 48V button is just a toggle.
Also read: How to Record Professional Audio in a Small Room
I would argue that beginners overthink phantom power based on how much forum space it gets. It is a single button. Press it if your mic needs it. Leave it off if it doesn’t. That’s the entire decision.
Audio Interface Specs That Matter at 48 kHz and 24-Bit
Spec sheets for audio interfaces can run long. For a beginning creator recording voice, only a handful of numbers change the result.
Sample Rate and Bit Depth: Stick With 48 kHz / 24-Bit
48 kHz sample rate is the standard for video production. 24-bit depth gives enough headroom that small gain mistakes won’t ruin a take.
Going higher (96 kHz, 192 kHz) doubles or quadruples your file size without any audible improvement for voice recording. Mic placement and room treatment will change your sound ten times more than jumping from 48 kHz to 96 kHz.
Latency and Direct Monitoring
Latency is the delay between speaking into the mic and hearing yourself in headphones. Every interface adds some delay because of the digital conversion. Good interfaces keep this delay under a few milliseconds, which is fast enough that your brain doesn’t notice.
The shortcut most interfaces offer is direct monitoring: routing your mic signal straight to the headphone output before it passes through the computer. This gives you zero-latency monitoring, and it is the feature beginners use the most without realizing it.
Preamp Gain: The One Knob That Matters
The preamp inside an audio interface boosts the tiny signal from your microphone. The gain knob controls how much boost gets applied. Set it so your normal speaking voice hits a comfortable level on the meter without touching the red clip indicator.
Here is a practical rule: if you are turning the gain knob past 75% and the signal is still weak, the mic might need more gain than the preamp can cleanly provide. That’s a compatibility issue, and it’s worth checking before buying.
Condenser vs. Dynamic Mics for Untreated Home Rooms
This is where I disagree with a piece of advice that appears in nearly every beginner audio interface guide.
The standard recommendation tells new creators to buy a condenser mic because it’s the “studio standard.”
I think that advice costs beginners money and frustration.
A condenser mic picks up more room detail: echo off hard walls, fan noise from a laptop, keyboard clicks, and the neighbor’s dog. For an untreated bedroom or apartment, all that sensitivity works against you.
A dynamic mic used at close range (a few inches from your mouth) rejects background noise far more effectively. The result is a tighter, cleaner vocal with less post-processing needed.
Pair a dynamic mic with a basic 1-input interface running at 48 kHz / 24-bit, and you have a setup that sounds better in a real home than a condenser in the same room at twice the price.
The only scenario where a condenser wins for a beginner is a quiet, treated space with soft furnishings, thick curtains, and no external noise. How many beginner creators have that room? Almost none.
| Feature | Condenser Mic | Dynamic Mic |
|---|---|---|
| Room noise pickup | High (captures reflections and ambient sound) | Low (rejects off-axis noise) |
| Phantom power needed | Yes (48V required) | No |
| Best distance from mouth | 6 to 12 inches typical | 2 to 4 inches for tightest sound |
| Price range for a solid starter | $70 to $150 | $60 to $130 |
| Untreated room performance | Poor to average without treatment | Good to great at close range |
The takeaway: match the mic type to your room, not to the label “studio standard.”
How Many Inputs Do You Need on Your First Audio Interface
The number of XLR inputs on an interface determines how many microphones you can record at once. This is the spec that changes the price fastest.
Solo Creators: 1 Input Is Enough
If you record alone (voiceovers, streaming, solo YouTube), a single XLR input handles everything. There’s no reason to buy a 4-input interface “just in case.” The extra inputs add cost, add bulk on a desk, and go unused for months or years.
Podcasters and Interview Setups: 2 Inputs
Two XLR inputs let you record a host and a guest on separate channels. Each person gets an independent gain knob, which means you can balance volumes without fighting a single shared level.
Beyond two inputs, the use cases get specific: recording a band, multi-mic drum setups, or running separate room mics. None of those apply to a typical beginning creator.
Headphone Output: The Spec Beginners Ignore
Every beginner interface guide talks about preamp quality. Almost none talk about headphone output power, and I think that’s a mistake.
A weak headphone output means low volume in your monitoring headphones. Low monitoring volume means you miss problems: subtle hum from a cable, mouth clicks, background hiss, or early signs of clipping.
A strong headphone output lets you hear everything the mic captures at a comfortable level, and that’s the tool that catches problems before they make it into a published recording.
When comparing interfaces, check whether the headphone output can drive your headphones loud enough. This matters more for higher-impedance headphones (80 ohms and above), which need more power to reach full volume.
Mistakes Beginners Make After Buying an Audio Interface
An interface alone doesn’t fix bad audio. A few common missteps show up repeatedly in beginner recording forums:
- Setting gain too high and clipping the signal. The red clip light means the audio is distorting. Pull the gain back until the loudest part of your voice stays below the clip threshold. Speak closer to the mic instead of cranking the knob.
- Ignoring room reflections. A bare room with hard walls and no soft surfaces will produce an audible echo on every recording. A rug, heavy curtains, and a blanket behind the mic do more for sound quality than any interface upgrade.
- Monitoring through laptop speakers instead of headphones. Laptop speakers hide problems. Headphones connected to the interface reveal them. Always test with headphones plugged into the interface’s headphone jack before recording a full session.
- Buying a 4-input interface for a 1-mic setup. Extra inputs sit empty. Spend that budget difference on acoustic treatment or a better mic instead.
The pattern behind all four mistakes is the same: gear purchases can’t substitute for setup and technique. An interface records exactly what your mic hears, including every room problem and gain error.
Buying Checklist for Your First Audio Interface
Prioritize practical needs over feature lists. A short checklist for a first-time buyer:
- At least 1 XLR input (2 if you plan interviews or two-person podcasts)
- 48V phantom power if you use a condenser mic now or might later
- A direct monitoring switch or knob
- A headphone output loud enough for your headphones
- USB-C connection for current laptops (USB-B adapters work, but USB-C is simpler)
Budget interfaces from Focusrite and other brands in the $60 to $150 range cover all five checkboxes. Spending above $200 on a first interface is rarely necessary unless you need more than two inputs.
An audio interface buying guide from Sweetwater can help narrow options by input count and budget.
Questions People Ask About Audio Interfaces for Beginners
Q: Can I use an audio interface with a USB microphone?
A USB mic has its own converter built in, so plugging it into an interface’s XLR input won’t work. Some interfaces have a separate USB input, but most beginners are better off choosing one path: USB mic alone or XLR mic plus interface.
Q: Do I need an audio interface for streaming on Twitch or YouTube?
Not strictly. A USB mic works fine for streaming. An interface becomes useful when you want more gain control, lower latency monitoring, or the option to swap XLR mics without replacing your whole setup.
Q: Will an audio interface make my recordings sound better automatically?
No. The interface captures what the mic hears. If your room echoes or your gain is too high, the interface will faithfully record that problem in higher detail. Mic placement and room treatment do the heavy lifting.
Q: What’s the difference between a $50 and a $200 audio interface?
The main differences are preamp quality (less noise at high gain), headphone output power, build materials, and extra inputs. For a single-mic voice setup at 48 kHz / 24-bit, a $50 to $100 interface performs close to a $200 one in real-world listening tests.
Q: Is 48 kHz / 24-bit good enough for professional-sounding audio?
Yes. Commercial podcasts, YouTube channels with millions of subscribers, and broadcast voiceovers use 48 kHz / 24-bit daily. Higher sample rates don’t improve speech recordings in any way a listener can hear.
Conclusion
An audio interface gives beginners cleaner gain control, real-time monitoring, and the freedom to choose XLR microphones.
Fix your room sound and mic placement first, because the interface records both problems and improvements equally well. A single-input interface at 48 kHz and 24-bit paired with a dynamic mic covers most solo creator needs.
Start there, learn how gain and monitoring work, and upgrade only when your recordings prove you need more.