
A window can make a home video look warm and flattering, yet that same window may turn a lesson into mismatched clips when clouds pass or the sun shifts.
Continuous lighting solves a different problem: it gives you predictable exposure when your recording time, room, or weather changes.
For creators filming tutorials, calls, product demos, vlogs, or talking-head videos at home, the useful question is not which source looks more “professional.” It is which option gives your camera a clear face and a setup you will use again next week.
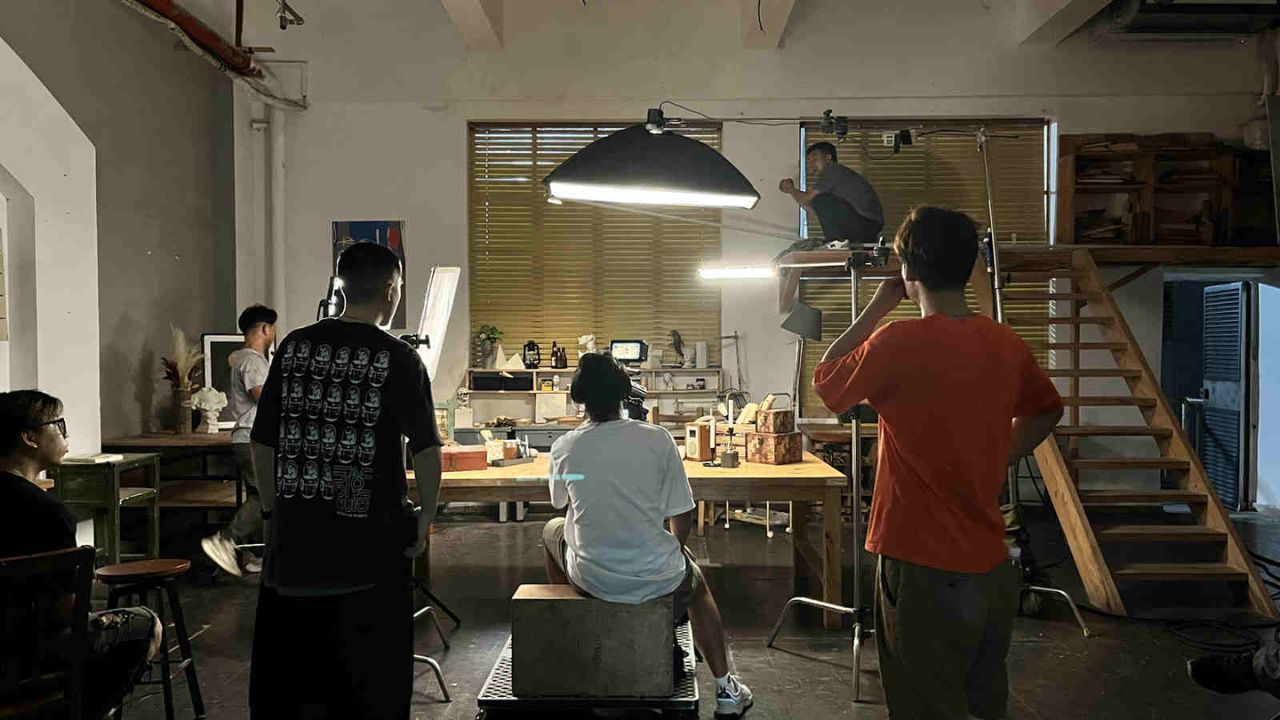
Start With the Room and Schedule You Already Have
Lighting choices make more sense once you consider the room and the hours you are genuinely available.
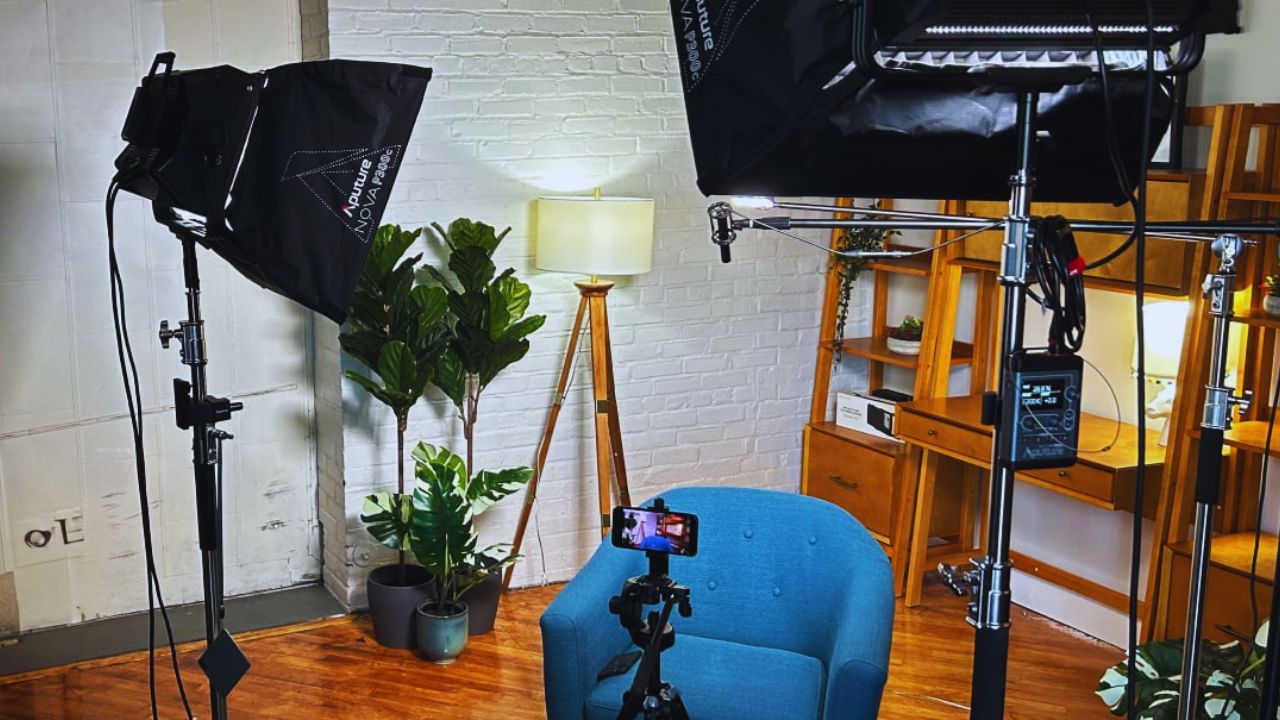
A beautiful window is less useful when work starts after sunset, while a small LED may be enough in a shared bedroom with a reliable desk corner.
A Window Helps Only When It Stays Predictable
Natural light can be excellent for relaxed lifestyle videos, especially when a large window sits in front of you or slightly to one side.
On an overcast morning, it creates soft shadows without much equipment, and a sheer curtain can soften direct sun.
Trouble starts when the window is behind you, leaving your face dark while the background becomes distracting. Before relying on daylight, record a short clip at your usual time and see whether camera exposure changes during a normal take.
Your Recording Time May Decide the Answer
Creators who batch videos on a bright weekend morning may get enough consistency from a window and a simple reflector.
Someone recording lessons after work, livestreaming at night, or fitting clips around family routines usually needs a source that stays unchanged after sunset. Natural light also changes across seasons; the spot that works in June may be dim in December.
A continuous lamp is not automatically better, but it removes one moving variable from a busy recording schedule.
What Continuous Light Changes in a Small Home Setup
Continuous light stays on while you frame the shot, so you can see its effect before pressing record. That makes it useful for creators who want repeatable framing and stable color rather than a different result each day.
Control Matters More Than Maximum Brightness
An LED panel, ring light, or compact key light lets you adjust brightness, distance, and color temperature without waiting for weather.
Moving it closer usually softens the light because it becomes larger in relation to your face, while simply increasing brightness can make skin look shiny.
Begin with the light above eye level and off to one side, then make small changes instead of aiming it straight at the camera. The aim is even detail in the face, not a flat, overlit image.
Avoid the Common “Studio Look” Mistakes
Continuous lighting can look artificial when the main source sits too close to the lens or every room light stays on.
A ring light may create circles in glasses, while a tiny uncovered panel can produce hard shadows.
Turn off warm ceiling lights if they clash with a cooler LED, or deliberately match color temperature before recording. These small choices make a controlled setup look more natural on camera, especially with a basic webcam that struggles with mixed lighting.
Natural Light Still Has a Place in Everyday Video
A window does not need replacing just because LED lights are convenient. At the right time, natural light can create a calm, believable look for casual content and simple home filming.
Side Window Light Can Give the Face More Shape
Place the camera near the window so light falls across your face rather than coming from directly behind you.
A slight side angle adds gentle depth, while a white wall, foam board, or pale curtain on the darker side can lift harsh shadows.
If sunlight lands in sharp patches, pull a sheer curtain across the glass or move farther back. This is often more useful than buying another lamp because softer daylight can keep skin tones pleasant with little adjustment.
Also Read: Best Desk Lighting for Video Calls and Streaming
The Limits Show Up During Longer or Repeated Takes
Daylight does not look bad; it simply does not promise the same result for every take. Clouds, passing reflections, weather, and the sun’s position can change brightness while you are explaining a product or recording an interview.
That becomes frustrating when clips filmed hours apart must be combined, because faces and backgrounds may no longer match.
If you are building a series, consistent visual continuity may matter more than the charm of free window light.
A Hybrid Setup Can Be More Practical Than Picking Sides
Many home creators do not need to choose one source forever. Daylight can be the main light during suitable hours, while a small LED handles shadow control or becomes a dependable backup when conditions change.
Use a Simple Test Before You Film Anything Important
Set up your camera first, then check the lighting with the chair, background, and clothing you plan to use.
A quick test can show whether a bright window is blowing out, glasses reflect the LED, or the camera keeps changing color. Before a longer recording, look for three details:
- Face: Brighter than the background, without appearing washed out.
- Background: Visible, without pulling attention from you.
- Color: Similar across your skin, walls, and clothing.
Lock exposure or white balance when your device offers those controls, especially if your room contains daylight and lamps.
That short check can prevent a full reshoot after you have recorded your best explanation.
Build a Setup You Can Recreate Without Rearranging the House
Mark the tripod position with a small piece of tape, note the brightness setting, and keep the chair in the same place if possible.
If you use a window, take a photo of the setup at the hour that works best, including curtain position and camera angle. Those references make it easier to return to a familiar result without guessing from memory.
A repeatable arrangement matters more than an expensive fixture when your aim is consistent video across weeks.
Let Your Routine Make the Final Choice
Natural light is worth using when you can film at a dependable time and your window gives soft light from the right direction.
Continuous light is more suitable when you record at night, need matching episodes, or work in a room where daylight shifts quickly.
Begin with the source you have, test it in the conditions you use, and add a lamp only when it solves an issue. The strongest setup gives you usable footage without turning each video into a lighting experiment.










