
Somewhere right now, a creator is recording a perfectly good video that looks terrible. The camera is fine. The mic is fine. The lighting is the problem, and they probably don’t even know it.
Lighting for home video recording separates the “I shot this on my phone” look from footage that people stick around to watch. And the fix is often cheaper and faster than upgrading any other piece of gear.
But here is what bugs me about lighting guides: they recommend ring lights to everyone like it’s a universal answer. I think the best lighting for home video recording starts with understanding your specific room, not throwing money at Amazon’s top seller.
This guide breaks down six setups, real prices from B&H as of early 2026, and the positioning mistakes that tank an otherwise decent light.
What to Check Before Spending a Dollar on Lights
The temptation is to browse lights first and think about placement later. That sequence wastes money. A $60 panel in the right spot will outperform a $200 light placed badly. So the order matters: figure out what your room needs, then shop.
Soft Light vs. Bright Light: They Are Not the Same Thing
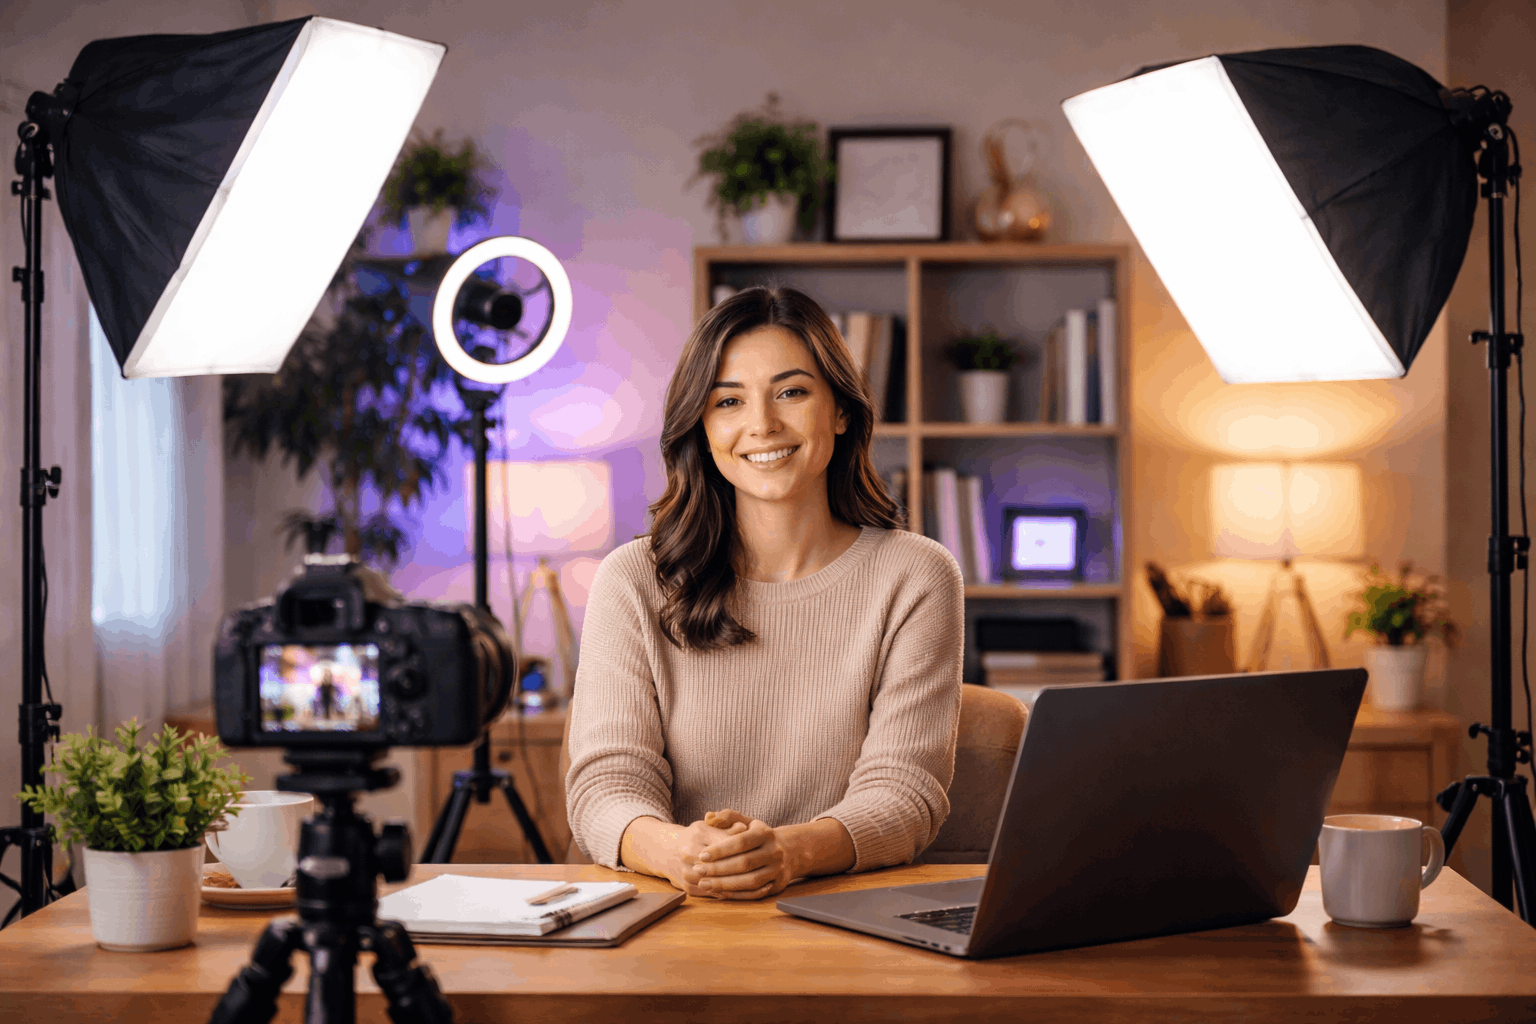
A common mistake is buying the brightest light available and expecting it to look good on camera. Brightness and softness are two separate qualities.
Soft light wraps around your face, fills in harsh shadows, and makes skin look natural. Hard light creates deep shadows under your nose and chin.
Softboxes and diffusion panels produce soft light because the light source is spread over a larger surface area. A bare LED bulb can be extremely bright but still make you look terrible on camera because the light comes from a single small point.
CRI, TLCI, and Color Temperature: the Specs That Matter on Camera
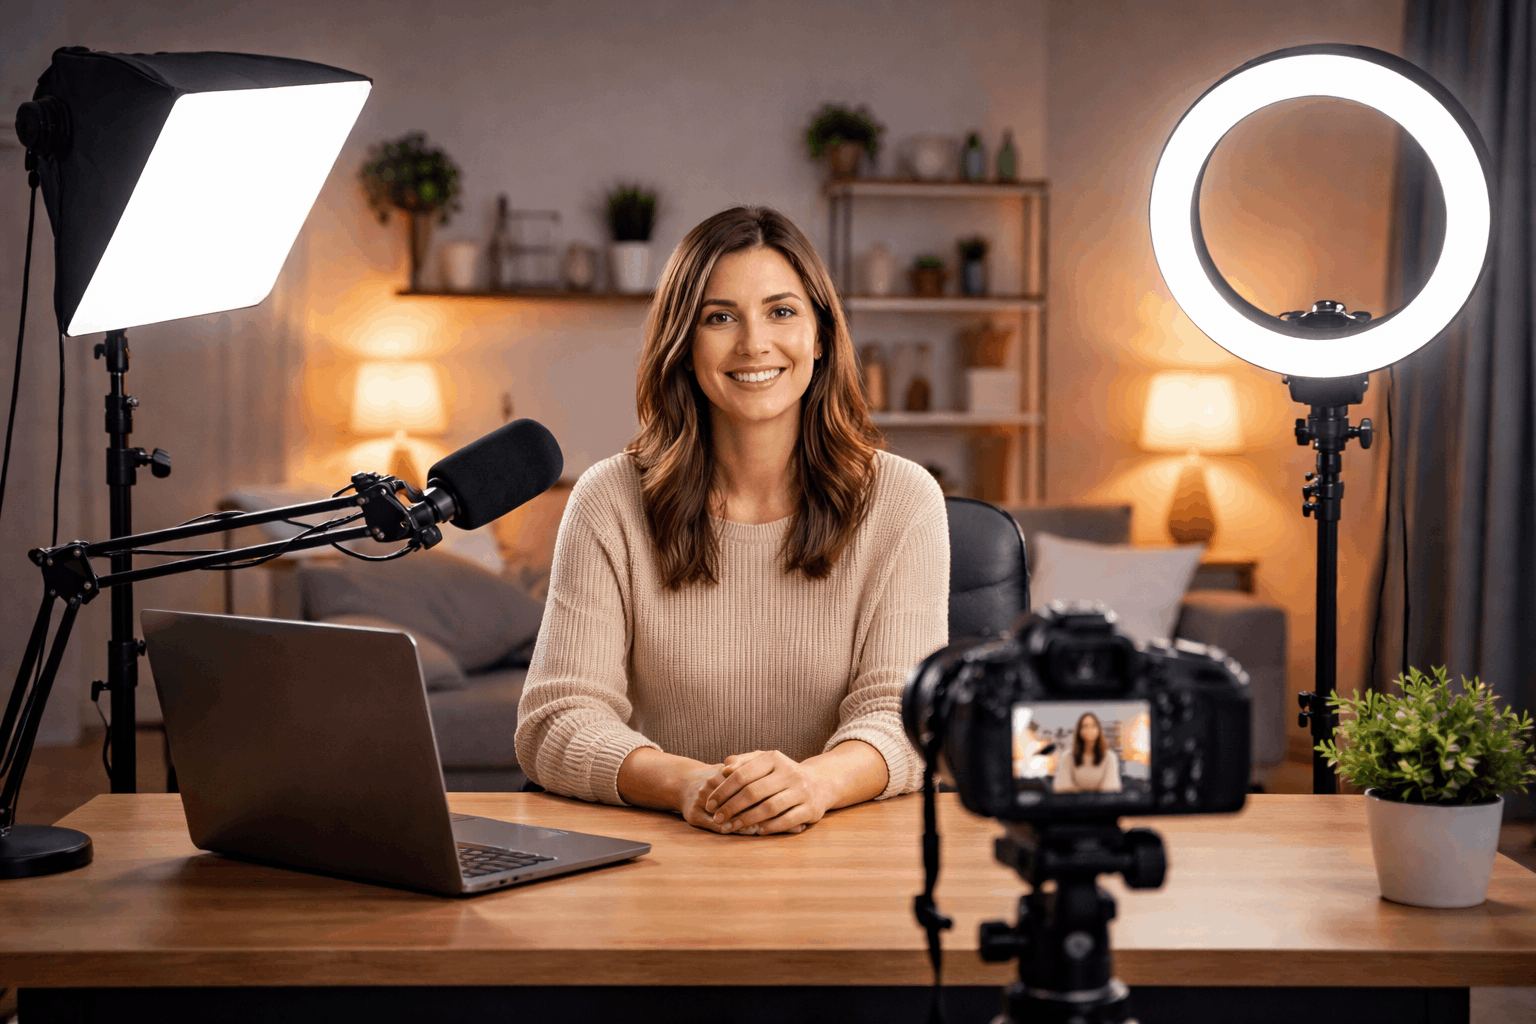
Two numbers worth checking on any video light are CRI and TLCI. CRI measures how accurately a light renders colors compared to natural light. TLCI was designed specifically for how colors appear on camera, which makes it more relevant for video work.
Low CRI or TLCI scores can make skin tones look greenish or washed out, and product colors will appear different on screen than in person.
Bi-color lights that range from roughly 3200K to 5600K let you match your light to whatever else is happening in your room: warm lamps at night, cool daylight in the morning.
Mounting and Positioning: the Part People Rush Past
A light that can only sit flat on a desk has limited use. The ability to mount a light slightly above eye level and angle it 30 to 45 degrees to one side changes the entire look of your footage.
A simple clamp or light stand often does more for your video quality than an extra 500 lumens. I would pick a $59.99 Logitech Litra Glow on a proper mount over a $150 panel sitting flat on a shelf every single time.
Six Home Video Lighting Setups Ranked by Budget
Each setup below works for a different kind of creator and content style. The right one depends on what you film, where you film it, and how much control you want over the look. Let’s go through them from free to fully kitted out.
Window Light and Simple Positioning: the $0 Baseline
A window is a free softbox. Sit facing it at a slight angle so the light hits your face from about 30 to 45 degrees to one side. Direct, front-on window light flattens your features. A slight angle adds depth.
The catch: weather, time of day, and which direction your room faces dictate your results. Filming at noon on a cloudy day looks completely different from filming at 4 PM with direct sun pouring in.
To keep things consistent, film at the same time each day and avoid mixing the cool window light with warm lamps behind you. That warm-cool combo creates a color cast that is hard to fix in editing.
This setup works well for casual talking-head content, Zoom calls, and anyone testing whether they even want to make videos before investing money.
Single Desk Panel for Webcam and Streaming Content
Desk-mounted LED panels designed for streaming are the easiest plug-in-and-go option for creators who record seated at a desk. Two solid options on the market right now:
- Elgato Key Light Neo: listed at $74.99 on B&H, built for streaming setups with adjustable brightness
- Logitech Litra Glow: listed at $59.99 on B&H, compact and designed to sit near the webcam
- Both offer edge-lit diffusion, which softens the output without needing a separate modifier
Mount the panel just above your webcam or slightly to one side, keeping it 30 to 60 cm from your face.
One trick that makes a big difference: add a small lamp behind you, pointed at the wall or a shelf, to separate your head and shoulders from the background. That cheap background separation is something a single front light alone cannot provide.
Also read: Best Budget Lights for YouTube and Online Videos
Ring Light Setup: Popular but Overrated for Most Creators
Ring lights are everywhere in “starter creator” recommendations, and I think they’re one of the most overhyped pieces of gear in the home video space.
At $107.99 for a Neewer 18-inch LED Ring Light Kit on B&H, you’re paying more than a desk panel and getting a less natural look in return.
The problem is physics. A ring light wraps evenly around the lens axis, which removes shadows from your face.
That sounds good until you realize it also removes dimension. The result is a flat, center-lit look with circular catchlights in your eyes that scream “ring light” to anyone who notices.
Does this bother every viewer? No. But if you’re recording tutorials, commentary, or anything that benefits from a natural, three-dimensional look, a single panel light placed off to one side at $59.99 to $74.99 gives better results for less money.
If you already own a ring light, move it slightly off-center instead of shooting straight through it. Add a small room lamp on the opposite side for fill. That hack rescues a ring light from flatness and gives you something closer to a two-light setup.
Softbox Pair for Consistent Home Studio Light
Two softboxes are the classic home studio lighting approach. Big, soft light sources make faces look smooth, and the setup repeats identically every time you hit record.
The Neewer 700W Photography Softbox Lighting Kit is listed at $139.99 on B&H, which gets you both lights and stands.
Place one softbox as the key light at about 45 degrees from the camera, slightly above eye level. Place the second as a fill light on the opposite side, either at lower brightness or farther back.
The fill should soften shadows without eliminating them entirely. Killing all shadows makes footage look flat, just like a ring light does.
This setup suits interview content, product intros, and sit-down YouTube videos where you want the same look in every upload. The drawback: softboxes take up room. Two stands and two large modifiers can crowd a small bedroom or office fast.
Three-Point Lighting for Interview-Style Control
Three-point lighting uses a key, a fill, and a backlight to give you full control over how your face and background appear on camera. This is the standard approach for interview-style and polished YouTube content.
A practical way to build this at home on a budget:
| Role | Product Example | Listed Price (B&H) |
|---|---|---|
| Key Light | Godox SL60IID | $139.00 |
| Key Light (alt) | amaran COB 100d S | $159.00 |
| Fill + Back | Neewer Bi-Color 660 LED 2-Light Kit | $181.86 |
| Full 3-Light Kit | GVM 800D-RGB 3-Light Kit | $299.00 |
The GVM 800D-RGB 3-Light Kit at $299.00 is the most complete out-of-the-box option, but mixing a single COB key light with a 2-light panel kit can get you there for roughly the same price with more flexibility.
That modular approach lets you upgrade one piece at a time instead of replacing an entire kit later.
Overhead Lighting for Tutorials and Product Demos
Top-down filming needs a different strategy entirely. Hands, crafts, unboxings, and tabletop work require even light across a flat surface, not the directional face lighting that works for talking-head content.
Position one light above and slightly in front of the table. Not directly overhead, because that creates glare on glossy surfaces and packaging.
A second, softer light from the opposite side reduces hand shadows. The goal is readable detail: texture, labels, and small parts should be clear without distracting shadow lines cutting across the frame.
Budget Planning for Home Video Lighting in 2026
Prices shift with bundles, stock levels, and seasonal promotions, so treat all numbers as reference points and check B&H Photo before purchasing. That said, the tiers fall into predictable ranges.
Creators spending under $80 can handle webcam and streaming content with a single desk panel. The $59.99 to $74.99 range covers both the Logitech and Elgato options.
Spending $100 to $150 opens up softbox kits and ring light kits for a full “creator studio” look. And $150 to $300+ gets into COB key lights and multi-panel kits that support three-point lighting.
I would tell a new creator to start at the $60 to $75 tier, learn positioning, and upgrade only when they can articulate exactly what their current light cannot do.
Throwing $300 at a three-light kit before understanding where to place a single light is a recipe for expensive frustration.
The light-buying sequence that works: one good key light first, then a fill or backlight only after you’ve maxed out what one light can do with proper placement and a few room lamps as support.
Check the Elgato Key Light product page for updated specs and compatibility info, since streaming-specific lights sometimes update their software integration between product cycles.
Questions People Ask About Home Video Lighting Setups
Q: Can I use regular room lights for recording video at home?
Standard ceiling lights and floor lamps can fill a room, but they lack the directional control that makes faces look good on camera. They’re fine as background fill, but a dedicated video light aimed at your face from the right angle will always produce a better image than whatever fixture came with your apartment.
Q: How many watts do I need for home video lighting?
Wattage is less useful than looking at the lumen output and the size of the light source. A 60W LED panel with good diffusion will look better than a 200W bare bulb. Pay attention to brightness controls, CRI/TLCI ratings, and whether the panel lets you adjust color temperature.
Q: Are LED lights better than softbox lights for YouTube videos?
LED panels and softboxes are two different categories that overlap. A softbox is a modifier that shapes light. An LED panel is a light source. Many setups combine both: an LED panel inside a softbox. The real question is whether you want a compact desk light or a larger, studio-style modifier on a stand.
Q: Do I need RGB lights for home video recording?
RGB lights add colored accents to backgrounds or set a mood, but they are not necessary for standard talking-head or tutorial content. Spend on a solid bi-color (3200K to 5600K) light first. RGB is a style choice, not a quality upgrade, and a bi-color panel handles 90% of home video needs.
Q: How do I stop my glasses from reflecting my lights on camera?
Tilt the light slightly higher than eye level and angle it about 30 to 45 degrees off to the side. That positioning moves the reflection out of the camera’s line of sight. A slight downward tilt of your chin can also help, and some creators raise their lights another six inches specifically to solve this problem.
Conclusion
Good lighting for home video recording does not require a film school education or a four-figure budget. One soft, well-placed key light at $60 to $75 solves the biggest visual problems on most footage.
Add a fill or backlight only after your single light setup runs into limits you can name specifically. The best setup is the one you can rebuild in under five minutes every time you sit down to record.










