
A webcam can make a familiar room look harsher than it feels in person. Even face lighting keeps skin tone consistent and stops a bright window from taking over the image.
This guide is for anyone recording lessons, interviews, calls, tutorials, or short videos in a bedroom, office corner, or shared space. The goal is a repeatable arrangement that works on an ordinary day, not a setup that only looks good once.
Start With What the Camera Actually Sees
Your eyes adjust to shadows and mixed bulbs more easily than a webcam does.
Use the camera preview to identify the main problem—dark cheeks, glare, uneven colour, or an overexposed background—then change one thing at a time.
Check Where the Window Sits
Daylight can help when it reaches the front or side of your face. It becomes difficult when the window sits behind you, because the camera may expose for the outdoors and leave you dim.
Turn toward the window slightly and record a short clip at your normal recording time. Clouds and late-afternoon sun change the look quickly, so treat daylight as part of the lighting plan.
Test Movement, Not Just a Still Preview
A still image can look fine until you lean forward, turn your head, or glance at another screen.
Record ten seconds while speaking, then look for shifting exposure, glasses reflections, and moving shadows.
Review it with sound on to see whether a microphone arm enters the frame. This reveals real camera behaviour before it becomes an editing problem.
Place One Useful Key Light Before Adding More
Most home setups begin with one controllable light near the camera. A stable key source gives the face priority and shows whether you need more equipment.
Put the Light Above and Slightly Beside the Lens
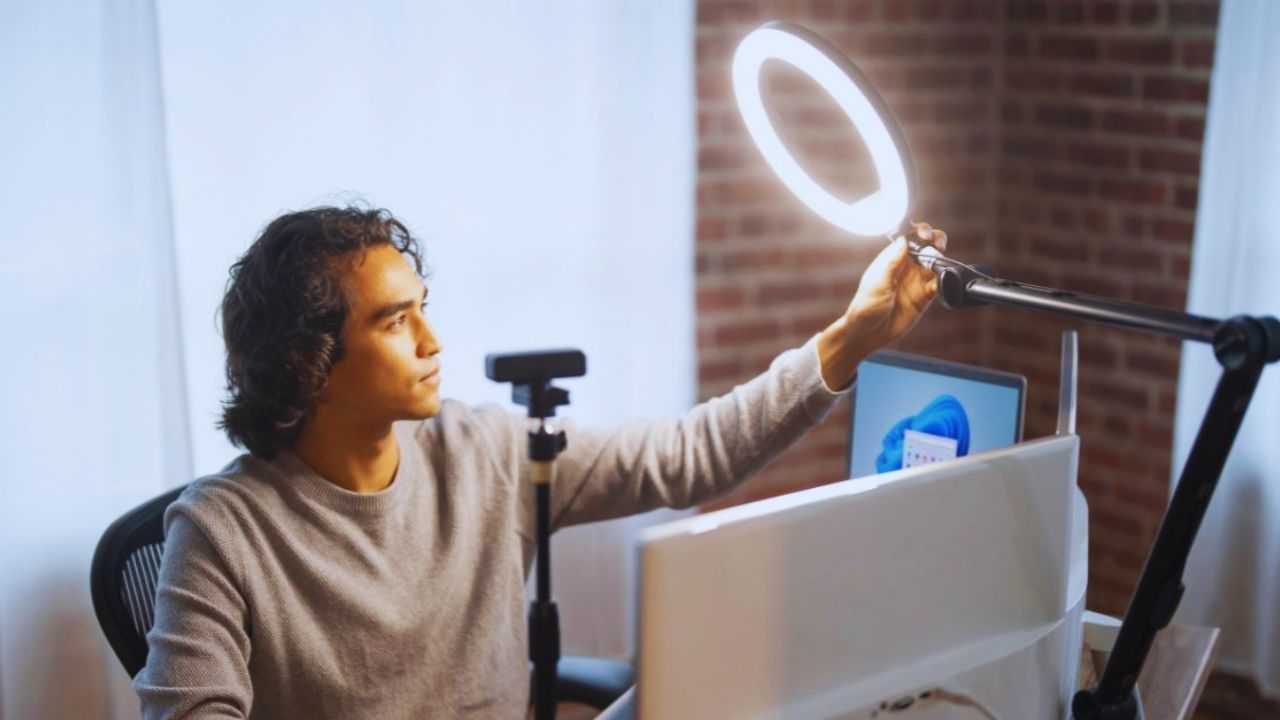
Start with the light above eye level and 30 to 45 degrees to either side of the camera. Aim it down so shadows fall below the nose and chin instead of rising upward.
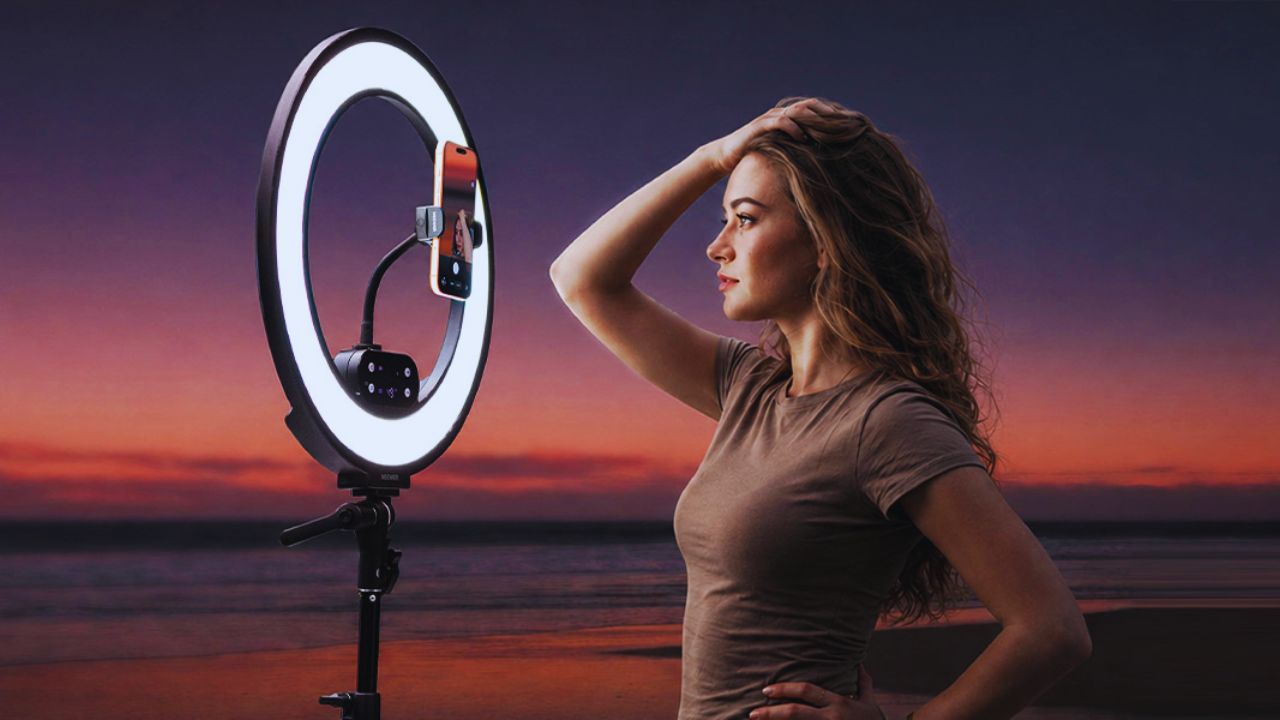
The angle keeps shape around the cheeks without leaving one half of the face unreadable. A ring light, LED panel, or softbox can work when light direction is right and the camera frame stays clear.
Bring It Closer Before Raising Webcam Exposure
A grainy image usually needs more usable light, not another filter or higher exposure.
Move the source closer while keeping it outside the shot, then lower brightness if the forehead or cheeks become shiny.
If it looks harsh, diffuse it with a softbox, white curtain, or pale wall. This gives better facial detail and avoids the noisy image created when a webcam brightens a dark room.
Also Read: Audio Gain Explained for Clear Home Recordings
Control Shadows Without Erasing All Depth
A face does not need equal brightness on both sides. Aim for gentle contrast that keeps expressions visible without a flat image.
Use a Reflector Before Buying a Second Fixture
When the main light leaves one side of your face too dark, try a white foam board, curtain, or pale wall opposite the main source.
Move it until the darkest area lifts enough for the camera to read. This takes less space and adds fewer cables than another lamp. A reflector often provides the soft fill needed for a more balanced result.
Fix Glasses and Mic Shadows With Small Moves
Glasses glare often improves when the key light moves higher, farther sideways, or points down.
A boom arm may create a wall shadow, but widening or raising the light can remove it without sacrificing clear audio.
Check the preview from your normal sitting position, since reflections return when you adjust your chair. These changes protect comfortable posture, clear sound, and a cleaner image.
Keep Colour and Background Detail Under Control
A tidy room can still look busy when cool daylight, warm bulbs, and coloured LEDs appear together. Give the scene one dominant light colour and keep the background quieter than the face.
Stop Different Bulbs From Changing Skin Tone
Choose one main source, then turn off or reduce lights that clash with it. A daylight LED and warm ceiling bulb can leave the face blue on one side and yellow on the other.
If daylight shifts too much during recording, close the curtain and use a controlled source. Matching lights reduces colour correction and gives clips a more consistent appearance.
Let the Background Support the Shot
Light your face before deciding whether the wall or shelf behind you needs anything.
A small lamp can add depth off to one side, but it should stay dimmer than the subject and never sit directly behind your head.
Sitting farther from the wall softens shadows and reduces background detail. This creates a clear visual hierarchy, so viewers notice your message and expression first.
Make the Arrangement Easy to Rebuild
A setup saves time only when you can rebuild it without measuring the room again. Once it looks right, make camera height, light distance, and chair position easy to repeat.
Save the Working Layout Before You Pack Up
Take a phone photo of the desk, tripod, and light positions, or add small tape marks where stands belong.
This helps in a shared room where equipment moves after recording. Note your usual brightness setting if the light does not remember it. Those references preserve visual continuity and stop every video becoming a fresh experiment.
Do not treat a slightly imperfect setup as a reason to delay recording. If the face is clear, the colour is stable, and the background does not compete, the frame is usually ready.
Small flaws that viewers barely notice should not lead to endless adjustments or a missed recording window. Prioritize repeatable quality over constant tinkering during real recordings.
Do a One-Minute Check Before Important Takes
Before a client call, lesson, or recording you cannot repeat, check the image while speaking and moving normally.
Look for a dark cheek, shiny skin, uneven colours, a bright window, or a microphone shadow.
Fix the closest cause instead of changing every setting. Use this quick review before you press record:
- Is the face brighter than the background?
- Are the light colours matched?
- Do glasses and microphones stay out of distraction?
Conclusion: Let the Face Carry the Frame
Even face lighting comes from control, not a permanent studio or a long shopping list. Start with one light above and beside the lens, remove competing bulbs, and add a reflector only when a shadow needs help.
Test the setup where and when you normally record, particularly when daylight affects the room. With steady placement, balanced colour, and a quiet background, videos can look calm and clear without making home life harder to manage.










