
A webcam, a mic, a tripod, and a ring light clipped to the monitor. That setup looks fine until someone records a talking-head video and wonders why their face has that flat, washed-out glow.
LED panel lights fix the problem most desk creators ignore: uneven, uncontrollable light that makes good cameras look cheap.
But the panel market is confusing. Boards, boxes, bi-color, battery-powered, USB-powered. Every listing throws specs at beginners without explaining what those numbers do in a real room.
This guide breaks down LED panel lights in plain language, covers placement and adjustments, and helps a solo creator skip the expensive mistakes.
How LED Panel Lights Work and Why They Beat Ring Lights for Video
The concept is simple. An LED panel is a flat fixture packed with rows of small LEDs behind a diffuser layer. That surface spreads light across a wide area instead of concentrating it into a single point like a bare bulb.
That spread matters more than raw brightness when recording at a desk. A broad light source wraps around facial features, softens shadows under the nose and chin, and makes skin look smoother on camera.
A ring light can do similar things for close-up shots, but it creates that distinctive circular catchlight in the eyes and tends to flatten everything when used alone.
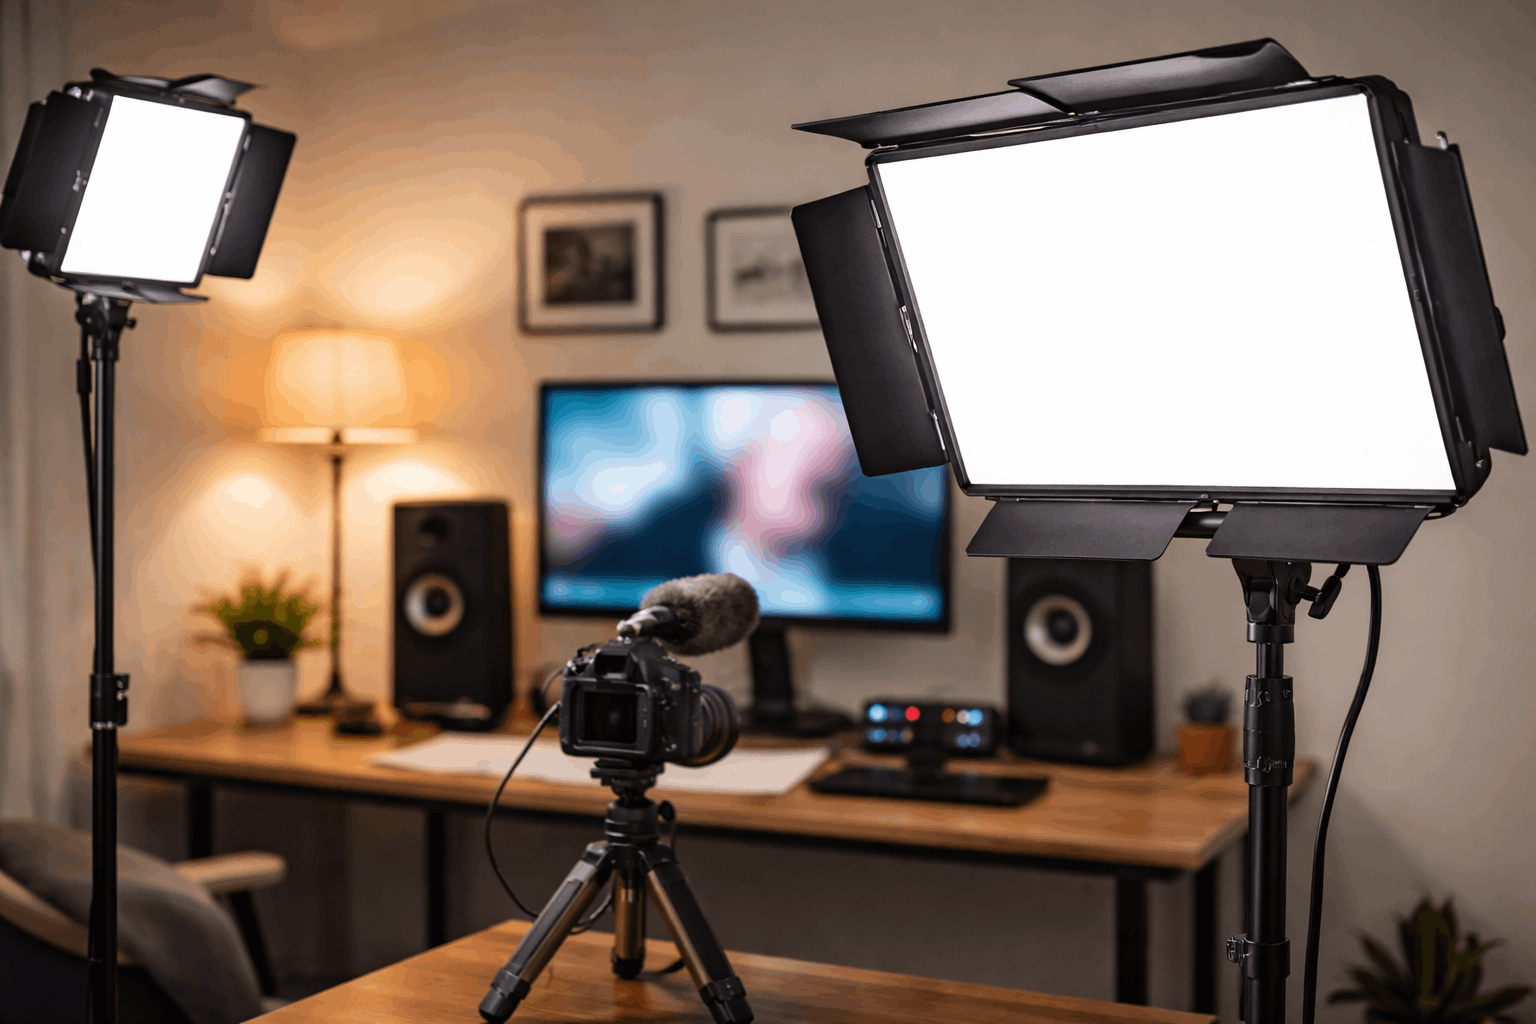
LED Panels vs Ring Lights vs Bare Bulbs
The differences show up fast once recording starts. Here is how they compare for a typical desk creator setup:
| Feature | LED Panel | Ring Light | Bare Bulb |
|---|---|---|---|
| Light spread | Wide, even beam across the face | Circular, centered on the lens axis | Narrow point source with hard shadows |
| Shadow control | Soft shadows, easy to diffuse further | Flat lighting, minimal shadow depth | Harsh shadows without modifiers |
| Color adjustment | Bi-color models shift warm to cool | Limited color options on cheaper models | Fixed color temperature |
| Mounting flexibility | Stand, desk clamp, cold shoe | Typically phone/camera mount only | Lamp socket or clip |
A ring light works for Instagram-style close shots, but a single LED panel at 45 degrees gives more dimension to the face and handles different recording distances better.
Why Panels Stay Cool During Long Takes
Heat matters in small rooms. A bare bulb or halogen work light raises the temperature noticeably during a 30-minute recording session.
LED panels run cool enough to touch, which means longer takes without sweat showing on camera or discomfort building during a livestream.
That thermal advantage also protects nearby gear. A hot light near a condenser microphone or a webcam lens can cause issues over time. Panels avoid that problem entirely.
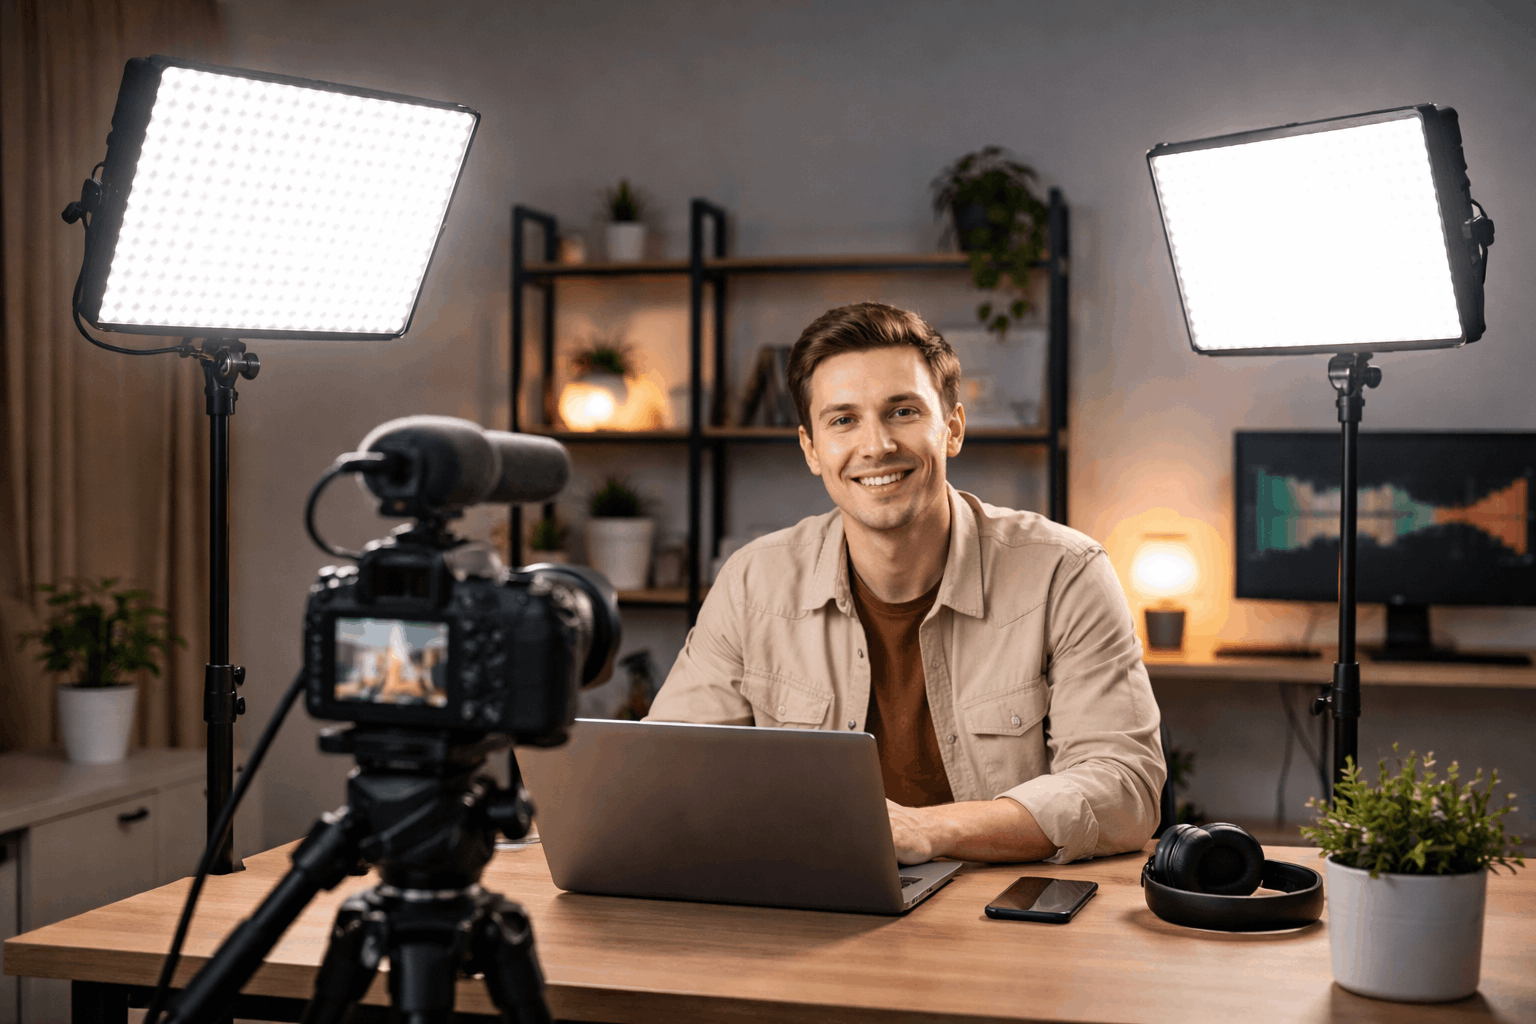
Adjustable LED Panel Lights: Color Temperature and Dimming Explained
The word “adjustable” on a product listing usually means two things: brightness control (dimming) and color temperature shifting (warm to cool). Both matter for home creators, but for different reasons.
Bi-Color Panels and Matching Room Light
A bi-color LED panel mixes warm-toned LEDs and cool-toned LEDs on the same board. Turning a dial blends between them, letting the panel match whatever ambient light fills the room.
During daytime recording near a window, shifting the panel toward cooler tones (around 5600K) keeps skin looking natural.
At night under warm ceiling lamps, dialing down toward 3200K prevents that awkward mix where half the face looks orange and the other half looks blue.
This mismatch is called mixed color temperature, and it is one of the fastest ways to make footage look amateur.
Smooth Dimming Matters More Than Peak Brightness
A panel rated at high brightness sounds great on paper. But if the dimmer jumps in big steps instead of sliding smoothly, getting the right level for a specific distance becomes frustrating.
Look for panels where the brightness control moves in small increments. Smooth dimming means less time fiddling between takes and more consistent results when the recording setup stays the same day after day.
I would take a panel with smooth dimming over one with 20% more peak output, because the Neewer 660 and similar bi-color panels have taught creators that usable control beats raw power at a desk distance of two to three feet.
Panel Distance, Diffusion, and the Mistake Beginners Keep Making
This is the gap that almost every LED panel lights guide skips entirely. Two creators can buy the same panel, and one looks great while the other looks terrible. The difference is almost always distance and diffusion, not the panel itself.
The Inverse Square Law in a Small Room
Light falls off fast. Move a panel twice as far from your face, and the brightness drops to one-quarter, not one-half. This is the inverse square law, and it explains why a panel that looks blindingly bright on the stand can leave a face underlit when placed six feet away.
For desk creators, keeping the panel two to three feet from the face at a 45-degree angle produces the most flattering ratio between face brightness and background brightness.
Pushing it farther back forces higher output, which can blow out the background wall and create an unnatural look.
Adding Diffusion Without Buying Expensive Modifiers
A bare panel at close range can still feel harsh. Clipping a sheet of diffusion material (or even a plain white shower curtain cut to size) over the front softens the output and reduces that shiny forehead look on camera.
The trade-off: diffusion eats brightness. But at two to three feet, a properly diffused panel gives a cleaner result at 60% power than a bare panel at 100% power placed five feet away. That relationship is the single most useful thing a beginner can learn about lighting.
The “Bigger Is Better” Myth for Small Rooms
I think the common advice to buy the largest LED panel that fits the budget is wrong for rooms under 10×10 feet.
A large panel in a small room creates light spill onto the background wall, the ceiling, and anything behind the camera. That spill reduces contrast and makes the shot look flat.
A compact bi-color panel (around 11 by 7 inches) placed close to the face, slightly above eye level, angled down at 45 degrees: that setup gives better face-to-background separation than a 2-foot panel blasting the entire room.
Bigger panels make sense in larger spaces or when lighting a group. For a single creator at a desk, smaller and closer wins.
LED Panel Light Board vs LED Panel Light Box: Which Shape to Pick
The physical design of a panel changes how the light behaves and how it mounts. Two common terms pop up in product listings, and they mean different things.
What a Panel Board Looks Like
A LED panel light board is a flat, rigid rectangle with a built-in diffuser layer over the LEDs. Think of it like a slim tablet that glows.
These are the panels that ship in most beginner kits because they mount easily, aim quickly, and take up minimal space on a desk.
Board-style panels suit creators who need a portable, no-fuss light for a fixed desk setup. The trade-off: the built-in diffuser softens the output somewhat, but the light can still feel directional at close range without additional diffusion.
What a Panel Light Box Does Differently
A LED panel light box is a panel paired with a softbox-style enclosure or an integrated soft front face. The extra diffusion layer spreads light more evenly, producing smoother shadows on the skin.
Box-style panels work well in tight spaces where the light sits close to the subject but harsh shadows would be a problem. The downside: they are bulkier and harder to travel with.
And the extra diffusion cuts brightness, so a box-style panel needs more output headroom to reach the same face brightness as a bare board.
Useful Add-Ons That Change the Quality of Light
A few cheap accessories make a big difference once the basic panel is in place:
- Grid attachment: Keeps the light aimed at the face and prevents spill onto the background wall
- Diffusion sheet: Softens the output without needing a full softbox enclosure
- Small white bounce card: Acts as fill light on the shadow side of the face, often replacing the need for a second panel entirely
- Cold shoe mount adapter: Lets the panel attach directly to a camera, tripod, or desk clamp without a full light stand
A single panel plus a $5 bounce card on the opposite side can produce results that look close to a two-light setup. That is a better investment path than buying two cheap panels and fighting mismatched color output.
Also read: USB vs XLR Microphones: What Really Works at Home
Picking the Best LED Panel Lights for a Home Desk Setup
Search results for best LED panel lights return hundreds of options. Narrowing the list becomes easier when filtering by the features that matter for desk recording.
These are the specs worth checking before purchasing:
- Color temperature range: Look for bi-color panels covering 3200K to 5600K for day and night flexibility
- Dimming smoothness: Stepless dimming or fine-increment dials prevent frustrating brightness jumps
- Power source: USB-powered panels suit desk setups; battery-powered panels suit mobile recording; wall adapters suit long sessions
- Mount compatibility: Standard 1/4-20 thread or cold shoe mount for attaching to existing tripods and clamps
The Neewer LED panel lineup covers most budget ranges for beginners. For color accuracy comparisons and CRI ratings across panel brands, the B&H Photo video lighting guide breaks down panel performance at different price tiers.
Safety and Comfort for Longer Sessions
Pointing a bright panel directly at eye level during a two-hour recording session causes eye fatigue. Angling the panel slightly above eye level and tilting it down reduces direct glare while still lighting the face evenly.
Cable management matters too. A light stand tipping over because a USB cable caught on a chair wheel can smash a panel into a monitor or microphone. Velcro ties and cable clips take two minutes to set up and prevent that kind of accident.
Flicker is another issue at low dimming levels. Some panels behave differently at 10% or 20% brightness, and the flicker shows up on camera even when the eye does not notice it.
Testing the panel at low brightness with the camera’s shutter speed set to 1/50 or 1/60 catches flicker problems before they ruin a take.
Questions People Ask About LED Panel Lights
Q: Can I use one LED panel light for recording, or do I need two?
One panel at 45 degrees plus a white bounce card on the opposite side creates a clean two-light look without buying a second unit. Add a second panel later when the first setup feels limiting.
Q: Do LED panel lights work for Zoom calls and not just YouTube?
Absolutely. A single bi-color panel on a desk clamp, set to match the room’s color temperature, makes a bigger difference on Zoom than upgrading the webcam itself.
Q: How long do LED panels last before they need replacing?
LED panels typically last tens of thousands of hours before brightness drops noticeably. At a few hours per day of recording, that is years of daily use before the output starts fading.
Q: Are cheap LED panels worth buying or should I save up?
Budget panels under $40 often have poor dimming and inconsistent color temperature. A mid-range bi-color panel around the $60 to $80 mark usually has smooth controls and better CRI, which saves time in color correction during editing.
Q: Does CRI matter for content creators?
CRI (Color Rendering Index) measures how accurately a light renders colors on camera. Panels with a CRI above 95 produce skin tones that need less correction in post. Below 90, colors can shift in ways that editing alone cannot fully fix.
Conclusion
One well-placed LED panel at a desk beats expensive gear dumped around the room carelessly. Bi-color adjustment and smooth dimming matter far more for home creators than peak brightness numbers.
Smaller panels closer to the face produce better separation than large panels flooding a small space. Start with one panel, a bounce card, and good placement, then upgrade only when the setup limits the work.










