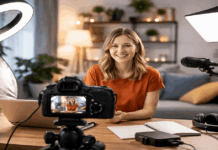
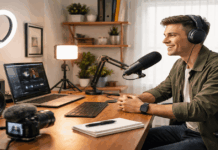
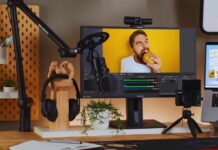
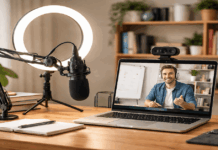
A creator setup becomes more useful when each purchase solves a recording problem. A phone, webcam, desk lamp, and tripod can reliably handle simple videos when the recording space is controlled.
Rather than buying everything at once, improve the issue that causes retakes, editing work, or viewer distraction. This guide gives an upgrade order for home videos, lessons, demos, and short-form content.
Find the Real Bottleneck
Most beginner setups have one clear limitation: distant speech, poor light, a shaky frame, or a camera that cannot handle the room. Start with real evidence, not a long shopping list.
Record a Baseline Clip
Make a short clip in the room where you record. Speak normally, move naturally, and include the type of shot you expect to make most often.
Watch it with headphones and identify the distraction: echo, a noisy fan, dim skin tones, shaky footage, or a bright window behind you.
That test reveals the main bottleneck and prevents a random purchase based on someone else’s studio.
Fix the Recurring Problem
A better camera cannot rescue muddy sound, and an expensive microphone will not brighten a face sitting in shadow.
Fix the issue that appears in every recording before moving to the next item. For many people, it is sound; for others, it is lighting or a camera placed too low. This keeps your budget aimed at noticeable improvement, not equipment that changes little.
Improve Audio First
Viewers accept a modest image when speech is easy to hear. Echo, low volume, popping sounds, or a voice that changes whenever you move are harder to ignore.
A close microphone improves speech clarity and reduces listening fatigue.
Choose the Right Mic
A USB microphone suits desk videos, calls, voiceovers, and podcasts because it connects directly to a computer.
A lavalier can suit standing tutorials or phone recording, while a USB/XLR model may be useful when you expect to use an interface later.
Check device compatibility, connection type, and how close the mic can sit to your mouth before focusing on appearance or ratings. The right choice should fit your recording routine and available space, not another creator’s desk.
Fix Placement Before Accessories
Keep the microphone near your mouth but outside the frame, angled slightly away to reduce harsh breaths and popping sounds.
A basic windscreen or boom arm can help, but distance matters more than accessories. If the room sounds hollow, close curtains, add a rug, turn off appliances, or record near soft furniture before considering panels.
These changes create cleaner sound and protect natural delivery without turning a bedroom into a studio.
Also Read: How to Reduce Visual Clutter on Camera
Improve Lighting Before the Camera
After sound, lighting often creates the biggest visual change. Give the lens a clear subject and stable exposure before replacing the camera.
Start With One Soft Key Light
Place the main light slightly above eye level and a little to one side of the camera. Bring it close enough to soften shadows, then lower brightness or add diffusion if skin looks shiny.
A ring light can suit simple face-to-camera videos, while a small LED with diffusion gives more control in a tight room.
The best option is one you can place consistently, because reliable placement matters more than maximum brightness.
Keep the Background Secondary
Light your face first, then decide whether the background needs a small lamp, a gentle wall light, or simply less brightness.
Sitting farther from the wall reduces hard shadows and adds separation without extra equipment. Avoid mixing cool LEDs, warm lamps, and daylight across the face, since that can make skin look uneven.
A single color temperature and a quieter background area keep the focus on you and make clips easier to edit.
Upgrade the Camera Later
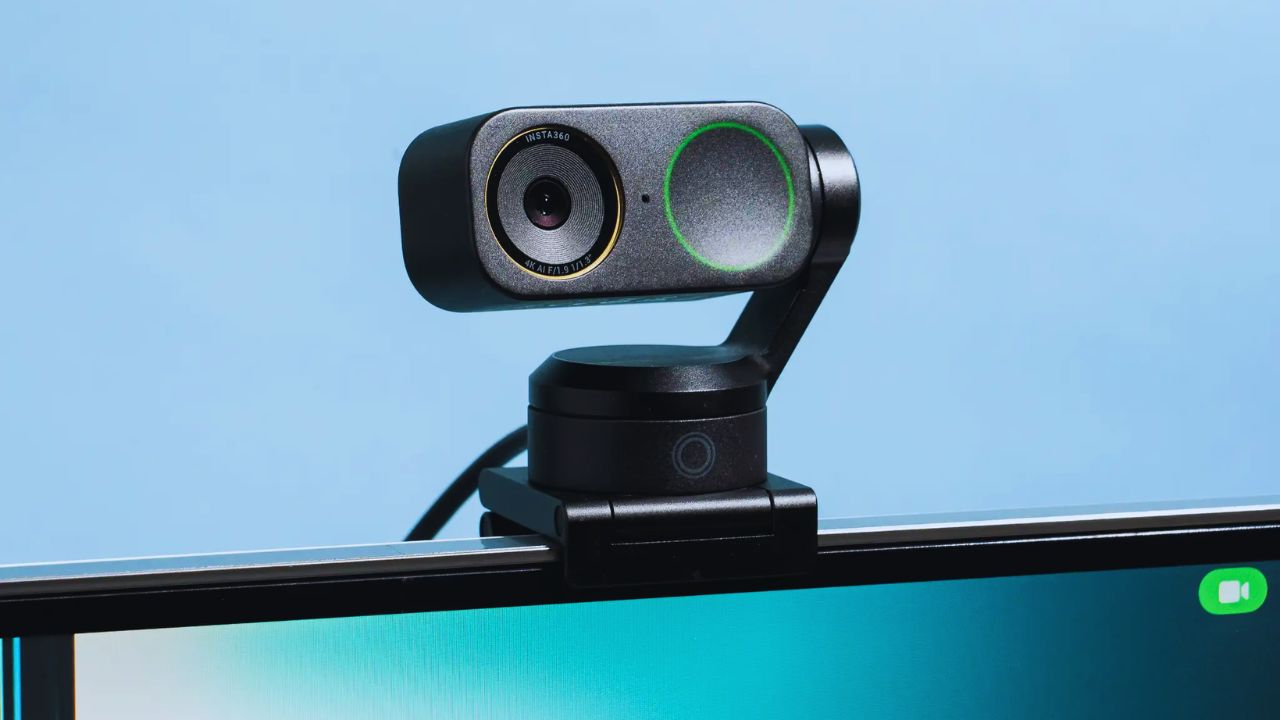
A newer webcam or camera can improve detail, autofocus, and color handling. It is worthwhile after voice, light, and framing are already steady.
Treat a camera as a refinement step, not a cure for uncontrolled conditions.
Match the Camera to Your Content
A dependable 1080p webcam may be enough for meetings, lessons, desk content, and talking videos.
A phone on a stable mount can also produce strong results when the face is well lit, especially for vertical clips. Consider a dedicated camera only when your work needs interchangeable lenses, stronger motion handling, longer sessions, or flexible framing.
Ask what your usual content requires from the next recording tool, rather than which device has the most impressive specifications.
Stabilize the Frame First
Set the lens near eye level, leave a little room above the head, and move the camera back instead of relying on an extreme wide-angle view.
Lock exposure and white balance when possible, so the image does not brighten and darken whenever you move.
A tripod, desk clamp, or monitor mount may improve output more than a newer camera because it preserves the same frame. Stable support creates visual consistency and cuts unnecessary retakes.
Buy Support Gear With a Purpose
Support gear can make recording easier and safer. A useful stand, cable, mount, or headphones should solve a frequent problem such as a drifting phone, crowded desk, or sound you cannot check before publishing. Buy for practical comfort and repeatable use.
Check Compatibility First
Confirm the mount thread, device weight limit, cable length, connector type, and desk clearance. An excellent microphone can still cause frustration if the stand blocks your screen or the cable cannot reach the computer.
Test new items in your room and keep receipts while the return window is open. Those checks protect future flexibility and prevent duplicate spending on adapters or replacements.
Add an Interface Only When Needed
An audio interface is useful when you want an XLR microphone, multiple inputs, or more control over levels.
It is not essential when a well-positioned USB microphone already sounds clear. Interfaces make more sense for regular interviews, podcasts, music, or voice work.
Let your production needs decide the next step, rather than upgrading because a complex desk looks more professional.
Before keeping any new item, use this short test:
- Does it fix a repeat problem?
- Is it easy to set up again?
- Will it support the next upgrade?
Conclusion: Build a Setup You Will Use
The best creator setup is not the one with the longest equipment list. Start with the problem that harms the recording most, improve sound and light before chasing camera specifications, and use support gear to make your routine steadier.
Test each change where you actually create, then keep only items that reduce retakes and make recording simpler. Over time, targeted upgrades create a dependable workflow without one expensive overhaul.