Good lighting is the fastest way to make your videos look clearer, cleaner, and more professional.
It helps your camera capture better color, sharper detail, and smoother motion with less noise.
You do not need a studio; just practical lighting moves you can apply today with tools you may already have.
Why Lighting Matters More Than the Camera
Most “bad video” is actually bad light, because the camera can only record what it can see clearly.
When your scene is brighter and more even, your camera uses lower ISO and produces less grain.
Lighting also shapes the face and background, which affects how polished your video looks.
If you fix lighting first, even a basic phone camera can look surprisingly high quality.
Exposure and Dynamic Range
A well-lit subject reduces the risk of blown-out highlights and muddy shadows.
Your camera handles contrast better when light is controlled instead of extreme.
Balanced exposure keeps details visible in skin, hair, and clothing at the same time.
Color Accuracy and Skin Tones
Lighting affects skin tone more than filters do, especially under mixed room lights.
A single consistent light source helps your video look natural and easier to color-correct.
When light is stable, your camera’s white balance stops “hunting” during recording.
Start With the Light You Already Have
Before buying anything, check what your space already gives you for free.
Many homes have one or two spots with great light that just need small adjustments.
Simple changes like turning your body, moving the camera, or closing a curtain can help.
Starting simple also makes it easier to repeat the same look in future videos.
Window Light as a Free Key Light
A window can act like a large soft light when you place yourself close to it.
Face the window at a slight angle to create gentle shadows that add dimension.
Avoid placing the window behind you, because it can turn you into a silhouette.
Turning Off Mixed Light Sources
Mixed lighting happens when daylight combines with warm lamps or ceiling bulbs.
Turn off extra lights so your camera does not struggle to balance two color temperatures.
If you must use lamps, use only one type so the scene stays consistent.
Build a Simple Three-Point Setup at Home
A basic three-point idea can work even if you do not own three actual lights.
The goal is to control where the main light comes from and how shadows look.
You can replace expensive lights with household items and still follow the same logic.
Once you learn this setup, you can adapt it to bedrooms, kitchens, or small offices.
Key Light Placement and Distance
Your key light is the main light, and it should be slightly above eye level for a flattering look.
Move the key light closer to your face to make it softer and reduce harsh shadows.
Keep the light off to one side to add depth, rather than aiming it straight on like a flashlight.
Fill and Back Light Using Cheap Tools
A fill light can be as simple as a white wall, a foam board, or a sheet of paper reflecting light back.
A back light can be a small lamp behind you that separates you from the background without overpowering your face.
If you have only one light, use reflectors and background lamps to create a multi-light look.
Match Lighting to Your Content and Location
Different video types need different lighting priorities, even if the gear is the same.
A talking video needs flattering light on your face, while a product video needs detail and texture.
Your background can either look clean or distracting depending on how it is lit.
Choosing the right approach helps your viewer focus on what you are saying or showing.
Talking-Head Videos
For talking videos, keep the key light soft and stable so your face stays consistent across the whole take.
Light the background slightly darker than your face so you remain the visual focus.
Add a small background lamp or accent light to create separation and a more “finished” frame.
Product Shots and Overhead Setups
For product shots, use light from the side to reveal texture and avoid a flat look.
Overhead filming works best with even lighting across the surface so shadows do not hide details.
If labels or screens reflect light, move the light source higher and diffuse it more.
Common Problems and Fast Fixes
If your video looks grainy, brighten the scene and move lights closer instead of raising ISO.
If your face looks flat, move the key light slightly to the side and add a reflector for gentle fill.
If your background is distracting, dim it or move lights so attention returns to the subject.
Simple Settings That Support Your Lighting
Lock exposure and white balance when possible so the camera does not change mid-shot.
Use the highest resolution and stable frame rate your device can handle without overheating or dropping frames.
Keep your lens clean and avoid digital zoom, because lighting improvements look best with sharp, steady capture.
Light Models and How Each Improve Video Quality
| Light model (type) | How it improves video quality |
|---|---|
| Window light (natural) | Gives soft, flattering light and cleaner skin tones, reducing harsh shadows and noise when you face it. |
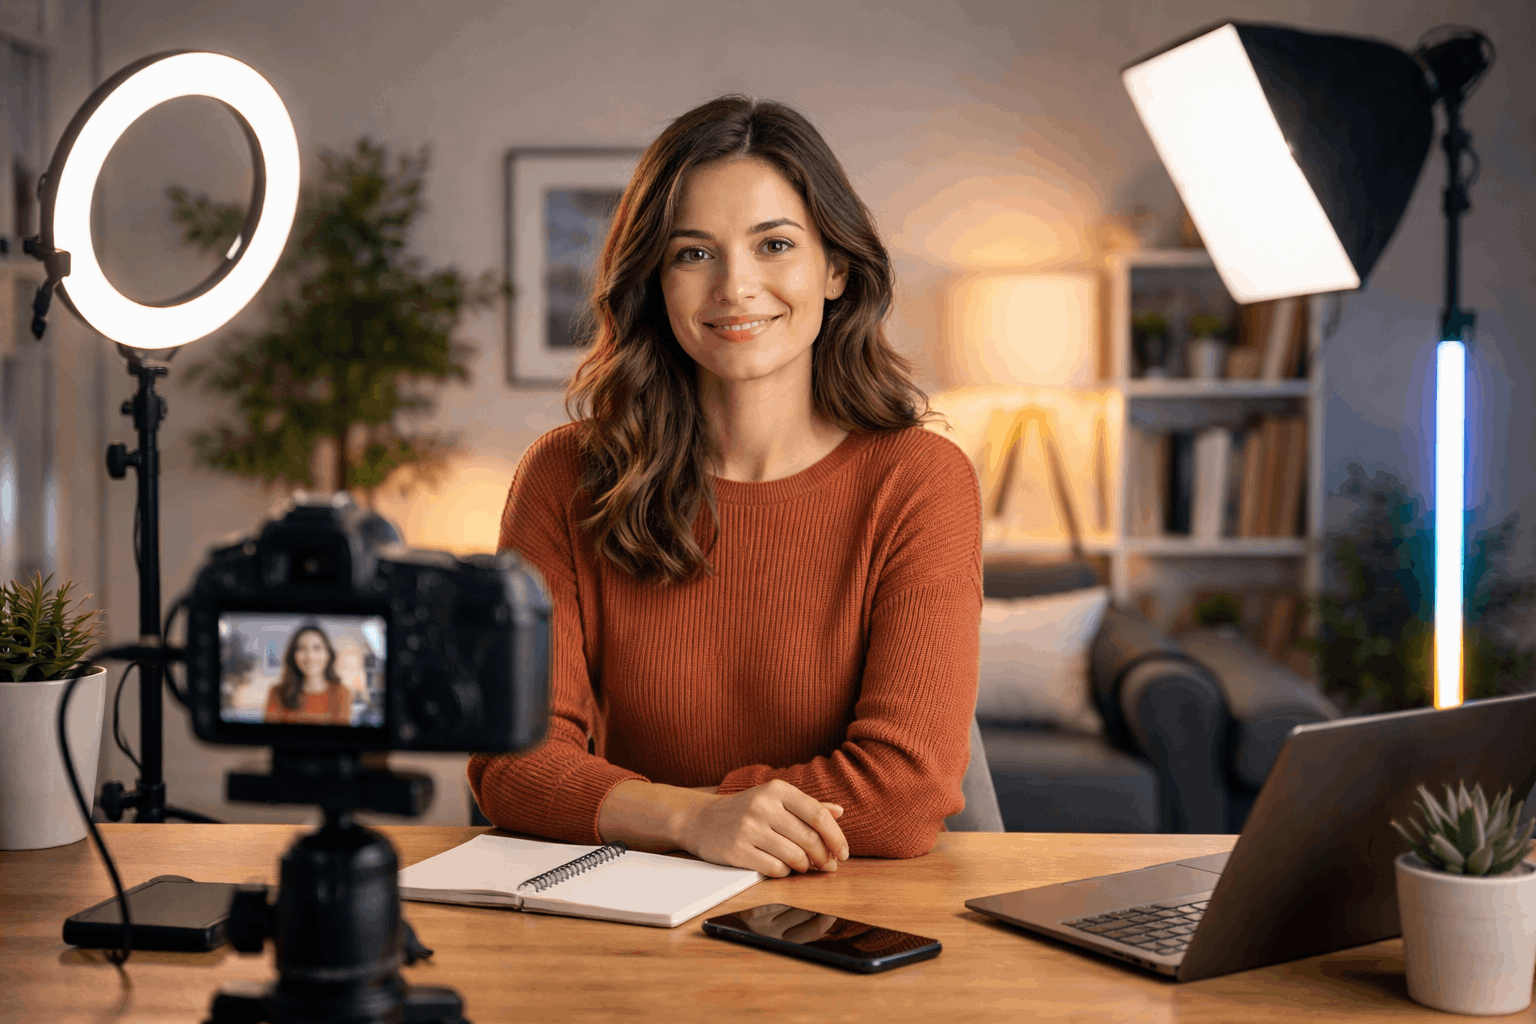
| Ring light | Creates even front light and bright catchlights, helping faces look clear for talking-head videos with minimal setup. |
| LED panel (bi-color) | Offers adjustable brightness and color temperature, improving exposure and white balance consistency. |
| COB LED (chip-on-board) + modifier | Produces strong, punchy light that can be softened with diffusion, giving a cinematic key light and better depth. |
| Softbox light | Makes light larger and softer, smoothing shadows and reducing shiny hotspots for a more “studio” look. |
| Umbrella light | Spreads light widely for soft, forgiving coverage, useful for lighting a small room evenly. |
| LED tube light | Creates smooth wrap and easy edge lighting, great for separation and controlled highlights on hair/shoulders. |
| On-camera LED (small) | Adds quick fill to reduce grain in dark spaces, improving clarity when you can’t place lights around the room. |
| Fresnel LED | Gives focused, controllable beams for background accents or rim light, adding shape and separation. |
| RGB LED panel/tube | Adds background color accents that improve depth and mood without changing your main face lighting. |
| Practical lamp (house lamp) | Creates background interest and depth as a “motivated” light, making the scene feel less flat. |
| Bounce reflector (white board/foam) | Softly fills shadows without adding another powered light, improving facial detail and reducing contrast. |
| Diffusion sheet (curtain/shower liner) | Softens harsh light, lowering unflattering shadows and reducing glare on glasses or shiny products. |
Final Takeaways
Simple lighting improves video quality by reducing noise, improving color, and shaping the subject in a controlled way.
You can start with a window and household reflectors, then build toward a basic key, fill, and background setup as needed.
If you test your lighting for a few seconds before recording, you will catch most problems early and get cleaner results every time.


