
Home streaming looks more professional when your lighting is soft, steady, and easy for your camera to read. Even a basic webcam can look cleaner when your face is properly lit and the background is not fighting for attention.
Many creators get better results by improving lighting before upgrading the camera because webcams often struggle in dim or mixed light.
The best streaming light is not always the brightest one, but the one you can place correctly and repeat every time you go live.
What Good Streaming Lighting Really Means?
Good lighting for streaming should make your face clear without making the frame look harsh. It should reduce shadows, protect skin tones, and keep your camera from constantly adjusting exposure.
A room light overhead usually does not do this well because it creates shadows under the eyes and nose. A controlled key light near the camera works better for most home streaming setups.
Softness and Placement Matter More Than Raw Brightness
A soft light spreads across the face instead of creating sharp lines and shiny spots. This is why a diffused panel, softbox, or well-placed desk light often looks better than a bare bulb.
Place the main light slightly above eye level and a little to one side of the camera. This gives the face shape while keeping the image comfortable to watch.
Color Accuracy and Flicker Are Worth Checking
Streaming lights should keep skin tones looking natural instead of too green, orange, or gray. Color accuracy matters because viewers notice when a face looks strange, even if they cannot name the problem.
Flicker can also appear when some LED lights are dimmed or used with camera settings that do not match the room’s power frequency. A short test recording before going live can reveal color shifts, rolling bands, or pulsing brightness.
Start With a Simple Lighting Layout
A good streaming setup starts with placement, not brand names. Before adding more lights, make one key light look good on your face.
Keep the background slightly darker than your face so the camera exposes for you, not the wall behind you. Once the main light is stable, you can decide whether fill or separation lighting is actually needed.
One-Light Setup for Fast Streaming
A one-light setup is enough for many creators who stream from a desk. Place one soft key light around 30 to 45 degrees from the camera and slightly above eye level.
Move it closer to make the light softer, then lower the brightness if highlights look too strong. This setup is simple, fast, and easy to repeat for daily streams.
Also Read: Simple Streaming Setup for Home Use
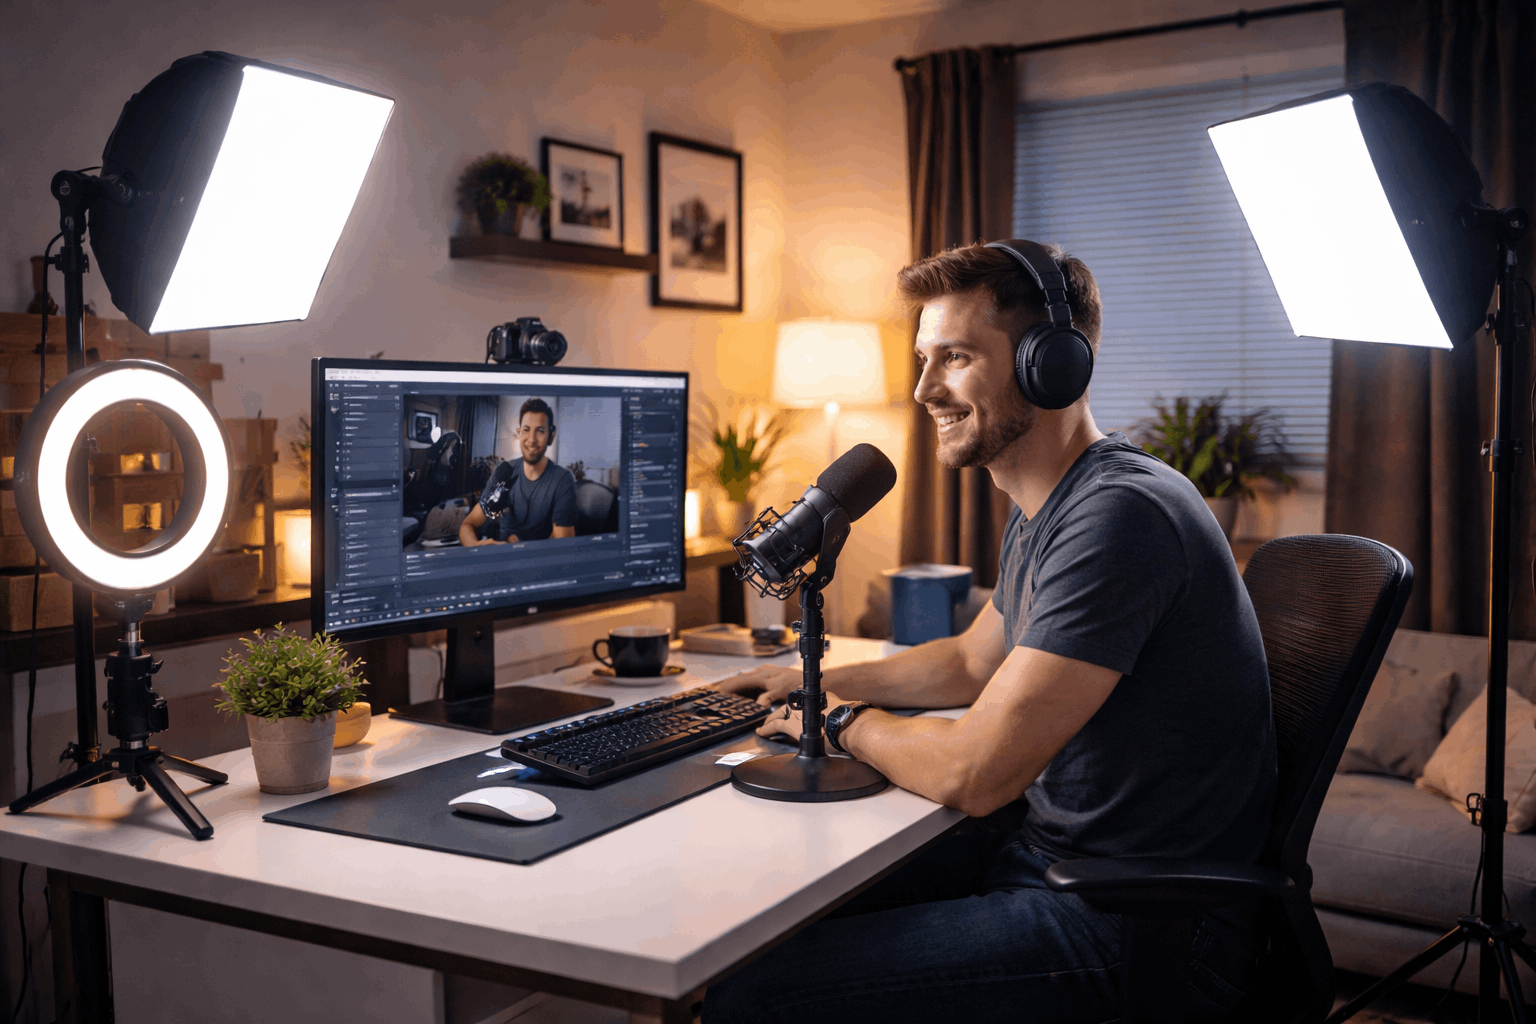
Light Three-Point Setup for More Depth
A light three-point setup uses a key light, a softer fill, and a small backlight or background light. The key light should stay strongest because it shapes your face.
The fill should be weaker and only lift shadows on the darker side. The backlight or background light should add separation without becoming brighter than your face.
Choose the Right Type of Streaming Light
Different streaming lights work better for different desks, rooms, and budgets. Desktop panels are convenient, ring lights are quick, and COB lights with softboxes give a more studio-style look.
Portable lights can also help if you stream in different rooms or travel with your setup. The best choice depends on how much space you have and how often you need to rebuild the setup.
Desktop Panels for Webcam Setups
Desktop panels are practical for streamers who sit close to a monitor or webcam. They usually mount on a desk, clamp, or small stand, which keeps them easy to adjust.
Many models offer brightness and color temperature control, making them useful in rooms that change throughout the day. They are best for creators who want a clean setup without large stands or modifiers.
Ring Lights and Compact Lights for Small Spaces
Ring lights are easy because they sit near the lens and give even front lighting. They can work well for quick streams, beauty content, and simple talking-head videos.
The downside is that they may look flat or create reflections in glasses. Compact portable lights can solve space problems, but they still need careful placement to avoid harsh shadows.
COB Lights and Softboxes for a Studio Look
COB lights paired with softboxes can create a softer and more polished streaming image. They are stronger than many desk lights and can spread light more smoothly across the face.
This makes them useful for creators who stream often, record courses, or want a consistent camera-ready setup. The tradeoff is that they need more room, better stands, and a little more setup time.
Build Around Your Room and Budget
A useful streaming setup should match your real space, not an ideal studio. If your desk is small, a large softbox may become annoying even if it looks good.
If your room is dark, a small webcam light may not give enough coverage. Choose lights based on the problems you actually need to solve.
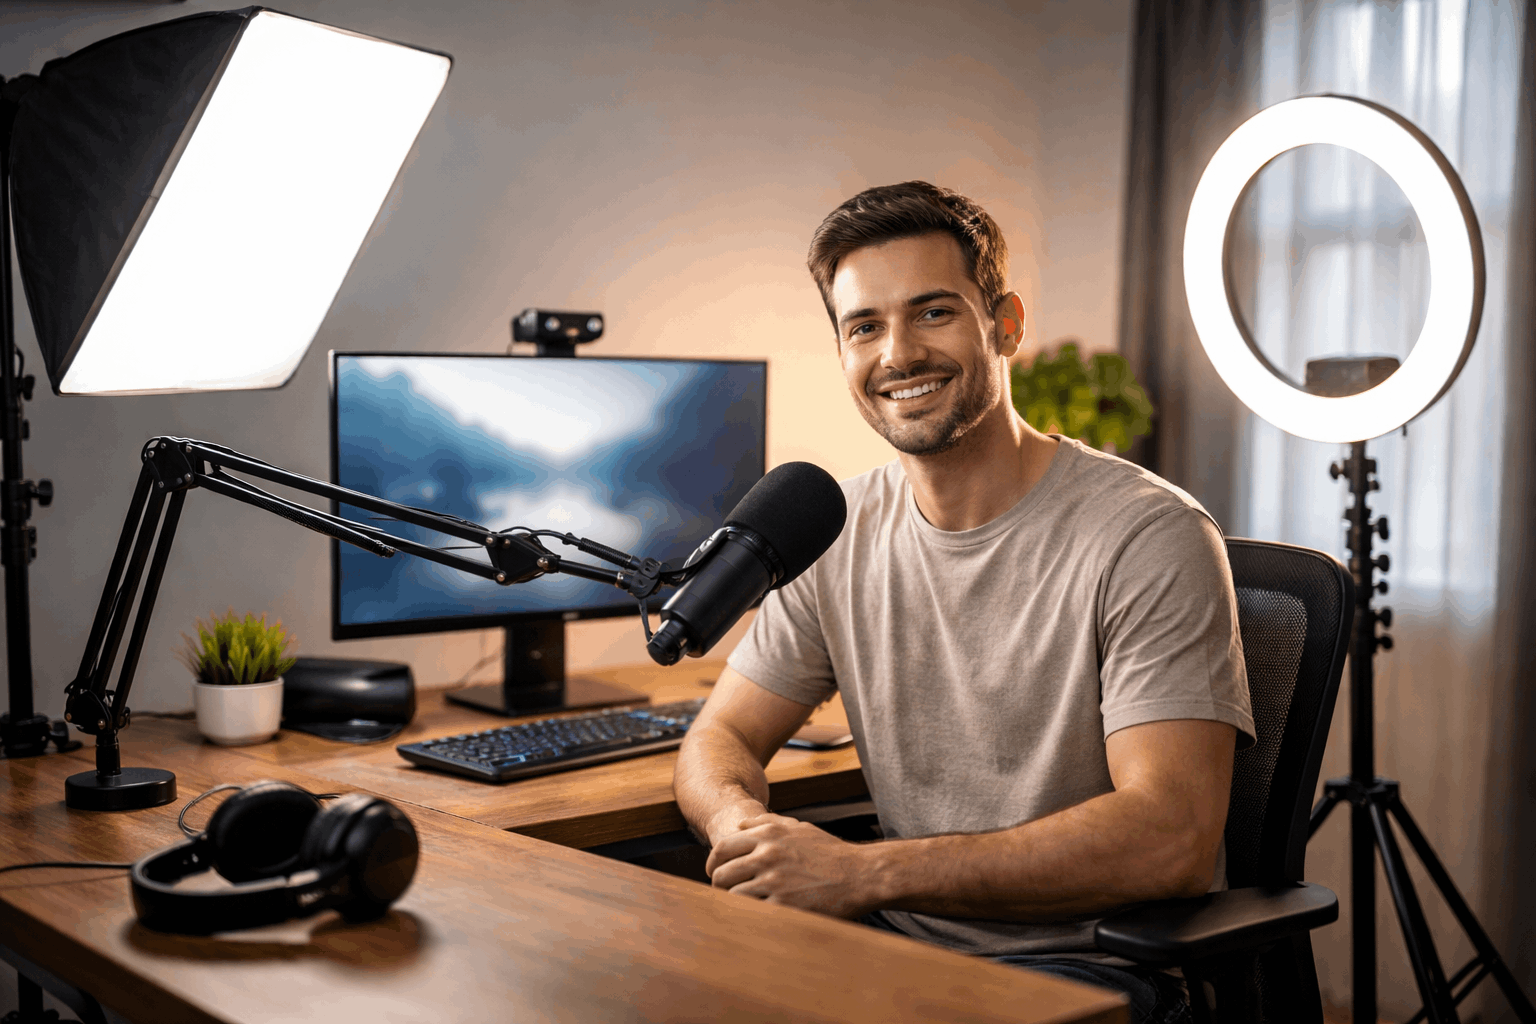
Build Around Budget and Room Size
A starter setup can be as simple as one adjustable desk light or compact panel. A mid-level setup may add a stronger key light and a small background light.
A more polished setup may use a COB light, softbox, fill, and backlight. Spend first on a reliable main light and diffusion before buying extra lights for effects.
Prioritize Control Before Extra Features
Extra modes, RGB effects, and app controls can be useful, but they should not replace basic lighting quality. Look first for adjustable brightness, stable color, good mounting, and a way to soften the light.
A light that is easy to dim and position will improve streams more than one with effects you rarely use. If you wear glasses, test glare control before choosing a light that sits directly in front of you.
Use this quick buying check before choosing a streaming light:
- Choose a desk panel if you stream from one small workstation.
- Choose a ring light if you want fast, centered face lighting.
- Choose a COB light with softbox if you want a more studio-style image.
- Choose a portable light if you move between rooms or travel.
- Choose better diffusion if your current light is bright but harsh.
Keep Your Streaming Look Consistent
Streaming quality improves when your lighting is repeatable. Once you find a look that works, save your brightness, color temperature, camera angle, and light position.
This prevents every stream from starting with a long adjustment process. A consistent look also helps your channel feel more polished from session to session.
Save Positions and Camera Settings
Mark your chair, tripod, and light positions if your setup moves often. Take a quick reference photo from behind the camera so you can rebuild the same layout later.
Lock exposure and white balance when your camera app allows it. These small habits prevent brightness pumping and color shifts during the stream.
Test Before Going Live
A short test can catch problems before viewers see them. Check your face first, then look for background glare, glasses reflections, and harsh shadows.
Watch for flicker or banding if your lights are dimmed very low. Fix the physical setup first before relying on software filters or camera corrections.
Choose Lighting That Makes Streaming Easier
The best lighting for streaming video comes from soft, controlled light placed in the right position. Start with one adjustable key light, keep your background slightly darker, and add extra lights only when they solve a clear problem.
Prioritize color accuracy, diffusion, and stable placement over maximum brightness claims. When your lighting becomes easy to repeat, your stream looks cleaner and your setup feels faster every time.










