
A cheap light can improve a home video when it fixes the problem your camera is actually showing. In a small bedroom, desk corner, or shared living room, the aim is not maximum brightness.
You need soft light on your face, a calm background, and equipment you can use without blocking the room. This guide explains an affordable lighting setup that fits real recording habits.
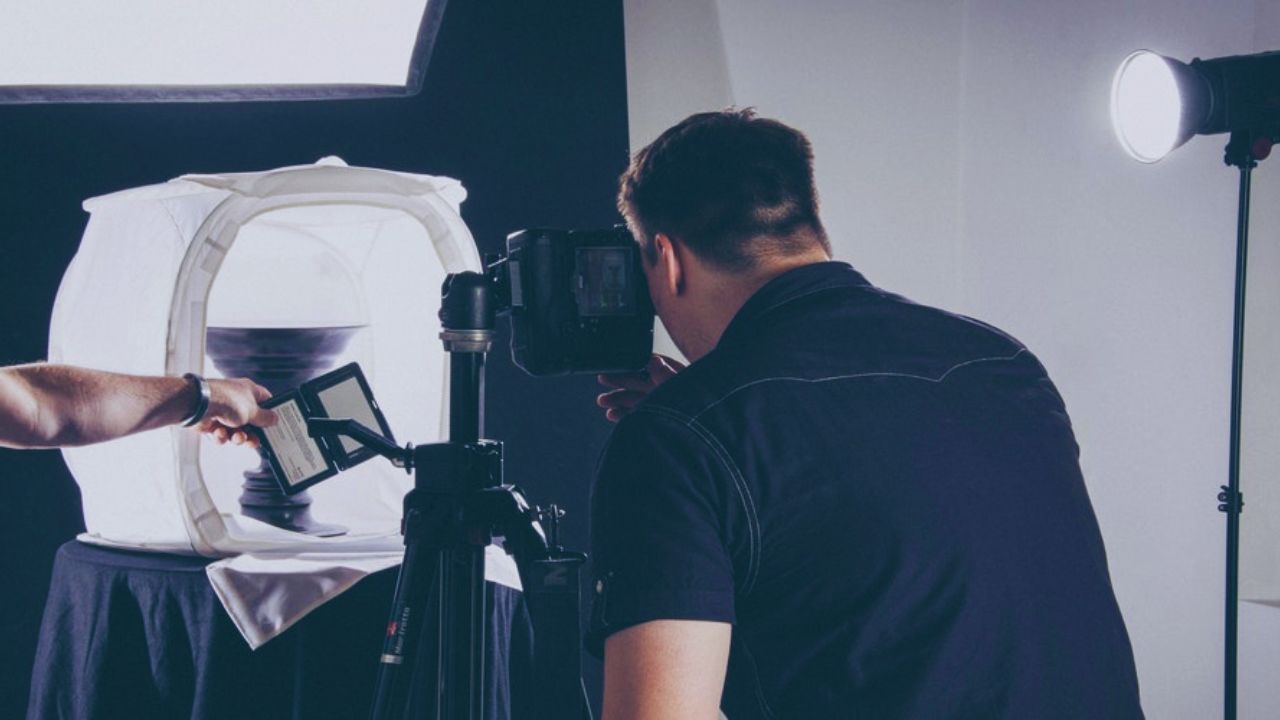
Start With the Room You Already Have
Small rooms expose poor purchases quickly. A large stand can block a doorway, a strong lamp can bounce off a white wall, and a fan can enter the audio.
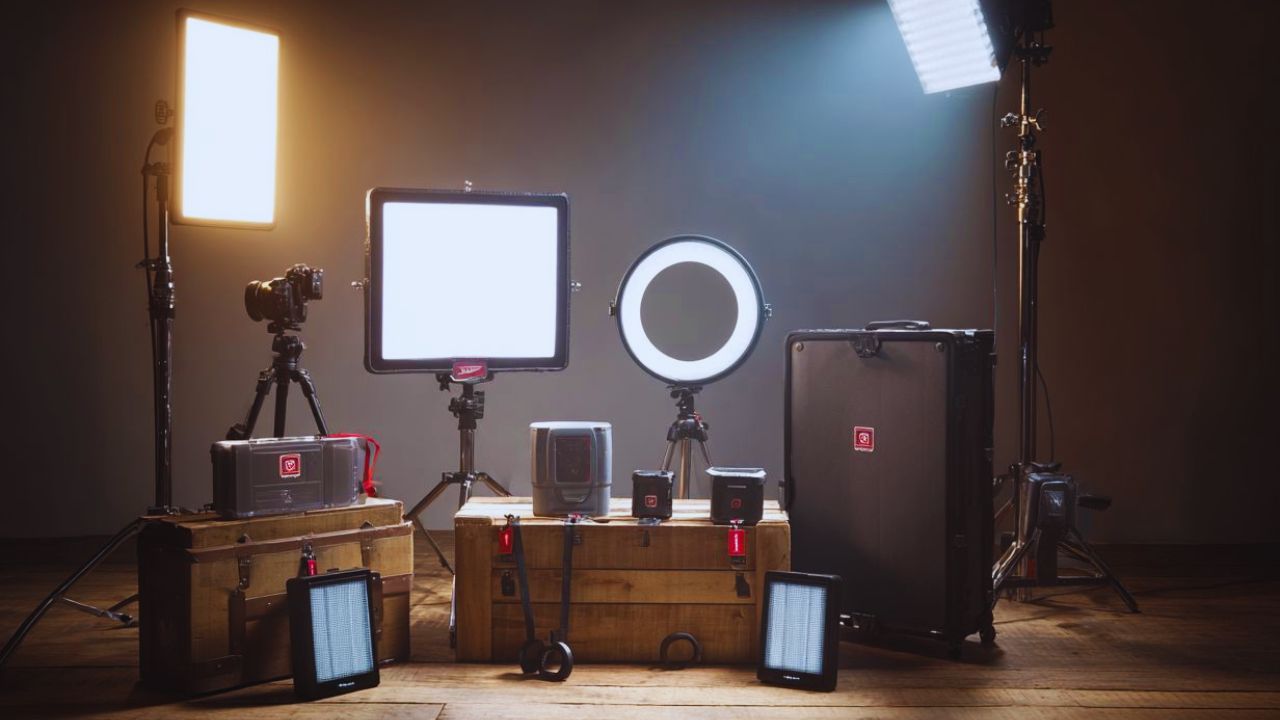
Before shopping, record a short clip at your normal filming time with the window, monitor, and ceiling light in place. Look for the real issue: dark facial detail, harsh shadows, or a background brighter than you.
Window Light Is Still a Useful Starting Point
A window can be your cheapest key light when it faces you or sits slightly to one side. Cloudy daylight is often soft, while a sheer curtain, pale wall, or white board can reduce contrast.
Its weakness is changing daylight. Clouds, afternoon sun, and night recording can leave clips looking different from day to day. Use it when it suits your filming schedule, but do not expect it to match every recording.
Buy for the Problem You Can See
Affordable lighting kits do not solve the same issues. A dark webcam call may need one diffused desk light, while a standing lesson needs wider coverage and a safe stand.
If your face is bright but your glasses reflect the lamp, change its angle before buying another panel. Make one adjustment at a time and follow the preview. That ties each purchase to a visible issue and a real recording habit.
Focus on Softness Before Brightness
In a tight room, a bright bare light can make video look worse. It creates forehead shine, strong nose shadows, and a hard patch on the wall behind you.
What matters is how the light reaches your face, not the largest number printed on the box. Look for a diffused source and enough brightness control to adjust it easily.
Move the Light Before Turning It Up
A diffused panel, ring light, softbox, or lamp bounced from a white surface can spread light more gently.
Moving it closer makes it larger compared with your face, softening its edges without blasting the room.
Start at a moderate level, adjust distance, then raise output only when the camera still looks grainy. In small rooms, nearby soft light usually beats distant high power.
The Mount Is Part of the Lighting Decision
A desk clamp, shelf mount, or short tripod may work better than a full height stand in a narrow room. It can raise the light above eye level and keep cables off the floor.
Check clamp depth, weight limit, cable length, and whether it holds the light with its diffuser. A good mounting option protects your usable floor space as well as the image.
Match the Setup to the Way You Film
The affordable choice depends on the area you need to light. A person at a desk, someone demonstrating products, and a creator filming lessons on their feet will not get the same result from one small lamp.
Think about camera distance and movement during filming, not how impressive a kit looks online.
Desk Videos Often Need Only One Main Source
For calls, tutoring, streaming, and talking head videos, one compact LED panel or ring light can be enough.
Keep it above eye level and just off the camera line so your face has shape and your glasses show less glare.
It should help the webcam reduce image noise, not flatten every feature. A single key light is often the best desk friendly upgrade before another fixture.
Standing Content Benefits From Two Adjustable Lights
Cooking clips, fitness demonstrations, and product videos show more of the room and can leave one tiny lamp struggling.
Two adjustable panels can work well: one lights the subject while the other reduces heavy shadows or adds background separation.
Keep them close and below full power instead of pushing them against opposite walls. That creates wider coverage without a flat wash of light.
Also Read: Best Lighting Solutions for Small Spaces
A Brighter COB Light Has Hidden Costs
A COB light, a brighter single source, can suit darker rooms, wider shots, or creators who want a larger modifier later.
The lamp price is not the whole cost. You may need a stand, softbox, power solution, and safe space to use them.
Some models use fans that a close microphone can hear. Choose this route only when extra reach solves a clear filming need.
Test the Setup Where You Normally Record
A light can look excellent in a product video and behave badly beside your webcam, microphone, window, and household bulbs.
Test it at the time you normally record, using your usual chair, clothing, background, and camera settings.
That is when flicker, reflections, fan noise, and colour shifts become clear. A short real world test beats a promotional specification.
Check the Common Problems Before an Important Take
Use the preview to check these common issues:
- Flicker: Watch for pulsing brightness or dark bands.
- Colour: Notice orange, blue, or green changes on skin.
- Noise: Listen for fan hum or power supply whine.
When something looks wrong, change one thing first. Move the lamp, lower the dimmer, close the curtain, or turn off a competing bulb. This gives you a cleaner result without new confusion.
Do Not Add a Second Light Without a Job
A fill light or background lamp may help when one side of your face disappears into shadow or you blend into a dark wall.
It is unnecessary when the first light already gives the webcam a clear image. Extra lights can create glare, cables, and more decisions before every recording.
Add a second source only when you can name its task. That keeps setup time low and visual control high.
Build a Setup You Will Actually Keep Using
Affordable lighting kits are useful when they remove a recurring problem, not when they make the room resemble a studio.
Begin with one controllable light, use daylight when it is reliable, and add another source only after testing the first. Take a photo of the layout, including light height and curtain position, so it is easy to recreate.
The goal is usable video and less setup stress, leaving attention for the message you want to share without turning every normal recording session into another lighting experiment at home.










