
A desk can seem bright while a webcam makes your face look grainy, flat, or strangely pale. Small cameras react badly to monitor glow, windows, and mismatched room bulbs, even when the room feels comfortable in person.
The aim is not a miniature studio; it is soft light on your face and a desk that is usable. This guide is for remote workers, teachers, streamers, and home creators who want a steadier image without buying lights that stay in a drawer.
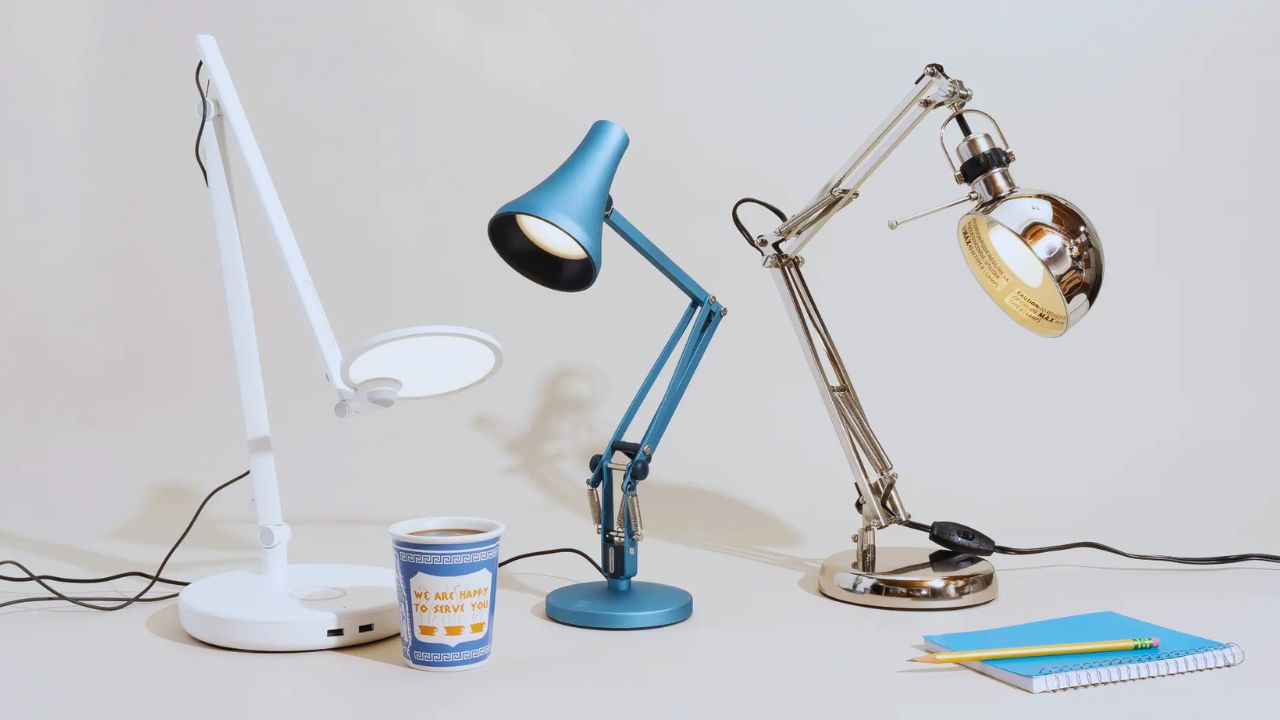
Look at One Ordinary Call Before Rearranging Your Desk
Record a short clip at the hour you usually work. Keep the monitor, window, ceiling light, and background exactly as they would be during a real call.
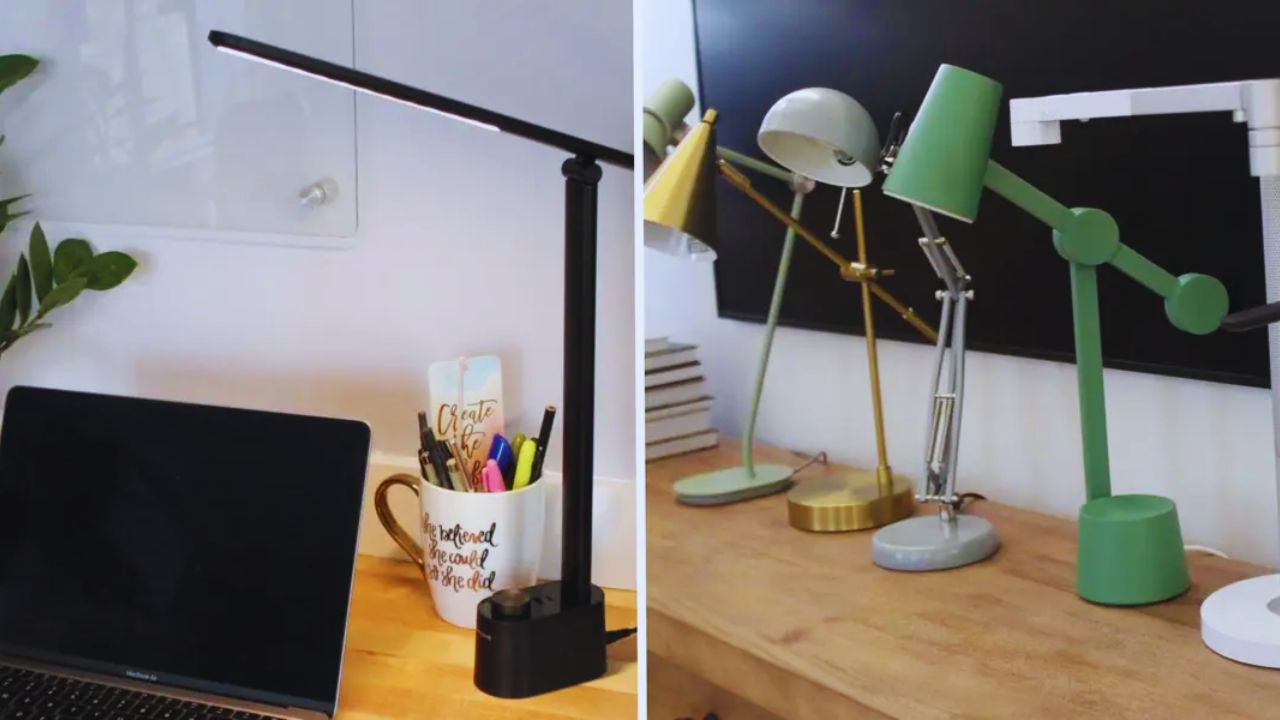
Watch it on a computer and phone, then decide what is actually wrong: a dark face, harsh shadows, glasses glare, or a wall that looks brighter than you.
A real camera test turns vague frustration into a specific fix, which is more useful than copying another person’s desk setup.
The Monitor Should Not Be Your Key Light
A monitor can make your face visible, but it shifts colour with the screen and shines from too low an angle.
That creates dark eyes, uneven skin, and a tired look that gets worse after sunset. Keep it for work, but give the camera a light from above or beside it.
The source does not need huge power; it needs to help the webcam stop raising gain. A modest soft key light may improve an older camera more than a higher-resolution upgrade in the same dark corner.
Create a Comfortable Main Light, Not a Spotlight
For most desk calls, one main light is enough. It should make your expression easy to read without flattening your features or turning the workspace into a stage.
A ring light, LED panel, or diffused lamp can work when it has a stable mount and a useful brightness range.
Choose the option that offers clear facial detail while leaving enough desk space for your keyboard, notes, monitor, and microphone.
Use Height and Distance to Soften It
Place the light above eye level and about 30 to 45 degrees to one side of the webcam. This keeps the face from looking flat and avoids the deep shadows made by low desk lamps or overhead fixtures.
Move a diffused light closer before increasing its brightness; nearer light appears larger and usually has softer edges.
A clamp mount can lift it above a monitor when space is tight. That change often produces gentler shadows and a more comfortable image than a brighter bulb across the room.
Also Read: Affordable Lighting Kits for Small Rooms
Let the Window Help Without Letting It Take Over
Daylight can be useful when a window sits in front of you or slightly to one side. It may give soft light on an overcast morning and reduce how much artificial light you need.
It becomes difficult when sunlight moves, clouds pass, or the window is behind the chair. The camera may darken your face to protect the glass.
Change the desk angle, lower a blind, or use a sheer curtain so window contrast does not hide facial detail during an important call.
Handle Mixed Colours Before Pressing Record
A warm ceiling bulb, a cool LED, and daylight can pull automatic white balance in different directions. Your skin may look normal at the beginning, then change as clouds move or the camera recalculates.
Turn off unnecessary room lights and let one source dominate the frame. Lock white balance when your camera software allows it.
This protects consistent colour across clips and reduces the editing work needed to correct a face that shifts from warm to grey.
Keep the Light Out of the Way of Your Work
Desk lighting should support your task, not create another obstacle around the monitor, microphone, and cables. Put the main source where it does not block a screen, shine into your eyes, or force the webcam into an awkward position.
If the microphone body or monitor catches a bright reflection, shift the light a few inches before lowering it dramatically.
Small changes are often enough. A practical light position keeps the camera happy while preserving a normal work area in a shared office, bedroom, or living-room corner.
Reflections in Glasses Can Be Fixed Without Starting Over
Glare does not mean you must abandon a useful light. Raise it slightly, angle it down, or move it farther to the side until the reflection leaves your lenses.
Avoid placing the source directly beside the webcam at eye height, because that angle is hardest to hide.
Check the preview while moving the light, not only the way the room feels. You want visible eyes and natural eye contact, not a technically perfect setup that is uncomfortable to use every day.
Use a One-Minute Check Before Going Live
Set the chair, camera, and main light, then look at the preview for a few seconds before a call or recording.
Take a phone photo of the final arrangement and note the light setting, chair distance, and curtain position.
A small tape mark helps when furniture moves. Those references turn a successful test into a repeatable routine instead of a weekly guessing game. Confirm these essentials:
- Face: even light and detail around the eyes.
- Glasses: no strong white reflections.
- Background: visible but dimmer than the face.
Stop Adding Lights When the Frame Already Works
A fill light or small background lamp may help when one side of your face disappears into shadow or you blend into a dark wall. It is not necessary just because online desks use colourful lights, multiple panels, and elaborate stands.
Add another source only when the camera reveals a problem that one main light cannot solve.
The best desk lighting for video calls is often simple: your face is clear, the background stays quieter, and nothing competes with the conversation. Beyond that point, extra gear may add more setup stress than useful improvement.
Keep the Result Instead of Chasing the Next Upgrade
Once the image is clear, resist the urge to keep changing it. Save a reference photo, use the same chair height, and note the light’s angle or brightness.
Those details matter more than another accessory when you need matching footage for several lessons or a call on a busy morning.
Test changes one at a time using the webcam and room conditions, so you know what helped. A reliable desk setup supports confident communication and consistent footage, leaving you free to focus on the people and work in front of the camera.










