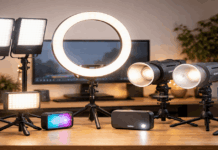
Uneven lighting usually happens when one bright source hits the face, background, or desk more strongly than everything else.
This can create clipped highlights on one side and heavy shadows on the other. The result is a video that feels distracting, even when the camera and microphone are good.
With better placement, softer light, and stable camera settings, you can make home footage look cleaner and easier to repeat.
Identify Where the Lighting Falls Apart
Before moving lights around, study what the camera is actually showing. Uneven lighting is easier to fix when you know whether the problem is the face, the background, the desk, or the camera settings.
Watch a short test clip instead of judging only from the live preview. Moving slowly in front of the camera can show where light wraps smoothly and where it becomes too harsh.
Look for Clipped Highlights
Start by checking the brightest areas of your face. If the forehead, cheeks, nose, or hands turn into flat white patches, the light is too strong or too direct.
A bright wall, shiny desk, or reflective object can also pull attention away from the subject. Lower the light, move it farther away, or soften it before changing the whole setup.
Watch How Shadows Move
Uneven lighting often becomes clearer when you turn your head during a test recording. If one side of the face disappears into shadow, the fill light may be too weak.
If shadows look sharp and harsh, the light source may be too small or too close without diffusion. The goal is not to remove every shadow, but to keep detail visible on both sides of the face.
Shape the Light Before Adding More Gear
Most uneven footage improves when you control the balance between the key light and the fill light. Adding more brightness without a plan can create new glare, shadows, or color problems.
Start with the main light, then decide how much shadow support is needed. A simple two-light or key-and-reflector setup is usually easier to repeat than several random lamps.
Also Read: One-Light Home Setup That Actually Works
Build a Key and Fill Balance
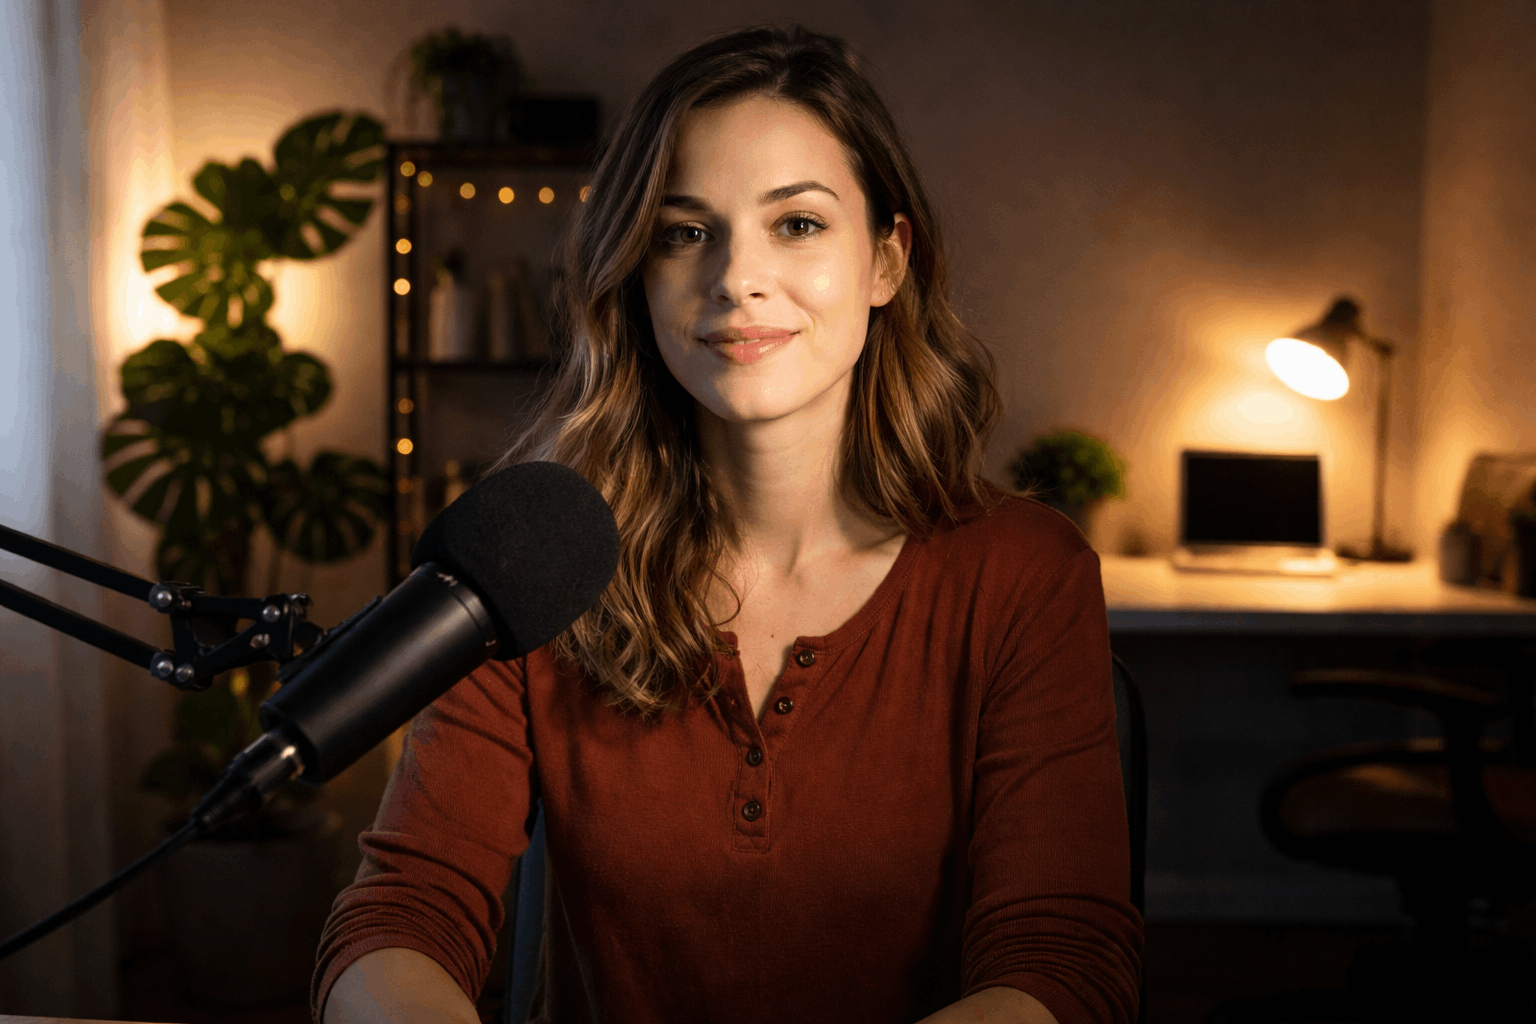
Your key light should be the main source shaping your face. Place it slightly above eye level and around 30 to 45 degrees to one side of the camera.
Add fill on the opposite side with a weaker light, white wall, foam board, or reflector. Keep the fill gentle so the face still has shape instead of looking flat.
Use Backlights and Practicals Carefully
A small backlight can separate you from the background, but it can also create bright edges or lens flare. Keep it dimmer than the key light and aim it toward your shoulders or hair, not into the lens.
Background lamps can add depth, but they should not become the brightest part of the frame. If they clip or distract, move them farther back, dim them, or aim them at the wall.
Control the Room and Background
Sometimes the real problem is not your video light, but the room around it. Windows, ceiling lights, monitor glow, glossy surfaces, and bright walls can all create uneven patches.
You often get better results by subtracting light before adding more gear. Once the room is under control, your main light becomes easier to manage.
Block and Bounce Ambient Light
If a window is blasting one side of your face, use curtains, blinds, or blackout fabric to control it. If you like window light, face the window and soften it with a sheer curtain.
A white foam board can bounce light back into the shadow side without adding another powered fixture. This keeps the setup simple and reduces the uneven contrast that cameras often exaggerate.
Choose a Background That Helps Exposure
A very bright wall or reflective artwork can make the camera underexpose your face. A slightly darker, matte background usually keeps attention on the subject.
Avoid glossy desks, mirrors, bright frames, and shiny product packaging that catch the key light. Your face should remain the clearest and most controlled part of the image.
Lock Camera Settings for Stability
Uneven lighting looks worse when the camera keeps adjusting on its own. Auto exposure may brighten and darken the image every time you move or hold up an object.
Auto white balance can also shift skin tone when mixed light enters the frame. Locking basic settings helps you see the real lighting problem instead of chasing camera changes.
Use Manual Exposure When Possible
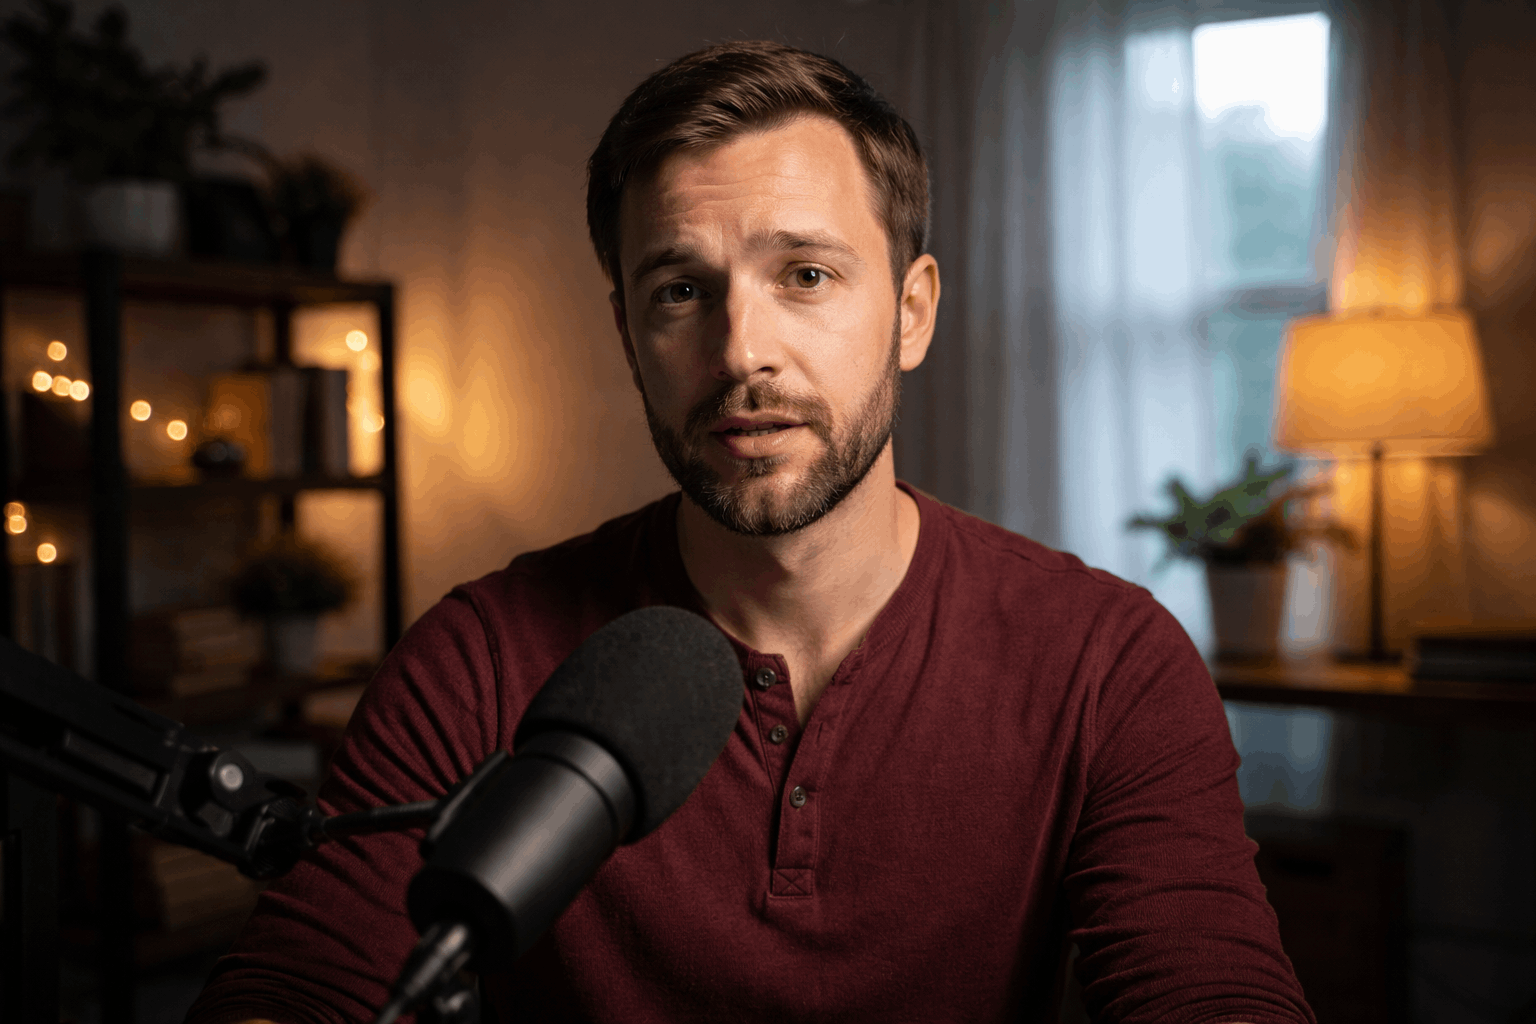
Set exposure for the face first, not the brightest background object. If your camera has zebras or a histogram, use them to protect highlights from clipping.
Keep ISO as low as practical so shadows do not become noisy. If one side still looks too dark, raise the fill gently instead of making the whole image brighter.
Fix Webcam and Phone Settings
Webcams and phones often brighten dim rooms with digital gain. This can make uneven lighting look noisier and less natural.
If your app allows it, lock exposure, focus, and white balance before recording. Lower digital brightness first, then improve the image with real light placement.
Use this quick check before recording:
- Check that both sides of your face still show detail.
- Make sure the background is not brighter than your face.
- Look for glare on glasses, desks, walls, or product surfaces.
- Confirm exposure and white balance are locked if possible.
- Record a short test clip before filming the full video.
Make Small Fixes Without Overediting
Editing can help uneven lighting, but it should not replace a better setup. Heavy correction can make skin look strange and backgrounds look fake.
The goal is to make small adjustments that support the footage you already captured. A stable setup gives editing software less work to do.
Correct Gently in Editing
Use basic exposure or curves tools to lift shadows slightly and pull highlights down gently. If one side of the frame is too bright, a subtle mask or vignette may work better than changing the entire image.
Match clips by looking at skin tone first because faces are what viewers notice most. Stop adjusting before the image starts to look plastic or overly processed.
Save the Setup That Works
Once you fix the lighting, save the position of your tripod, chair, key light, and fill source. Tape marks, photos, and notes can help you rebuild the same look later.
Keep your microphone and stands in mind so they do not cast shadows across your face or background. A repeatable setup saves time and makes your videos look more consistent across recording days.
The Bottomline
Uneven lighting is usually a setup problem, not a reason to buy more gear immediately. Start by controlling the key light, adding soft fill, and reducing bright distractions in the room.
Lock your exposure and white balance so your lighting choices stay stable while you record. When your setup is balanced and repeatable, your videos look cleaner, calmer, and easier to edit.