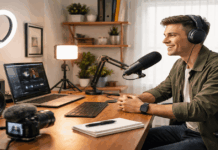
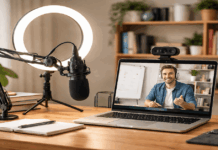
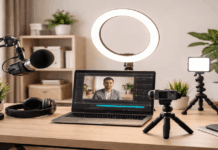
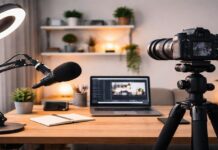
A fingerprint on your webcam lens is doing more damage to your video than that budget camera sensor ever did. Seriously. One smudge under a bright ring light turns crisp footage into a soft, hazy mess.
If you record at home regularly, your clean home recording setup breaks down faster than you’d expect. Dust settles on diffusers. Oils build up on mic bodies. Cables collect grime off the floor.
The fix is not a weekend cleaning project. A clean home recording setup depends on tiny habits that take less time than queuing up your intro music.
This guide is for the solo creator who records three or more times per week and can’t figure out why last Tuesday’s take sounded different from Friday’s.
Why Your Recording Gear Gets Dirty So Fast
The speed at which home recording equipment collects gunk catches people off guard. Studio spaces have controlled airflow, dedicated cleaning crews, and sealed environments. Your bedroom has none of that.
Microphones sit inches from your mouth. Tripods rest on floors that haven’t been vacuumed since the weekend. Desk surfaces transfer skin oils onto every cable, knob, and mount you touch during a session.
Surfaces and Cables Are the Starting Point
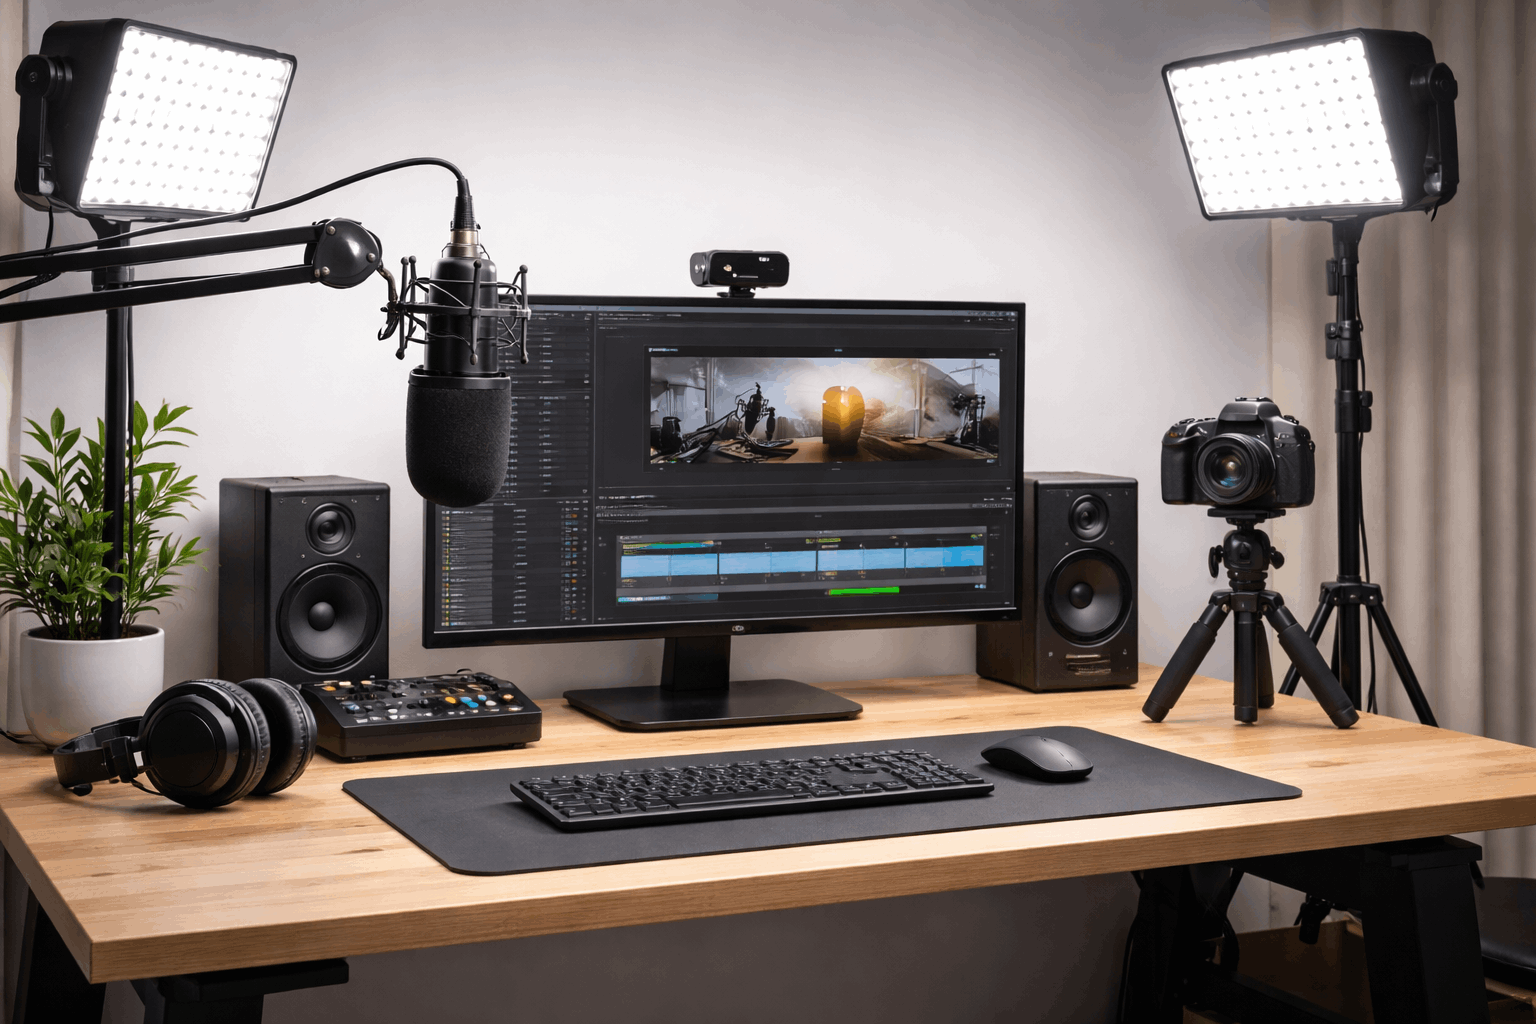
I’d argue that the dirtiest part of any recording setup is the desk surface under your hands. Not the mic. Not the camera. The desk. That flat surface is a transfer station: oils and particles move from the desk to your fingers, then to every piece of gear you adjust.
Smooth desk surfaces collect less grime than textured fabric covers and clean faster between sessions. A small desk mat can protect finishes, but pick one that’s easy to shake out and wipe down.
Keep drinks and snacks outside the gear zone, because sticky residue on knobs and mounts creates problems that are annoying to fix later.
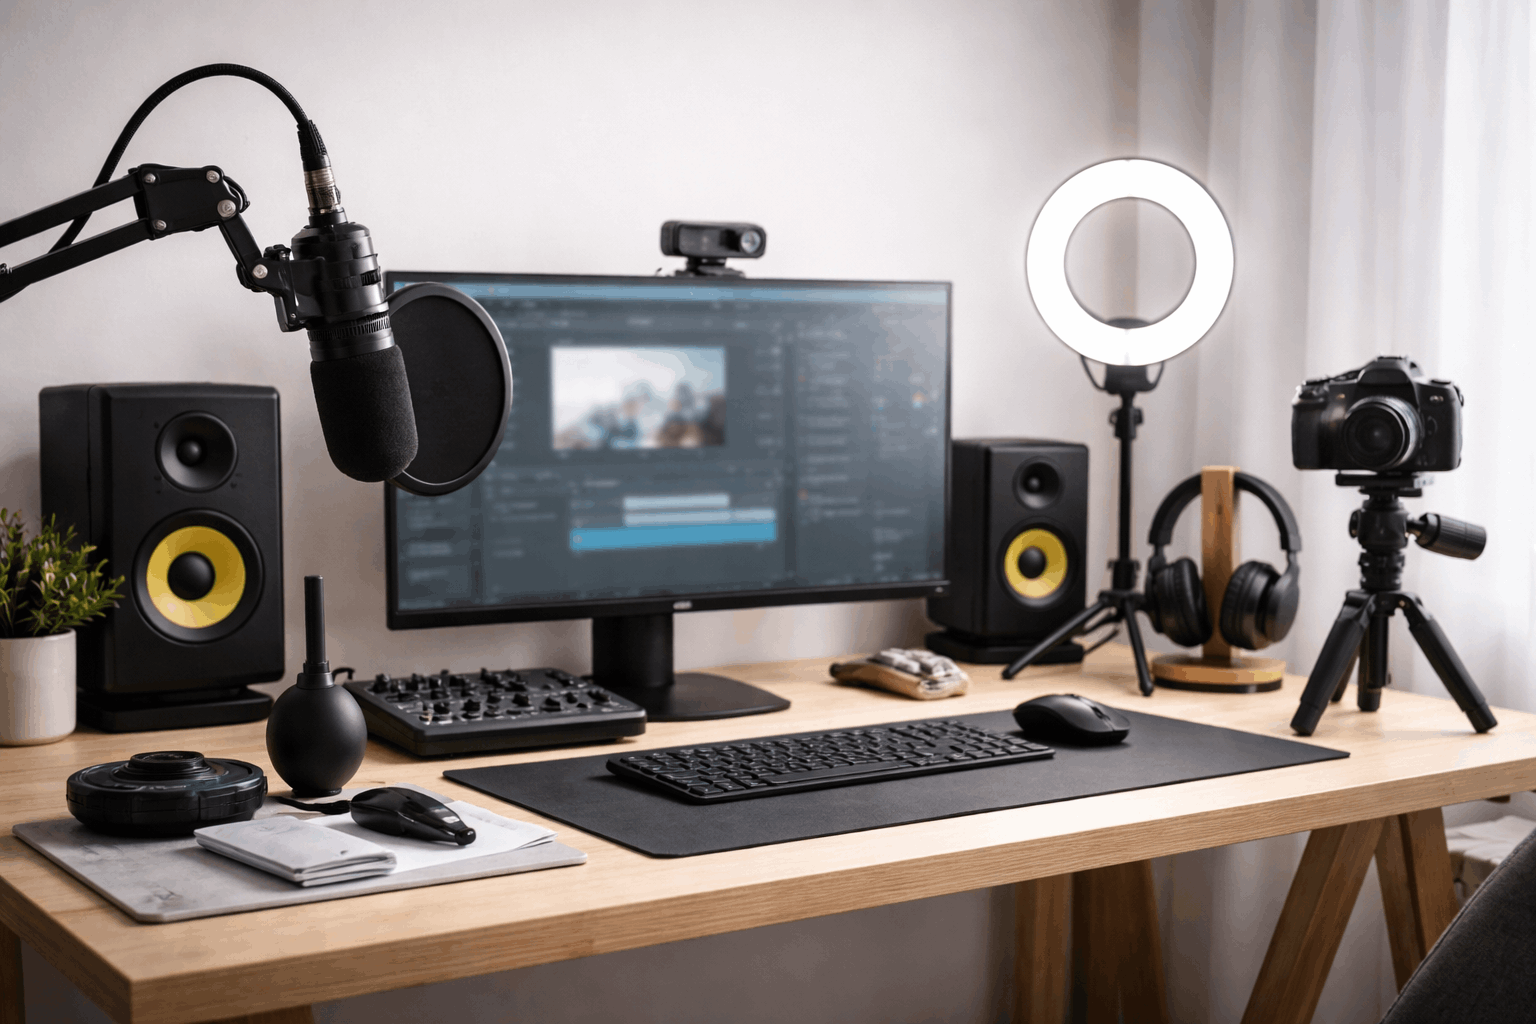
Cables create the second transfer point. Cables trailing across the floor pick up dirt and shift every time you move your chair.
Running them along the desk edge keeps them off the workspace and away from your microphone stand. Tight bends and repeated twists also wear cables down and cause sudden crackle during a take.
The Pop Filter Problem Nobody Talks About
A pop filter sits between your mouth and your microphone, catching moisture droplets, saliva, and floating dust particles. Over time, that buildup creates two problems.
The obvious one is hygiene: an uncleaned pop filter starts to smell. The less obvious one is tonal inconsistency. A dirty pop filter adds a thin layer of resistance to airflow that changes how plosives and sibilants reach the capsule.
Across multiple recording sessions, that shift is subtle enough to confuse you into thinking your EQ settings are wrong.
Foam windscreens need careful washing and complete drying, because trapped moisture affects performance. Replacing or cleaning these accessories on a set schedule keeps recordings more consistent.
Microphone Cleaning That Protects the Sound
Microphones sit closest to your mouth and hands, so they collect the heaviest concentration of oils and particles. Clean accessories also help a mic hold a consistent tone across takes and across weeks.
A gentle routine matters more than aggressive scrubbing. Pressing too hard on grilles, finishes, and connectors can cause damage that costs more than the cleaning supplies.
Safe Ways to Wipe Mic Bodies and Stands
A dry microfiber cloth removes fingerprints from mic bodies without pushing debris into seams. That distinction matters: paper towels and rough cloths can grind small particles into surface scratches.
Stands and shock mounts collect grime on their adjustment points. Quick wipe-downs at those spots prevent the sticky tightening that makes gear hard to reposition mid-session.
Keeping connectors clean and capped when not in use reduces intermittent audio caused by poor contact.
I think the most underrated habit here is capping XLR and USB connectors after every session.
Dust inside a connector creates contact issues that mimic cable failure, and I’ve seen creators on forums like r/podcasting throw out perfectly good cables because they assumed the cable was broken when the connector just needed a quick cleaning.
Also read: Best Microphones for Streaming From Home
When to Replace vs. When to Clean
A lot of home recording advice pushes people toward buying new accessories at the first sign of wear. My take is that most pop filters and foam windscreens can last 12 months or longer if cleaned on a regular schedule.
The cost of a replacement foam cover is small, but the habit of cleaning extends the life of every accessory attached to your microphone.
Replace items when they lose structural shape, not just when they look used. A windscreen that’s been washed and dried properly still performs. One that’s been crushed in a drawer does not.
Lighting and Webcam Maintenance for Sharper Video
Lighting gear gathers dust on the exact surfaces designed to spread and shape light. Webcams show smudges immediately, especially under bright panel lights and high exposure settings.
A clean setup produces a sharper image without forcing overcorrection in post-production software.
Here’s what I find interesting about webcam maintenance that nobody seems to mention: a single fingerprint on a webcam lens softens your image more than a low-resolution sensor.
That means a $40 webcam with a clean lens can outperform a $120 webcam with an oily one.
Cleaning Diffusers and Softbox Fabric
Dust on diffusers and softboxes lowers brightness and adds a dull haze that feels like a camera problem. Creators spend hours adjusting white balance and exposure when the real issue is a layer of dust on the fabric panel.
A gentle dusting and careful spot cleaning keeps fabrics even and avoids creases that create uneven highlights.
Storing light modifiers flat or loosely folded prevents bends that change the shape of the light. Once a softbox develops a permanent crease, the light it throws will always have a hard line in it.
Webcam Lens Care Takes 10 Seconds
Use a clean microfiber cloth and light pressure. Hard rubbing creates fine scratches over time that permanently degrade image quality. Keeping the same camera angle and cleaning the lens before each session means framing and focus stay predictable.
The Wirecutter webcam buying guide includes useful notes on lens quality, but none of those recommendations matter if you’re recording through a smudge.
Tripod and Mount Stability Starts With Cleanliness
Tripods and mounts fail in a specific pattern: quietly first, then suddenly. Dust and grit collect in joints, knobs, and quick-release plates where smooth movement matters.
A stable camera or microphone position reduces repeated handling, which in turn causes less dirt transfer. Treating support gear like safety equipment avoids the drops that can end a recording day.
Tightening Points and the Mid-Take Wobble
Loose knobs cause slow drift in framing and create small vibrations that microphones can pick up. A quick pre-session tightening check prevents the common problem of a camera slipping 30 seconds into a monologue.
Tightening with steady pressure rather than forcing it protects threads and keeps adjustments smooth. Stripped threads on a tripod head are expensive to fix and impossible to ignore.
Storing Tripods to Keep Joints Clean
Leaving tripods open in dusty corners invites grit into leg locks and section joints. A simple storage spot and a basic cover or bag keep moving parts cleaner between uses.
The feet matter too. Dirty tripod feet track particles onto your recording area and into cable paths, creating a cycle of contamination that starts from the ground up.
A Two-Minute Post-Session Reset vs. the Weekly Deep Clean
I disagree with the common advice to schedule a weekly deep clean for your recording setup.
The weekly schedule gives creators permission to ignore gear maintenance for six straight days, and that’s where damage happens. A 2-minute post-session reset prevents more problems than a Saturday scrub-down ever fixes.
The reset looks like this after every recording session:
- Cap all connectors and place microphones back in their designated spots
- Wipe the desk area where your hands and cables sat, because that’s the primary grime transfer zone
- Return tripods and lights to their resting positions so nothing sits extended and exposed overnight
That takes about 120 seconds. The next session starts faster, and gear stays cleaner without a dedicated cleaning block.
A monthly check can still be useful for cable inspection, mount tightening, and replacing worn hook-and-loop ties or clips. But the daily reset is the foundation that makes everything else optional rather than urgent.
| Maintenance Task | Post-Session (2 min) | Monthly Check |
|---|---|---|
| Cap connectors | ✓ | ✓ |
| Wipe desk surface | ✓ | ✓ |
| Clean pop filter | ✓ | |
| Dust diffusers | ✓ | |
| Inspect cables | ✓ | |
| Tighten mounts | ✓ |
The takeaway: daily resets handle 80% of maintenance, and the monthly check catches the rest. Track monthly tasks with a simple phone reminder on the Google Calendar app so they don’t slip.
Questions People Ask About Clean Home Recording Setup
Q: How often should I clean my microphone pop filter?
Once per month is a solid baseline for anyone recording three or more times per week. If you record daily, bump it to every two weeks. A quick sniff test is a surprisingly reliable indicator of when cleaning is overdue.
Q: Can I use alcohol wipes on my microphone body?
Isopropyl alcohol at 70% concentration on a cloth works for most metal mic bodies, but avoid spraying liquid directly onto the mic. Condensers and ribbon mics have internal components that can be damaged by any moisture that seeps past the grille.
Q: Do I need a special cleaner for webcam lenses?
A dry microfiber cloth handles 90% of webcam cleaning. Lens cleaning solution designed for camera optics works for stubborn smudges. Avoid household glass cleaners, since they can leave a residue that attracts more dust.
Q: What causes random audio crackle during home recordings?
Dirty connectors, kinked cables, and loose mount points are the three biggest causes. Capping XLR and USB connectors after each session and running a quick cable check once a month eliminates most crackle issues.
Q: Should I cover my microphone when not recording?
A dust cover or even a clean cloth draped over the mic between sessions keeps particles off the grille and capsule. This is especially helpful if your recording space doubles as a living area where cooking, pets, or open windows introduce airborne debris.
Conclusion
A clean home recording setup protects your audio and video quality better than any software fix.
Small habits after each session compound into gear that lasts years longer. The 2-minute reset is the single best investment of time a home creator can make. Start tonight, and your next recording will already sound and look noticeably better.