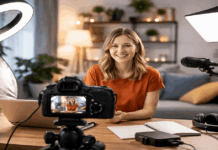
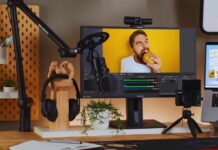
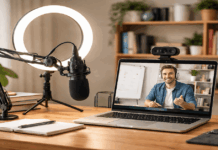
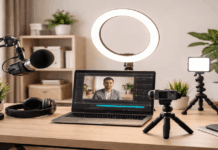
So your first video is stuck in your head, and the gear rabbit hole on Reddit has you opening 47 browser tabs. Sound familiar?
A home setup for new creators does not require a massive budget or a dedicated studio room. It requires buying things in the right order.
That order matters more than the price tag on any single item. Get it wrong and a $300 microphone sounds worse than a $60 one.
This checklist breaks down every piece of gear by how much it moves the needle, starting with audio, then lighting, then camera and stability.
Why Audio Gear Should Be Your First Purchase
Every home creator setup guide mentions audio. But few explain why audio deserves your first dollar, not your camera, not your lights, not your backdrop.
The reason is biological. Human ears are less forgiving than human eyes. A slightly dark or grainy video still gets watched.
Audio that echoes, distorts, or sounds muffled gets the tab closed in under 10 seconds. Viewers tolerate visual imperfection far longer than they tolerate bad sound.
That makes your microphone the single highest-return purchase in your entire setup.
USB Mics vs XLR Mics for Beginners
USB microphones plug straight into your computer and work with recording apps immediately. No extra hardware. No driver headaches. For a solo creator recording one voice, USB is the faster path to clean audio.
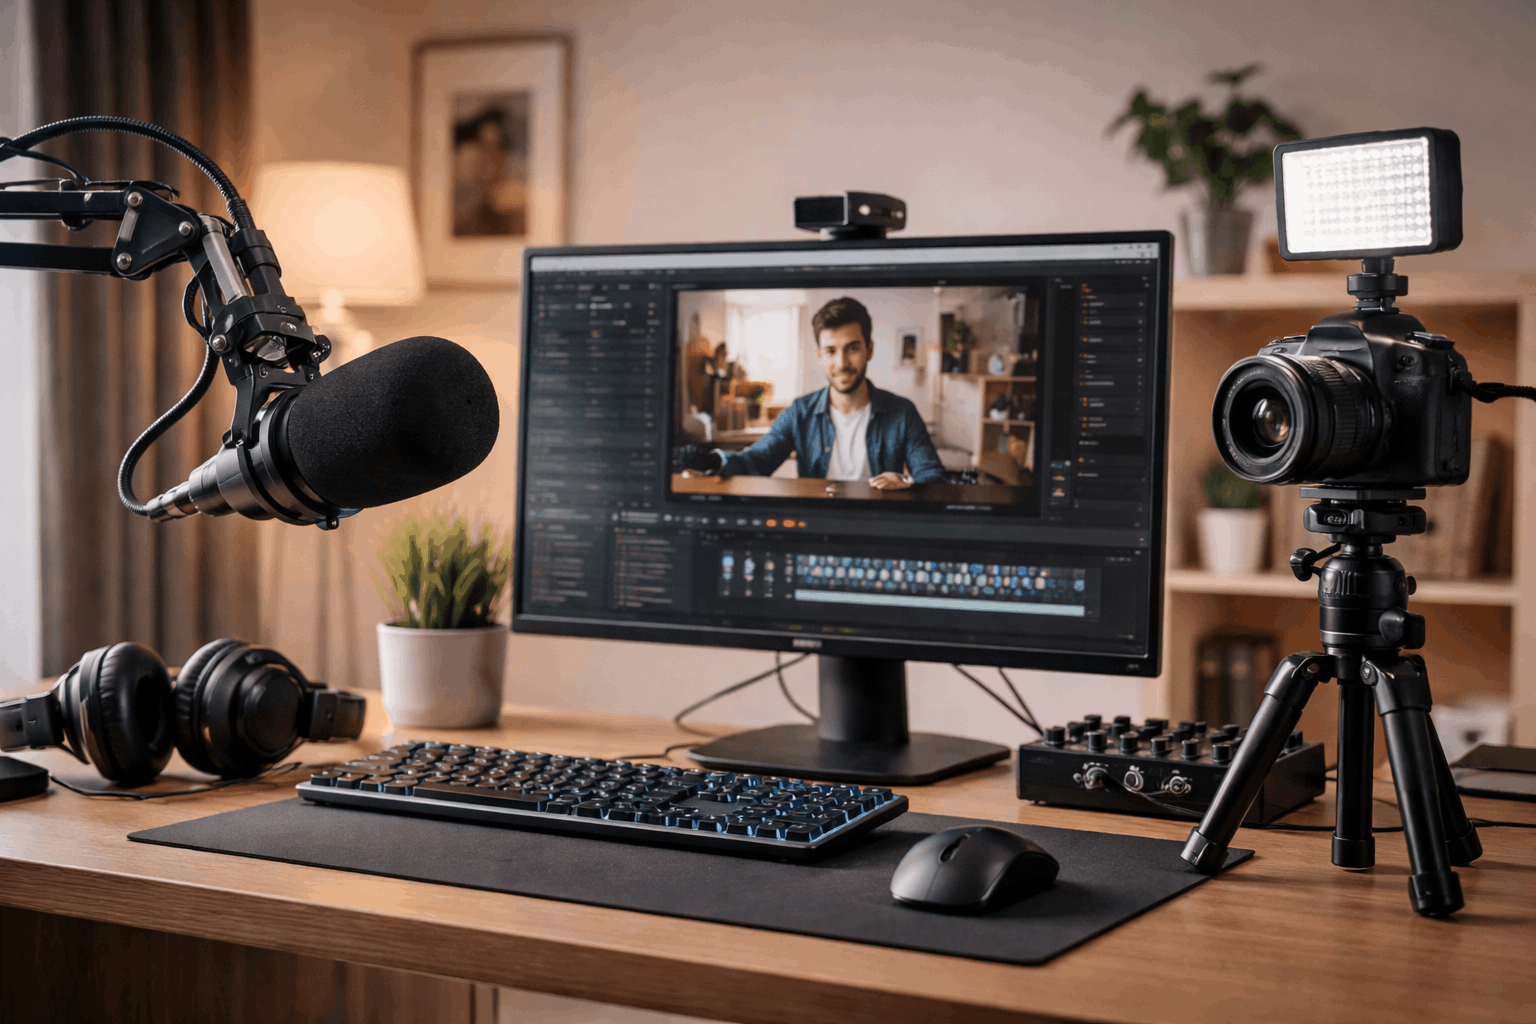
XLR microphones need an audio interface or mixer between the mic and your computer. This adds cost upfront, but the setup scales.
Planning to add a second mic for interviews, swap preamps later, or record two people in one room? XLR gives you that flexibility down the road.
My take on this split: if your channel plan involves solo content for the next 6 to 12 months, a USB mic removes friction that kills momentum. The XLR upgrade can come later without wasting what you already own.
Dynamic Mics Beat Condensers in Untreated Rooms
This is where I disagree with popular advice. The standard recommendation across creator forums and YouTube gear roundups is to start with a condenser mic because condensers capture more vocal detail and sound “open.”
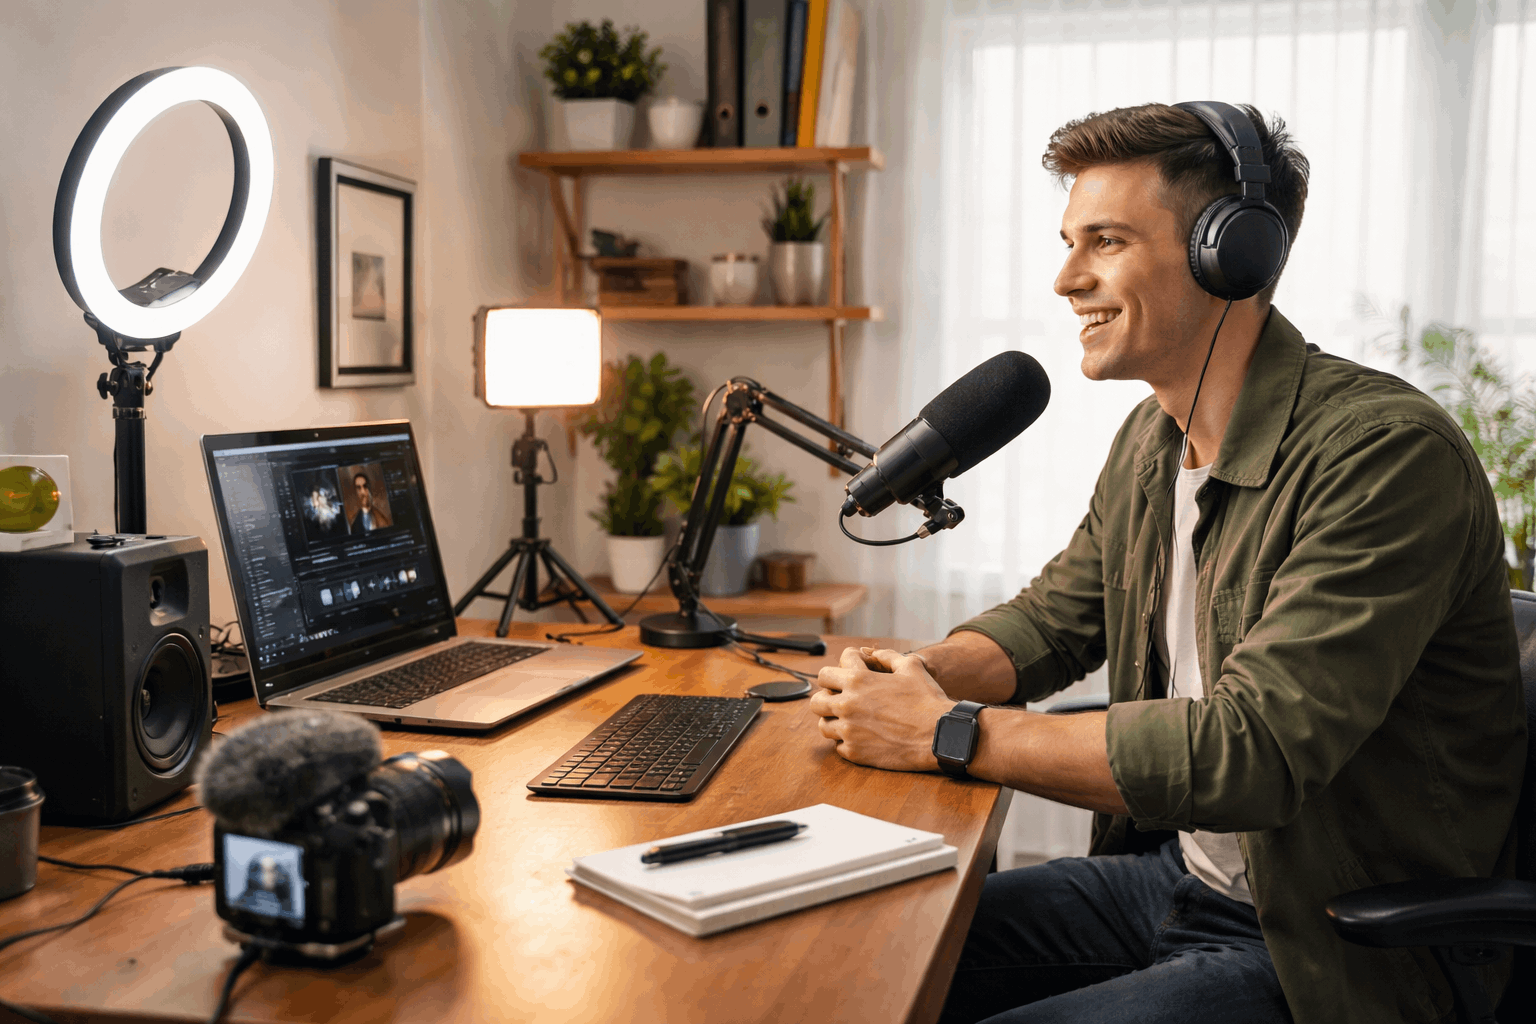
I think that advice costs beginners money and frustration, specifically because condenser mics pick up everything: room echo, keyboard clicks, air conditioner hum, footsteps from the next room, and reverb bouncing off bare walls.
A bedroom with tile or hardwood floors and no acoustic treatment is the worst environment for a condenser.
A dynamic mic rejects background noise by design. It picks up sound from close range and ignores what happens further away. A $60 dynamic mic positioned correctly in a lively bedroom will produce cleaner audio than a $200 condenser in that same room.
The condenser “wins” only after you spend additional money on acoustic panels, bass traps, and a properly treated space.
So the honest recommendation for a new creator recording at home: start dynamic. Switch to a condenser after your room is treated, if you ever treat it at all.
Mic Placement Matters More Than Mic Price
A $150 mic placed two feet away, aimed at the ceiling, sounds terrible. A $50 mic six inches from your mouth, angled slightly off-axis to reduce plosives, sounds clean.
Three placement rules that cost nothing:
- Keep the mic close: 4 to 8 inches from your mouth is the target range for spoken word
- Set gain low and raise it slowly: recording too hot causes distortion that cannot be fixed in editing
- Use a pop filter or windscreen: even a cheap foam cover reduces plosive “P” and “B” sounds that ruin takes
A boom arm helps here, too. It keeps the mic at a fixed distance from your face every session, so your audio sounds consistent video to video.
Also read: Best Budget Creator Setup Under $300
Lighting That Makes a Cheap Webcam Look Expensive
Once audio is handled, lighting gives you the second biggest quality jump per dollar. And the reason is simple: cameras, even cheap webcams, look dramatically better when they receive enough soft, even light.
Ceiling lights create harsh shadows under the eyes and nose. That unflattering look is what makes beginner videos feel “amateur” more than the camera itself.
One Soft Light Changes Everything
A single soft light placed slightly above eye level is the fastest visual upgrade available. Many creators start with a ring light or small LED panel with a diffuser.
The goal is not brightness. Overly bright, hard light looks worse than dim, soft light. Look for panels with adjustable color temperature (measured in Kelvin) so you can match the warmth of your room’s ambient light.
Fill Light and Background Separation
After your main light is set, check the shadow side of your face. Heavy shadows on one side? A weaker fill light on the opposite side softens them.
Adding a small light aimed at the wall behind you creates depth between your body and the background. This “background separation” trick makes the frame look layered, even in a small room.
One mistake to avoid: placing any light below your face. Under-lighting creates an unnatural, horror-movie look that no amount of color correction will fix.
Camera and Webcam Setup for Home Creators
The camera conversation usually dominates creator forums. But given that audio and lighting are handled first, the camera becomes less of a bottleneck than people assume.
Webcam vs Dedicated Camera
For everyday creators who record talking-head content, a quality webcam at eye level is often the simpler path. No complicated settings, no fumbling with autofocus during a live stream, no separate capture card. Plug it in and record.
A dedicated camera (mirrorless or DSLR) produces a shallower depth of field and higher resolution.
But it also adds cost for lenses, a capture card, and ongoing battery management. The jump in perceived quality is smaller than the jump from bad lighting to good lighting.
| Feature | Quality Webcam | Dedicated Camera (Mirrorless/DSLR) |
|---|---|---|
| Setup speed | Plug-and-play, ready in seconds | Requires capture card, lens, battery |
| Depth of field | Fixed, deeper focus | Shallow, blurred background possible |
| Cost range | $80 to $200 | $500+ with lens and accessories |
| Best for | Solo talking-head, streaming, tutorials | Cinematic look, product shots, B-roll |
If your content is primarily screen-share tutorials or talking-head videos, the webcam path saves money and setup time that goes toward making more content.
Lock Exposure and White Balance
One detail that separates consistent-looking channels from inconsistent ones: locking exposure and white balance so they do not shift mid-recording. Auto settings react to hand movements and lighting changes, causing visible flicker and color shifts.
Check your webcam’s companion software or your camera’s manual settings. Lock both values after your lights are on and your position is set.
Tripods, Mounts, and Stability
Shaky footage signals “amateur” to viewers faster than almost anything else. A tripod or desk mount also saves time because framing stays identical between sessions.
The tripod checklist for home creators:
- Height range: can it reach your eye level when sitting and standing at your desk?
- Base stability: wider legs reduce wobble on carpeted or uneven floors
- Quick-release plate: if you pack away your setup between sessions, a quick-release saves minutes every recording day
A cheap tripod that wobbles is worse than a phone propped against a stack of books. Stability is the priority, not brand name.
Small Accessories That Prevent Ruined Recording Sessions
Nobody gets excited about cables and surge protectors. But a failed recording because of a dead battery or a disconnected USB cable is hours of lost work.
The accessories that save recordings:
- Spare USB cable (matched to your mic and webcam’s USB standard)
- Surge protector and extension cord for your desk area
- Monitoring headphones so you can hear your audio live and catch problems before a full session is wasted
- Velcro cable ties to keep wires organized and off the floor
- Spare batteries or a wall power adapter for any device that runs on battery
Monitoring headphones deserve extra attention. Recording with speakers playing back your own voice causes feedback loops and echo that ruins audio tracks. Even inexpensive wired headphones plugged into your audio interface or webcam solve this entirely.
The 2-Minute Test Recording Routine That Separates Amateurs from Pros
Gear is half the equation. The other half is a repeatable test routine done before every single recording. This habit catches problems that would otherwise ruin a 45-minute session.
The routine takes about two minutes and follows the same steps every time:
- Record 10 seconds of audio and play it back on headphones (check for distortion, echo, background noise)
- Confirm mic input level is below peaking (the meter should hit about 70% on loud syllables, never red)
- Check camera framing and focus on screen
- Confirm lighting is on and skin tone looks natural, not orange or blue
- Silence phone notifications and computer alerts
- Name your file before hitting record so nothing gets lost
Skipping this routine is how creators end up with 40 minutes of unusable footage because the mic was muted or the webcam defaulted to a weird resolution. Two minutes of checking prevents hours of re-recording.
Questions People Ask About Home Setup for New Creators
Q: How much should a beginner creator spend on a full home setup?
A workable setup starts around $150 to $250 total: a USB dynamic mic ($50 to $80), one LED panel light ($30 to $60), a webcam ($60 to $100), and a basic tripod or desk mount. Going beyond that budget gives smaller quality improvements per dollar.
Q: Do I need acoustic panels to record at home?
Acoustic panels help, but they are not required to start. A room with soft furniture, curtains, and a rug already absorbs some echo. Closing the door and recording away from hard, bare walls can be enough for early content.
Q: Ring light or LED panel for video recording?
Ring lights create an even, flattering look for face-on video but produce a distinctive circular catch light in the eyes. LED panels offer more flexibility because you can angle and diffuse them. For talking-head content, either works fine at the entry level.
Q: Can I use my phone instead of a webcam?
A modern smartphone camera often outperforms budget webcams in image quality. The tricky part is mounting it at eye level and keeping it powered during long sessions. A phone mount with a wall charger solves both issues, and apps like Camo turn a phone into a webcam over USB.
Q: What free recording software works for beginners?
OBS Studio handles both screen recording and camera recording at no cost. It works on Windows, Mac, and Linux. The learning curve is steeper than simpler apps, but OBS gives you full control over audio inputs, video sources, and scene switching from day one.
Conclusion
A solid home creator setup costs less than a single camera lens, and the returns on audio and lighting alone are massive. Buying gear in the right order: mic first, light second, camera third, prevents the most common beginner waste.
The two-minute test routine before each session matters as much as the gear itself. Start recording this week, because the setup only improves once you hear what needs fixing.