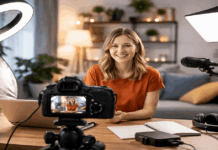
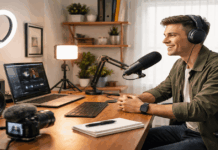
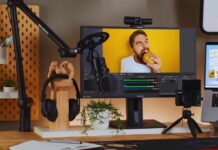
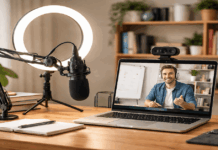
A home video can look polished without an expensive camera when the frame is planned before you press record. These camera placement tips fit tutorials, calls, demos, lessons, and short updates made with a phone, webcam, or basic camera.
The goal is not to build a studio; it is to make your face, hands, or message easy to follow. When height, distance, light, audio, and background work together, simple gear produces footage that feels steady and natural.
Begin With What the Viewer Needs to See
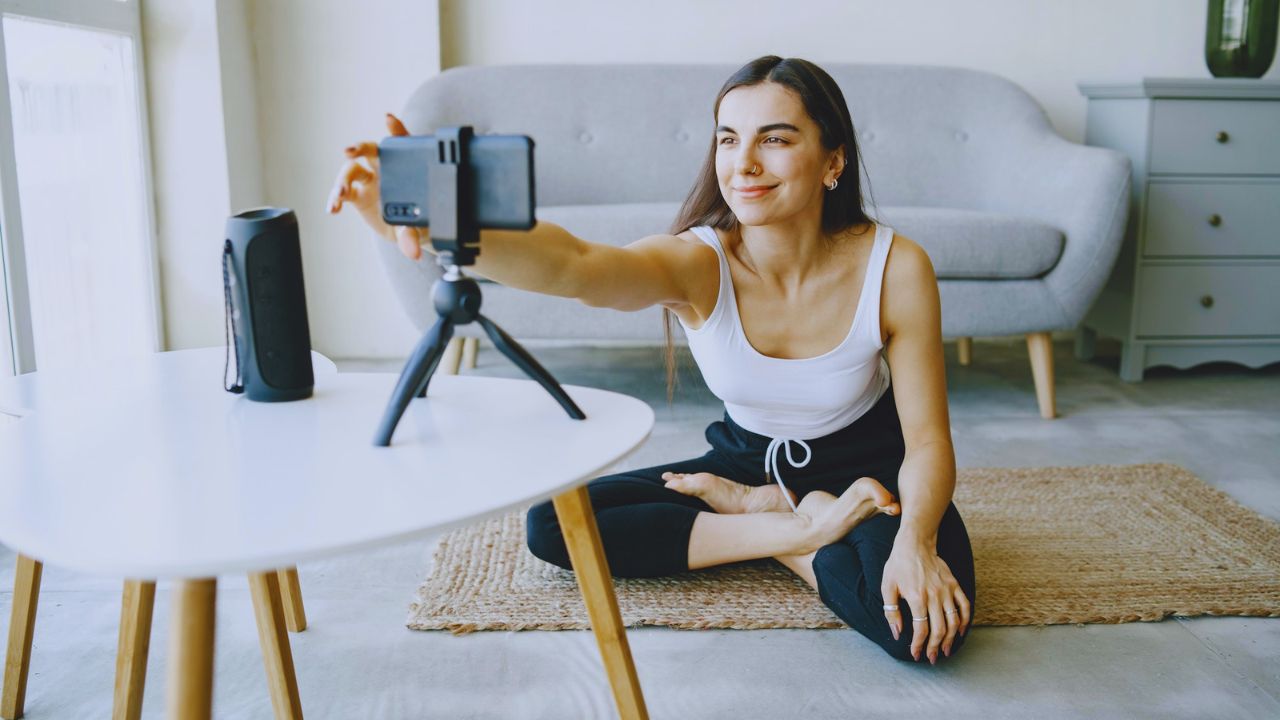
Decide what must remain visible before placing the camera. A talking-head update, a recipe, and an unboxing clip each need different framing priorities and different amounts of working space.

The right position is the one that makes this particular video easy to understand.
Frame Talking Videos and Demonstrations Differently
For a direct update, keep the lens where a person across the table might naturally look. Show the eyes and shoulders, with enough room for normal gestures.
A cooking, craft, or product video needs a wider view because people must see your hands, the item, and the result. A medium close frame gives talking clips clear expression, while a wider view keeps the main action visible during demonstrations.
Set Height and Distance Before Changing Camera Settings
Awkward home footage often starts with a lens that is too low, high, or close. Begin near eye level for face-to-camera clips; this avoids an upward view that emphasizes the chin and a high view that feels distant.
If the frame is cramped, move the camera back before using an ultra-wide setting, which can stretch faces and bend walls. These changes protect natural proportion and a comfortable viewing angle.
Build a Frame That Looks Deliberate
Once the height and distance feel right, inspect the whole rectangle rather than only your face. Crooked shelves, large empty gaps, and distracting edges can make a strong recording seem rushed. Simple choices create visual balance without over-staging the video.
Keep the Eyes High and the Background Straight
Place your eyes around the upper third of the frame, with a small amount of space above your head.
Too much headroom makes you appear low; no space feels tight. Use grid lines or a test clip to keep doorframes, shelves, and window edges straight. This creates a more direct connection and a settled-looking frame.
Use this quick frame check before recording:
- Keep eyes near the upper third.
- Leave small headroom, not a large gap.
- Check that vertical lines stay straight.
Let the Room Add Depth Without Creating Clutter
The background does not need to be empty, but it should not compete with the reason people are watching. Remove loose laundry, bright packaging, visible cables, or objects that pull attention from the subject.
Sit a little away from the wall where possible; even a small gap creates depth and reduces hard shadows. A quieter background keeps viewer attention on the person or task.
Also Read: How to Upgrade a Basic Creator Setup Gradually
Let Lighting and Audio Shape the Camera Position
A pleasing angle can fail when the brightest window is behind you or a microphone blocks the frame. Find the room’s main light source before locking the tripod position.
Face the Main Light Instead of Fighting It
A bright window behind you can leave the face dark while the outside view turns pale and distracting.
Face the window, or turn slightly so daylight reaches you from the front or side without causing a squint. If the window must remain behind you, use a soft light near the camera to lift the face. Keep light direction simple and make your face the visual priority.
Make Room for the Microphone and Its Shadow
Built-in camera microphones can sound distant when the device is placed far away, so plan audio before finalizing the frame.
Set a desk microphone near enough for clear sound without covering your mouth or reflecting light into the lens.
With a boom arm, move the key light wider or higher until the arm stops casting a hard shadow across the wall. Planning audio placement with light placement prevents rushed compromises.
Match the Support to the Kind of Video
Stable support gives you a frame you can repeat next week. Handholding can work for a quick moment, but calls, lessons, tutorials, and demos benefit from steady framing and reliable camera height.
Create a Consistent Desk Setup for Webcam Videos
For a webcam video, keep the lens near eye level and close to the center of the monitor. A desktop stand or clamp saves space and helps you return to the same composition for weekly updates, interviews, or online teaching.
Keep a USB microphone close enough that your voice stays even when you look at another screen. This limits small camera bumps and keeps the workspace consistent on video.
Change the Support for Standing and Overhead Shots
Standing tutorials need a full-size tripod that holds the camera steadily at chest height or higher. For crafts, recipes, and unboxings, use an overhead arm or horizontal boom to keep the lens directly above the work surface.
Shift the lights to the side so your hands do not create heavy shadows. The right support provides clearer detail and fewer interruptions during filming.
Use a Test Clip to Catch Problems Early
A ten-second test is more reliable than staring at the preview and guessing. Record yourself speaking, moving, or demonstrating the task, then watch with sound on.
Look for changing exposure, background distractions, awkward eyelines, hands leaving the frame, or audio that drops when you turn your head. Make one adjustment at a time so you can see what helped.
Use the clip as a practical check, not a reason to chase perfection. If one detail looks wrong, fix the thing closest to the problem: move the lamp for a shadow, adjust the tripod for framing, or bring the microphone closer for sound.
This keeps the setup calm and avoids changing several settings all at once. This habit protects recording time and builds a repeatable setup instead of a lucky result.
Conclusion: Let the Frame Support the Message
Camera placement tips help people follow the person or task without fighting the image. Decide what needs to be visible, set the lens at a comfortable height, step back before using an extreme wide view, and place the camera where the light works with the face.
Keep the support stable, make the background quieter than the subject, and test the frame before recording anything important. With small, deliberate adjustments, a home setup can look clearer and more dependable without becoming a complicated studio.