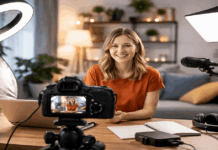
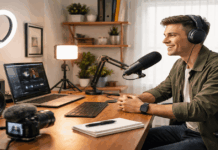
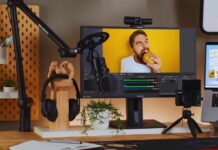
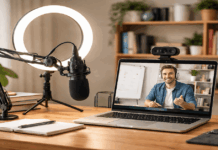
A beginner setup works best when it is built around one clear use case. Before buying gear, decide if you mainly need it for voiceovers, online meetings, talking-head videos, livestreams, or tutorials.
Each format needs a slightly different mix of microphone, lighting, camera, and mounting support. You do not need a full studio to start, but you do need a setup that is easy to repeat and simple enough to use often.
Start With the Part Viewers Notice First
Many beginners want to upgrade the camera first, but YouTube notes that audio usually creates the biggest quality jump.
Viewers may accept a basic webcam if the message is clear, but they are less patient with thin, distant, or noisy sound.
This is especially true for tutorials, podcasts, voiceovers, and talking-head videos where the voice carries most of the content.
Why Clear Audio Matters More Than Expensive Video?
A good microphone makes content feel more finished, even when the rest of the setup is simple. It helps the speaker sound closer, clearer, and easier to follow.
This does not mean you need studio-level equipment right away. The better goal is consistent speech clarity, where your voice stays understandable across recordings without needing heavy editing.
A USB microphone is usually the easiest first step. It connects directly to a computer, avoids extra devices, and works well for creators who want to record quickly.
If you want more room to grow later, an XLR microphone with an audio interface can be a stronger long-term path, but it also adds more cables and more setup decisions.
Also Read: Beginner-Friendly Home Studio Setup Guide
Choose a Microphone That Fits Your Workflow
A beginner microphone should match how you actually record. If you often move between rooms, a simple USB option may be more practical.
If you record in one fixed space and want more control over sound, an XLR setup may make sense later.
USB Microphones Are Easier for Most Beginners
USB microphones are useful because they remove friction. You can plug the mic into your computer, choose it as the input, and start recording with less troubleshooting.
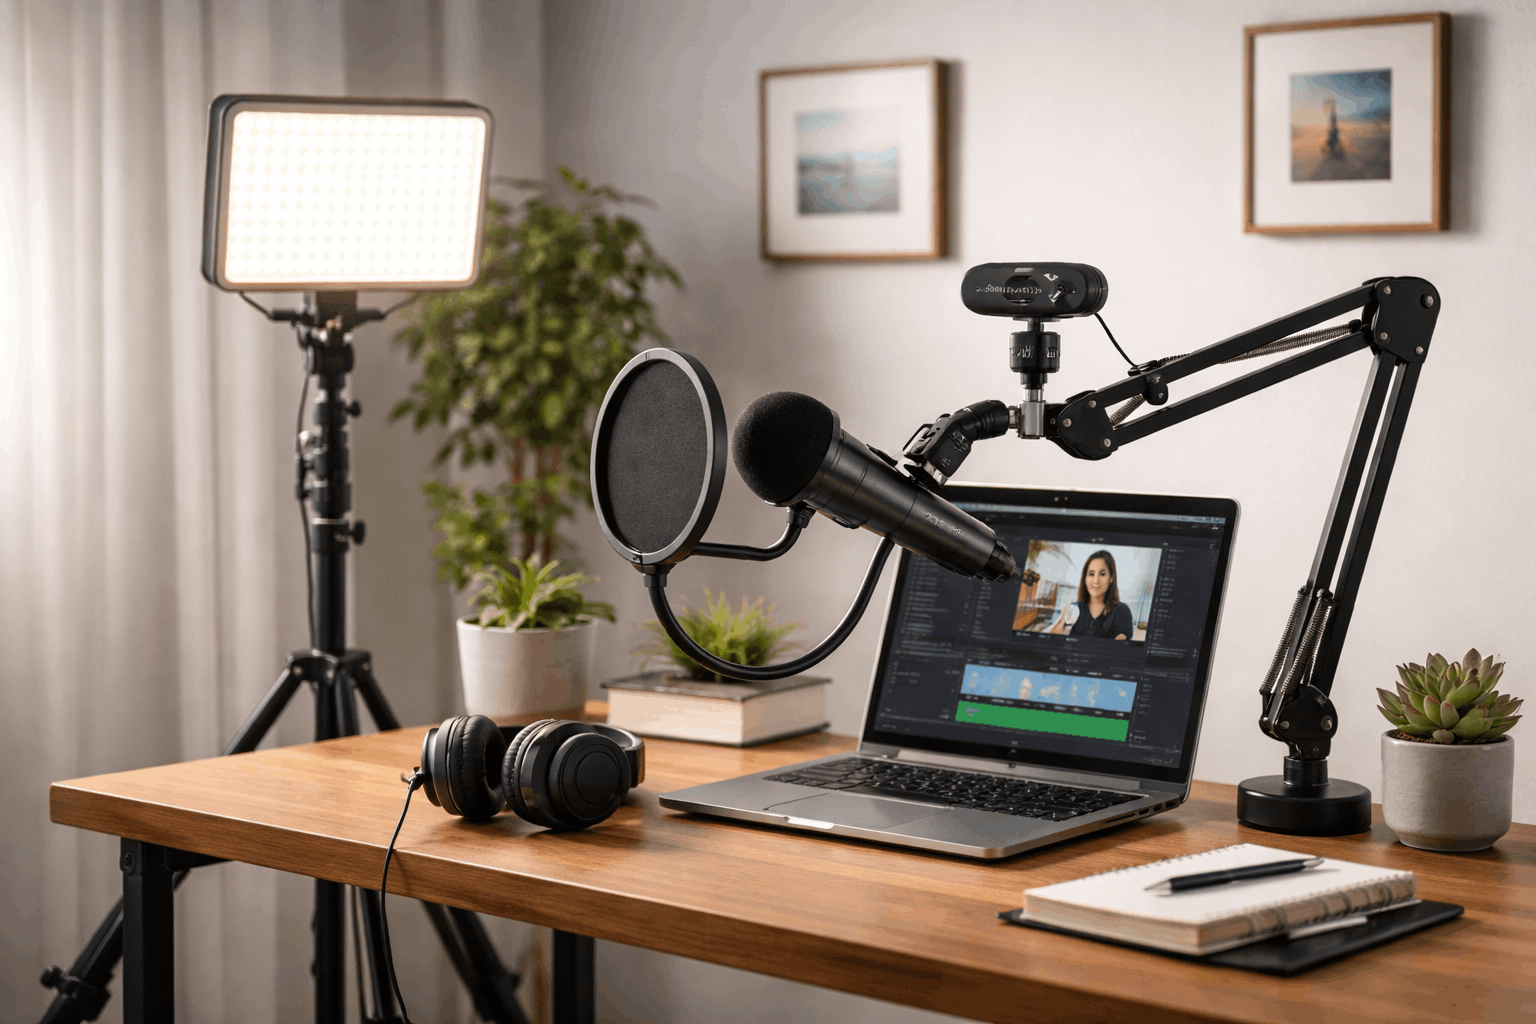
Models like the Samson Q2U, RODE NT-USB Mini, or Shure MV7 are often mentioned by beginner creators because they are designed for speech, podcasting, streaming, and simple desk setups.
The key is not only the brand. Placement matters a lot. A modest microphone placed close to the mouth can sound better than a more expensive one sitting too far away.
Aim to keep the mic close enough to capture your voice clearly, but not so close that it blocks your screen, face, or natural movement.
When XLR Starts to Make Sense?
XLR becomes useful when you want more control, better upgrade options, or a setup that can grow with you.
It usually requires an audio interface, such as an entry-level Focusrite Scarlett Solo or Behringer interface, depending on your budget and needs. This setup can be more flexible, but it also asks for a bit more patience.
For a beginner, XLR is not always necessary on day one. It makes more sense if you record often, care deeply about voice quality, or plan to try different microphones over time.
If your main goal is quick videos or casual content, a USB microphone may be the calmer first choice.
Small Accessories Can Improve the Setup Fast
Accessories are easy to overbuy, so choose only the ones that solve a real problem. A pop filter or foam windscreen can reduce harsh mouth sounds.
A boom arm or sturdy mic stand helps keep the microphone in the same position each time. Closed-back headphones let you hear background noise, echo, or volume issues before recording too much.
A good accessory should make your workflow easier, not more complicated. If a tool adds more setup time than value, it may not belong in your beginner kit yet. Consistency matters more than having a crowded desk full of small gear.
Lighting Makes Basic Cameras Look Better
Lighting is often the fastest way to improve how you look on camera. Even a good camera struggles in a dark or uneven room. A single soft light placed well can look better than several harsh lights pointed in different directions.
Keep the Light Simple and Repeatable
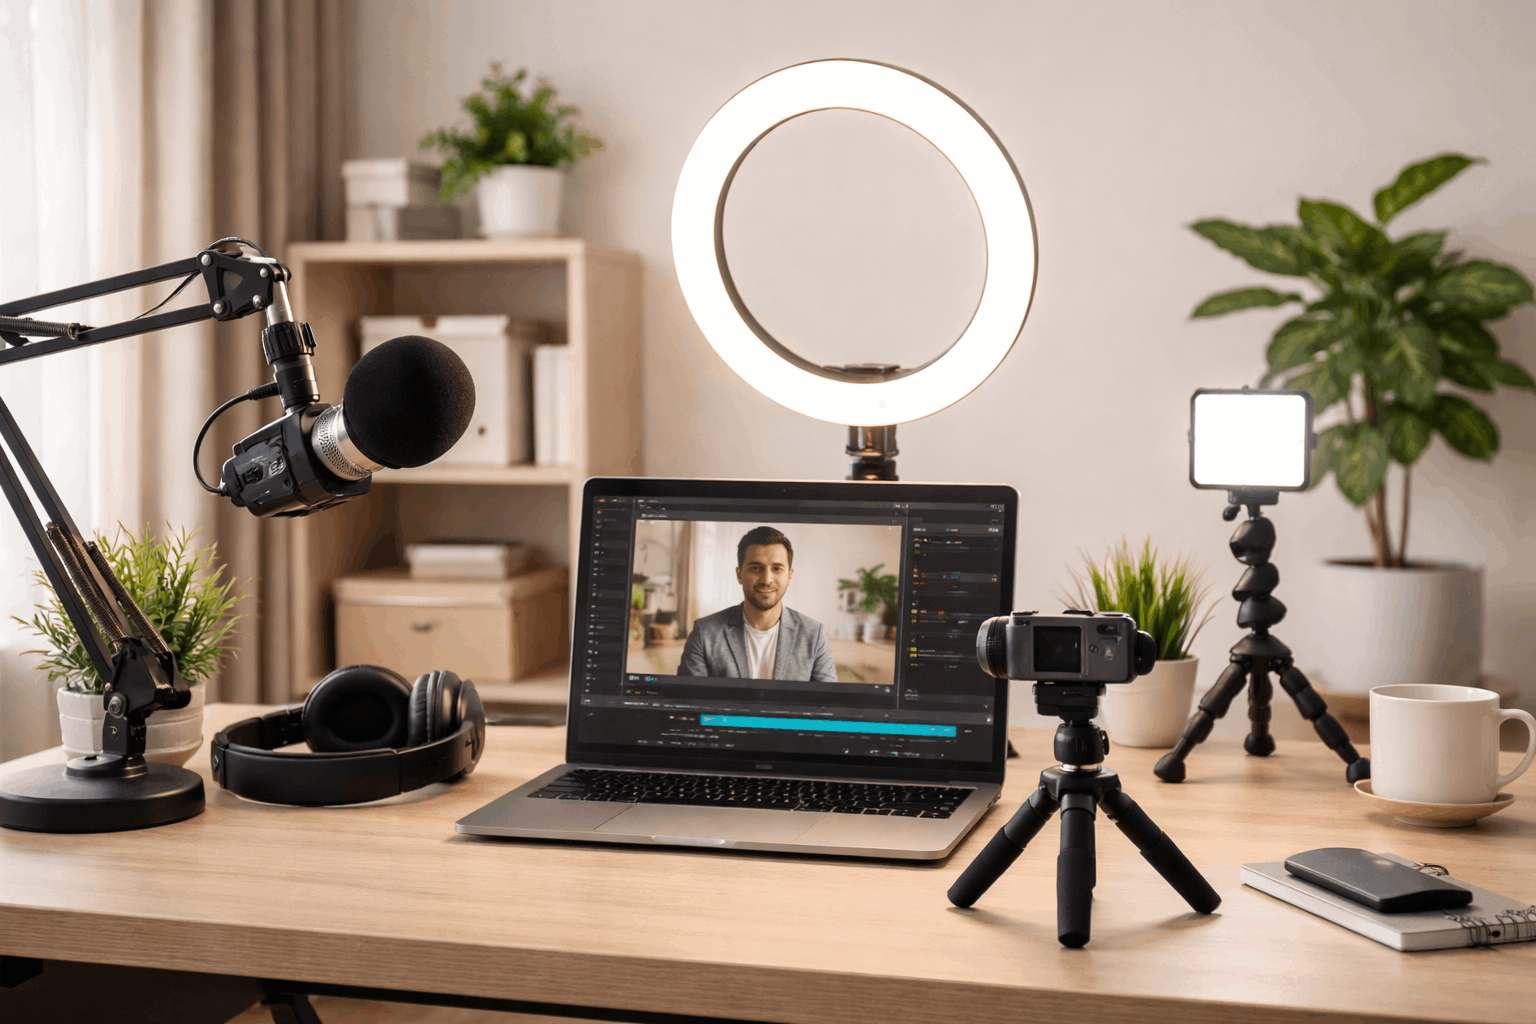
Your goal is a bright, clear face with a background that does not distract. A basic LED panel, softbox, or controlled window light can work well if the position stays consistent.
Place the light slightly to one side instead of directly under your face or behind you. This usually creates a cleaner and more natural look.
If you record at different times of day, relying only on a window can make your videos look inconsistent. In that case, one affordable light may be worth it because it gives you control.
You do not need a complicated lighting kit at the start; you just need light that makes your face easy to see.
Webcams, Phones, and Cameras: Keep the Frame Stable
A camera upgrade can help, but it should not be the first purchase for everyone. Many beginners can get good results from a 1080p webcam or a smartphone. The real difference often comes from stable framing, clean lighting, and correct camera height.
A Phone Can Be Better Than a Cheap Webcam
Many newer phones have strong cameras and image processing that work well for short-form videos, product demos, and simple talking-head content.
\The main challenge is keeping the phone steady. You need a reliable mount, enough storage, and notifications turned off before recording.
A webcam is easier for desk-based content, meetings, and livestreams because it can stay connected to the computer.
A model like the Logitech C920s is still a common beginner choice because it is simple, familiar, and good enough for many everyday creators. However, it will look much better with proper lighting and eye-level placement.
Stability Is Part of Video Quality
A shaky frame makes even good video look less polished. Tripods, phone mounts, and desk stands are not exciting purchases, but they help the setup feel intentional. They also make it easier to repeat the same framing every time you record.
Eye-Level Framing Looks More Natural
Place the camera at eye height whenever possible. Low desk angles can show ceilings, clutter, and awkward shadows. Eye-level framing feels calmer and more direct, especially when you are speaking to the audience.
A small desk tripod can be enough for webcams, phones, and lightweight cameras. Flexible tripods can help in tight spaces, but stability should still come first.
If the mount slowly moves or shakes when you touch the desk, it may create more problems than it solves.
A Practical Starter Kit for Everyday Creators
A beginner setup should cover the basics without forcing you into a complicated workflow. Instead of buying random items, build around the pieces you will use every recording day.
- A USB microphone or simple XLR mic setup for clear speech
- One soft light or reliable window-light position
- A 1080p webcam or smartphone with a stable mount
- A tripod or stand that keeps the camera at eye level
- Closed-back headphones for checking sound before recording
Conclusion
It is easy to spend too much when every product looks like an important upgrade. A better approach is to record a few test videos first and notice what actually needs improvement.
If your voice sounds far away, adjust mic placement before buying a new mic. If your face looks dark, fix the lighting before upgrading the camera.
Start with the items that make your content easier to hear, easier to see, and easier to record. Keep the setup small, repeatable, and suited to your main format.
Once you know what is limiting your quality, you can upgrade with a purpose instead of guessing.