A good lighting setup can make your videos look cleaner before you start editing. It helps your camera capture your face clearly, reduces harsh shadows, and makes the frame feel more intentional.
This guide is useful for creators recording with a phone, webcam, or basic camera in a small room. You do not need a full studio setup, but you do need a repeatable layout that works the same way each time you record.
Plan the Recording Spot Before Moving the Lights
Lighting becomes easier when your recording area is already clear. If your chair, tripod, and background move every session, your light will also keep changing.
Choose one spot that is quiet, practical, and easy to set up again. A consistent space saves time and makes your videos look more stable across different recording days.
Choose One Fixed Position
Start by deciding where you will sit or stand while recording. Keep your chair, tripod, and camera height as consistent as possible so your framing does not shift each time.
If you move furniture often, use small floor marks or a reference photo to remember the setup. This simple habit makes your lighting easier to repeat without guessing.
Your recording position should also match the type of content you create. A bright, clean look works well for tutorials, product demos, online classes, and talking-head videos.
A moodier style can work for creative videos, but it usually needs more control over shadows. For beginners, a clear and natural look is usually easier to manage.
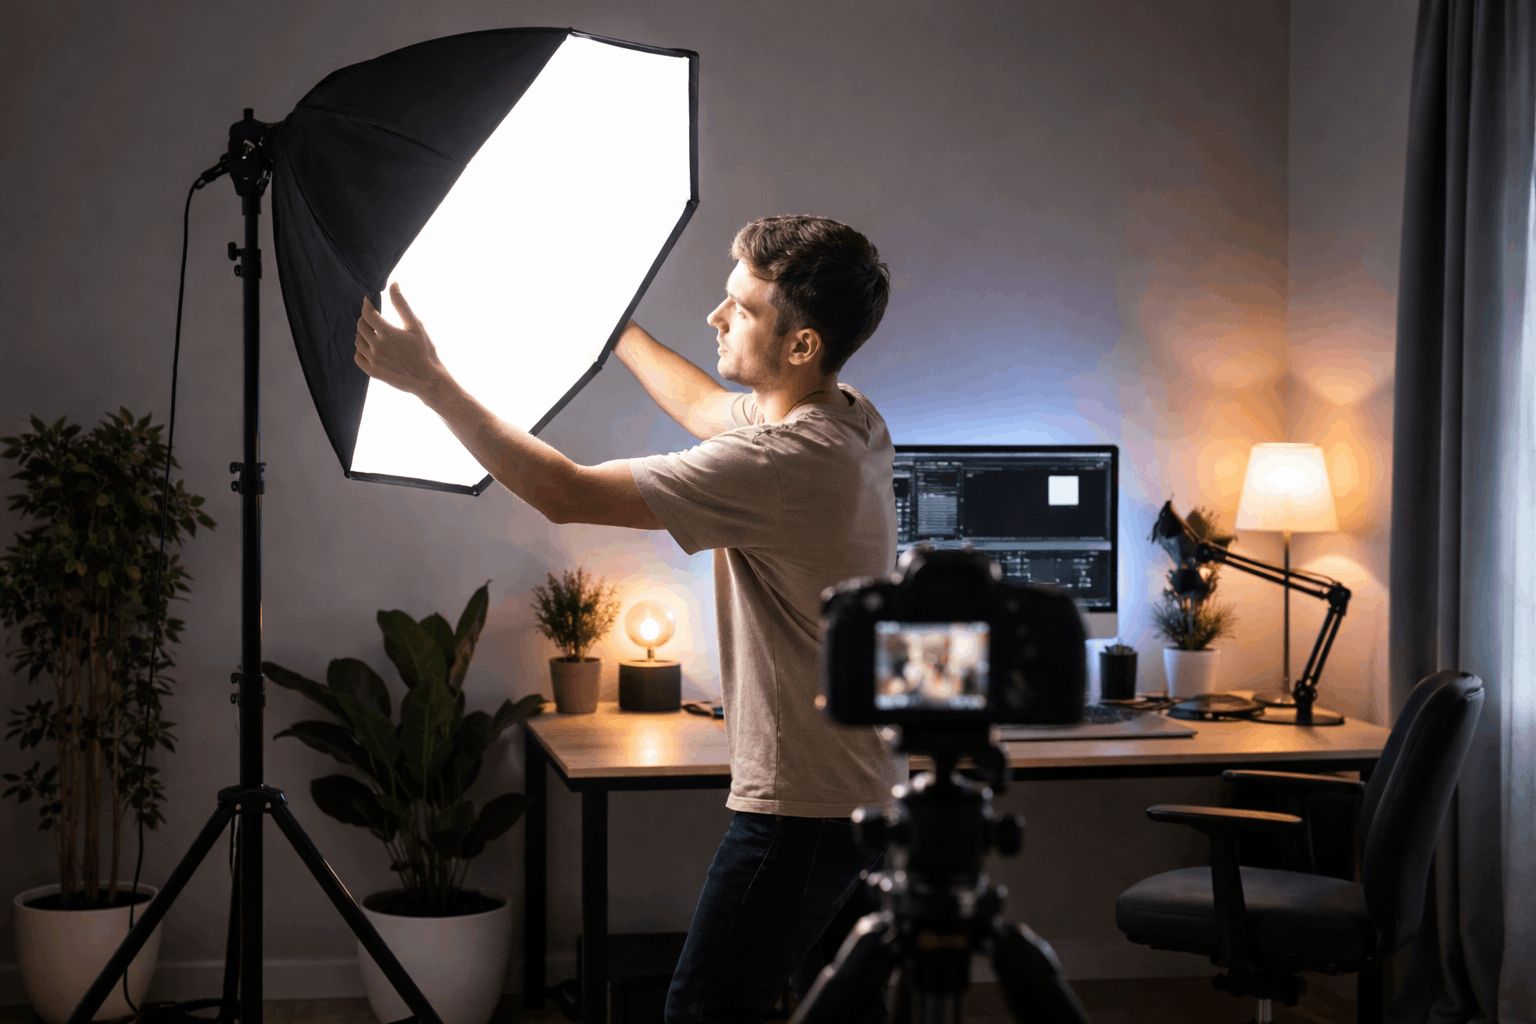
Keep the Background Simple
Your background affects how the lighting looks on camera. A messy wall, shiny object, or bright package can catch the light and pull attention away from your face.
Before recording, check what the camera sees and remove anything that reflects light or looks distracting. A plain wall, curtain, or tidy shelf is often enough.
Distance from the wall also helps. If you sit too close to the background, shadows can look harsh and flat.
Leaving even a little space behind you makes the frame feel deeper and more professional. It also gives you more room to control where the light falls.
Build the Setup Around One Main Light
Your main light, often called the key light, should be the first light you place. It shapes your face, controls the mood, and sets the base for the rest of the setup.
Many beginners make the mistake of using too many small lights before fixing the main one. One good light in the right position usually looks better than several weak lights placed randomly.
Pick a Light That Fits Your Room
Small rooms do not always need very powerful lights. A basic LED panel, softbox, or creator light can work well for desk videos, livestreams, and webcam recordings.
Larger rooms may need a stronger light, especially if the light has to sit farther from your face. The goal is not maximum brightness, but controlled brightness.
Choose a light that lets you adjust brightness and color temperature. Brightness control helps prevent overexposed skin, while color control keeps the video from looking too yellow or too blue.
A stable stand or clamp is also important because a sagging light can change the look during longer sessions. If the light is easy to adjust, you are more likely to use it consistently.
Also Read: How to Create a Clean Video Background at Home
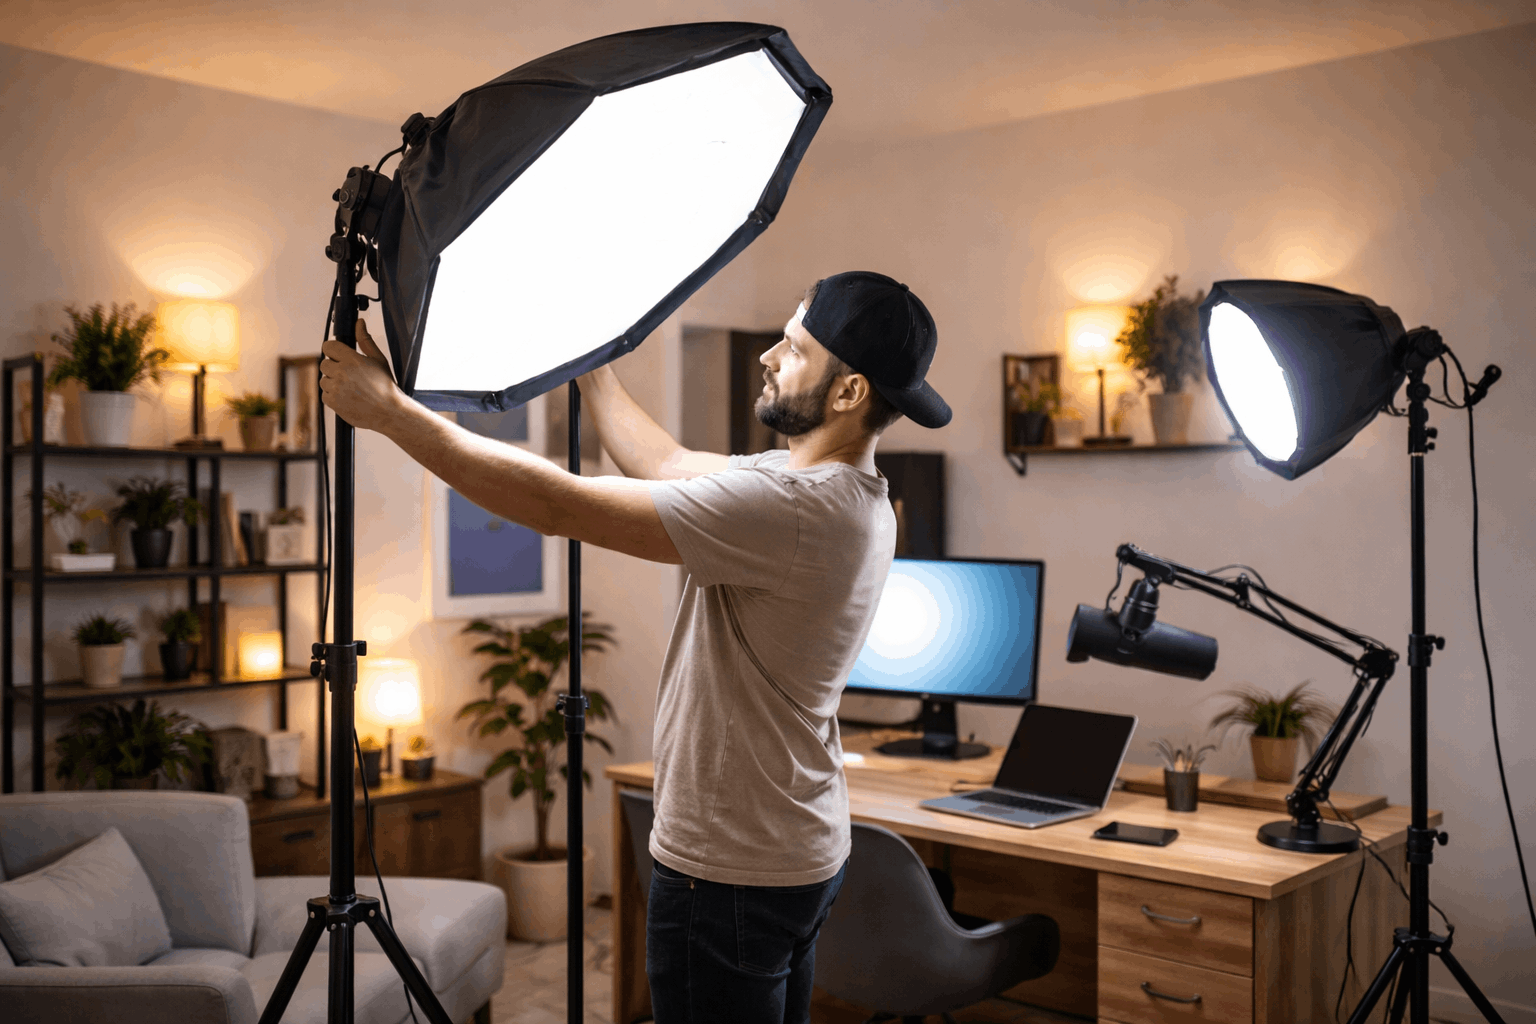
Place the Key Light With Intention
Place the key light slightly to one side of your face instead of directly below or behind the camera, following the practical 45-degree guidance from Adobe.
If the shadows look too strong, soften the light with a softbox, diffuser cloth, or bounce from a nearby wall. Soft light is usually more flattering and easier for beginners to control.
Avoid pointing a bare light straight at your face. It can create shiny skin, sharp shadows, and an uncomfortable look on camera.
Moving the light closer and softening it often works better than turning the brightness all the way up. Once the key light looks good, the rest of the setup becomes easier to adjust.
Control Shadows, Color, and Consistency
After the main light is set, the next step is control. This does not mean making the setup complicated.
It means checking the shadows, background, color temperature, and camera settings so the video looks clean without heavy editing. Small adjustments often make a bigger difference than buying more gear.
Add Fill Only When Shadows Are Too Strong
Fill light is used to soften the darker side of your face. It should be weaker than the key light, or the video may look flat and overlit.
If you do not have a second light, you can use a white wall, curtain, or foam board to bounce some light back toward your face. This keeps the setup simple while still improving the image.
You do not need to remove every shadow. A little shadow helps the face look natural and three-dimensional.
The goal is to make the darker side of the face readable, not perfectly bright. Adjust the fill based on your room and camera instead of copying another creator’s exact settings.
Match Your Color Temperature
Color temperature affects how natural your skin looks on camera. If one light is warm and another is cool, the image can look uneven.
Try to keep your lights in the same general color range, especially when using more than one source. If you use window light, daylight-balanced settings often blend better.
Manual settings can also help. Auto white balance may shift while you are recording, especially if you move or show an object to the camera.
If your camera or app allows it, lock the white balance and exposure once the image looks right. This keeps the video from changing color or brightness mid-sentence.
Make the Setup Easy to Repeat
A lighting setup is only useful if you can rebuild it without stress. If it takes too long to prepare, you may avoid recording even when your content is ready.
Keep your lights, stands, cables, and diffusion in one place so you are not searching before every session. A simple system helps you stay consistent without turning the setup into a bigger task.
Use a Quick Pre-Recording Check
A short test before recording can prevent many common problems. Look at your face, the background, the shadows, and the edges of the frame.
Also listen for fan noise, buzzing lights, or anything your microphone might pick up. Fixing these issues before recording is much easier than trying to hide them later.
Use this quick checklist before you start:
- Put your chair, tripod, and main light in their usual positions.
- Check that your face is bright but not overexposed.
- Match the color temperature of your lights.
- Look for glare, harsh shadows, or bright distractions.
- Record a short test clip before filming the full video.
Save Your Default Setup
Once you find a lighting setup that works, save it. Take a photo of where your lights, tripod, and chair are placed.
Write down your brightness and color settings if your lights allow it. These small notes make it easier to return to the same look, even after moving gear or cleaning the room.
This is especially useful if you record content regularly. Consistent lighting makes your videos feel more polished and recognizable.
It also saves editing time because every clip starts from a similar look. Over time, you can improve small details without rebuilding the whole setup.
Final Thoughts
A clean lighting setup does not need to be expensive or complicated. Start with one recording spot, one strong key light, and a background that does not distract from your face.
Add fill or background light only when it solves a real problem. When your lighting is simple and repeatable, recording feels easier and your videos look more consistent.