Recording at your desk tonight, staring at footage that looks like a hostage video? That washed-out skin, those raccoon-eye shadows. The problem is almost never your camera.
Bedroom lighting setups for recording trip up creators because bedrooms fight back. Small walls bounce light into weird hotspots. Mixed bulbs turn your skin gray mid-sentence.
The fix rarely requires spending $300 on gear. A single light placed correctly and one piece of foam board can change everything about how your face reads on screen.
So why does everyone’s bedroom lighting advice start with “buy a ring light”? That recommendation has cost creators more bad footage than any cheap webcam ever did.
Why Bedrooms Wreck Your Lighting and Your Camera Can’t Save It
The reason bedroom recordings look amateur has little to do with your camera sensor or your budget. It has everything to do with physics working against you in a small room.
Small rooms create light contamination fast. A single LED bounces off every nearby wall, ceiling, and surface before it hits your face, and each bounce shifts the color and softens your control.
That’s why the same light that looks clean in a garage studio turns muddy in a 10×12 bedroom.
Ceiling Lights Are the Enemy of Good Footage
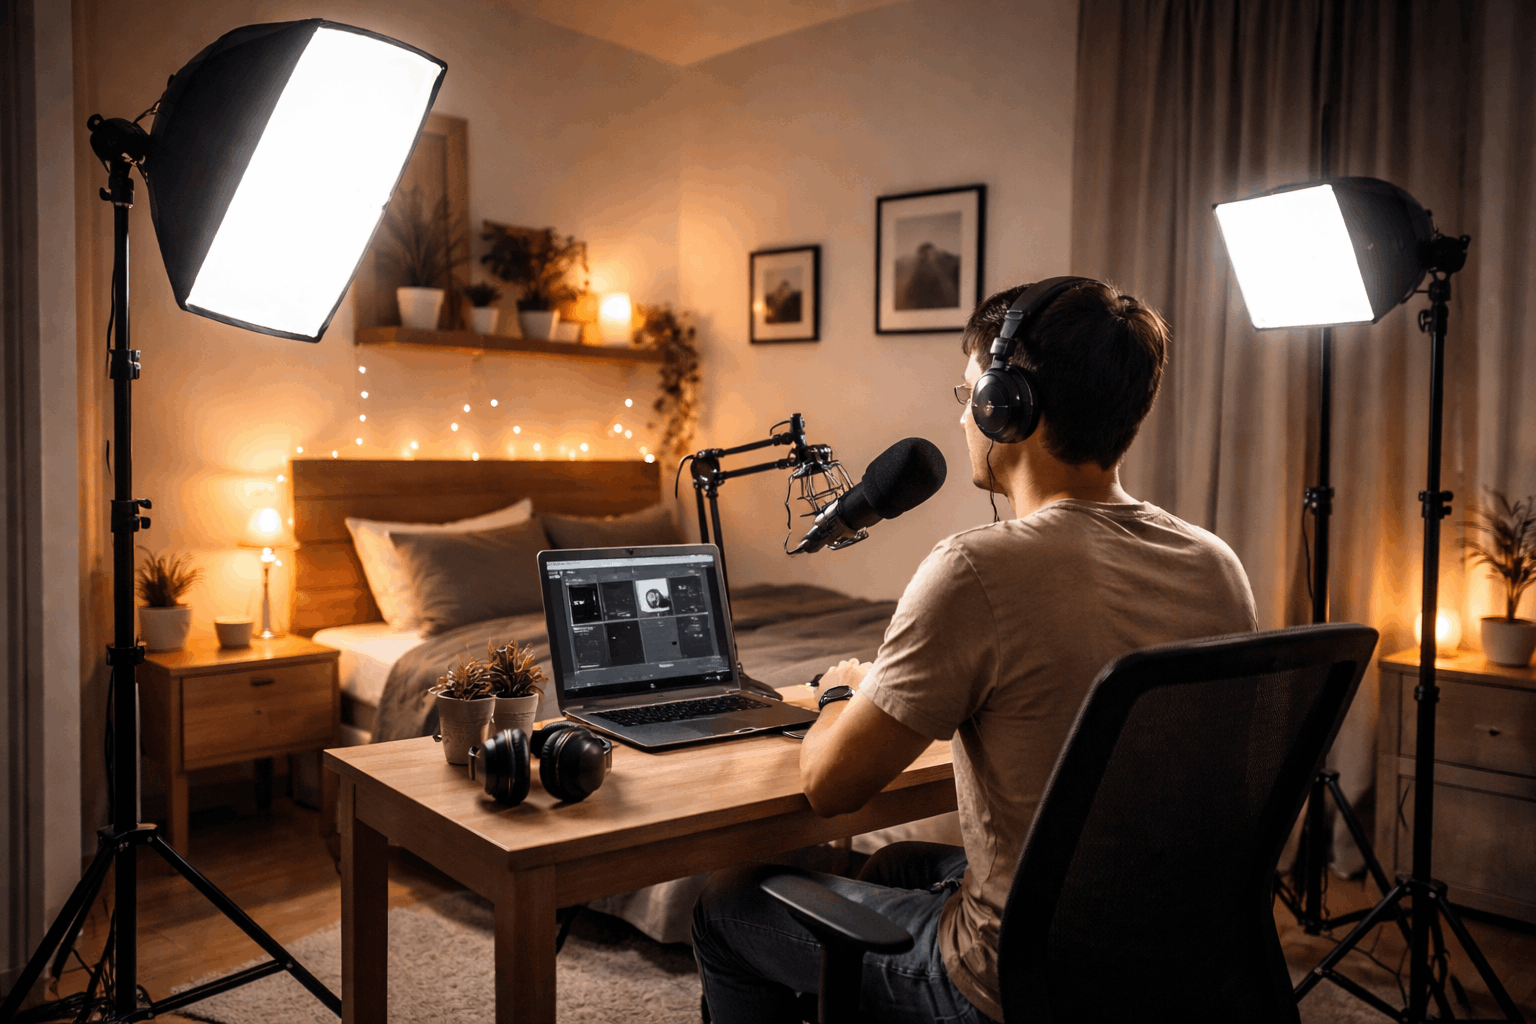
That overhead fixture you never think about? It’s actively ruining your shots. Ceiling lights throw shadows straight down into your eye sockets and under your chin. The result is the “zombie look” that no amount of color grading fixes in post.
Turn off the ceiling light before every single recording session. I know it feels counterintuitive to make your room darker when the goal is better light.
But removing that overhead source is the single fastest improvement any bedroom creator can make.
Mixed Color Temperatures Create Invisible Problems
A daylight-balanced LED panel mixed with the warm bulb in your bedside lamp creates a color conflict your eyes can’t see but your camera absolutely picks up.
The camera’s auto white balance hunts back and forth between warm and cool, and your skin shifts from orange to gray between takes.
The fix is simple but non-obvious: pick one color world and kill everything else. Recording during daytime? Commit to daylight. Block warm room lamps. Recording at night? Commit to your LEDs and close curtains so streetlight doesn’t bleed in.
The One Light That Does 80% of the Work
Every bedroom lighting guide throws three or four lights at you. My take on that approach, after comparing single-light setups against multi-light rigs across LED panels and softboxes: one strong key light placed correctly beats three weak lights aimed wrong.
A key light is the primary source illuminating your face. It sets the mood, the shadow direction, and the overall quality of your shot. Everything else is just cleanup.
Softbox LED vs Ring Light vs Panel: Which One for a Bedroom Desk
These three light types dominate bedroom recording advice, but they produce very different results at desk distance.
| Feature | Softbox LED | Ring Light | LED Panel |
|---|---|---|---|
| Shadow quality | Soft, natural falloff | Very flat, minimal shadow | Hard edges without diffusion |
| Catchlights in eyes | Rectangular, natural | Circular, distinctive | Square, sometimes distracting |
| Best use case | Talking-head desk videos | Makeup and close-up beauty | Flexible but needs modification |
| Space needed | Medium (needs stand clearance) | Small (mounts on tripod) | Small to medium |
I would pick a softbox LED over a ring light for desk recording every time, and the reason is shadow quality.
A ring light wraps light around your face so evenly that it eliminates all depth. Flattering for makeup tutorials where you want zero shadow.
Terrible for talking-head content where your face needs dimension to hold a viewer’s attention on a small YouTube thumbnail.
Also read: Best Portable Microphones for Home and Travel
Where to Place Your Key Light in a Tight Bedroom
Placement matters more than the price tag on your light. A $40 LED panel placed at 30 to 45 degrees to one side of your camera, slightly above eye level and angled down, produces a natural shadow pattern that makes skin look three-dimensional.
Keep the light as close to your face as possible without entering the camera frame. This is the part that trips up beginners: a light two feet from your face produces dramatically softer shadows than the same light five feet away.
Distance controls softness, not wattage. Moving your light six inches closer does more than cranking up the brightness dial.
Fill Light Without Making Everything Look Flat
Once your key light creates a nice shadow pattern on one side of your face, the opposite side goes dark. Fill light controls that contrast. But the common mistake is blasting fill until both sides of your face match, which kills the depth your key light just created.
Good fill keeps one side slightly darker while preventing that side from becoming a black hole on camera. The goal is controlled contrast, not even brightness.
The $3 Fill Light Nobody Recommends
A white foam board propped up on the opposite side of your key light bounces light back onto your shadow side for free. No power cord, no dimmer to fiddle with, no second light stand eating floor space in your bedroom.
Grab a piece of white foam board from any craft store. Lean it against a stack of books on your desk. Angle it toward your face. Done.
This sounds too simple to work, but the quality of bounced fill from a foam board often looks more natural than a powered fill light because it takes on the exact color temperature of your key light. No color mismatch. No second light to adjust every session.
Other fill options that work in bedrooms:
- A dimmable desk lamp with a daylight-rated bulb, diffused with a sheet of parchment or a thin white t-shirt draped over the shade
- A second small LED panel set to about 25% power and aimed wide so it doesn’t create a competing shadow
- A white wall on your fill side already acts as a natural bounce if your key light is strong enough
Why Too Much Fill Ruins Your Video
If your fill matches your key light in brightness, your face looks pasted onto the background like a green screen composite. The image goes flat. Viewers can’t consciously identify why the video looks “off,” but their brain registers the lack of depth instantly.
Keep fill at roughly half the brightness of your key light, or lower. That ratio gives your face enough dimension to pop on screen while keeping shadows readable on the dark side.
Camera Settings That Make Your Bedroom Lights Work Harder
Good lighting is only half the equation. Your camera settings determine whether those lights translate to clean footage or a flickering mess.
Lock White Balance and Stop Letting Auto Mode Guess
Auto white balance is the default setting on every webcam and camera. The problem: it re-evaluates color temperature every few seconds. So if a cloud passes over your window, your entire image shifts warm or cool mid-sentence.
Manual white balance locks your color. Set it once at the start of your session and your skin tone stays consistent the entire recording. Every webcam app (OBS, Streamlabs, the native camera app) has a white balance slider. Find it, set it, leave it.
Shutter Speed, Flicker, and the 50Hz vs 60Hz Problem
Cheap LEDs and fluorescent bulbs flicker at your local power frequency: 50Hz in most countries, 60Hz in the US and parts of Asia.
If your shutter speed doesn’t align with that frequency, you’ll see rolling bands of light on your footage that are invisible to your eyes during recording.
The fix is matching your shutter speed to your power grid:
- 60Hz power (US, Philippines, parts of Asia): set shutter speed to 1/60 or 1/120
- 50Hz power (Europe, Australia, most of Africa): set shutter speed to 1/50 or 1/100
This eliminates flicker from most LED sources. Spending money on flicker-free panels is an option, but correctly setting your shutter speed costs nothing.
Two Bedroom Lighting Setups Worth Copying
Enough theory. These two layouts work for real bedroom desk recordings and pack away when you’re done. Mark your light positions with painter’s tape on the floor or desk so setup takes under two minutes each session.
Setup 1: Desk Creator (One Key Light + Foam Board)
This is the setup I would recommend for anyone recording seated at a desk with a webcam or camera on a tripod.
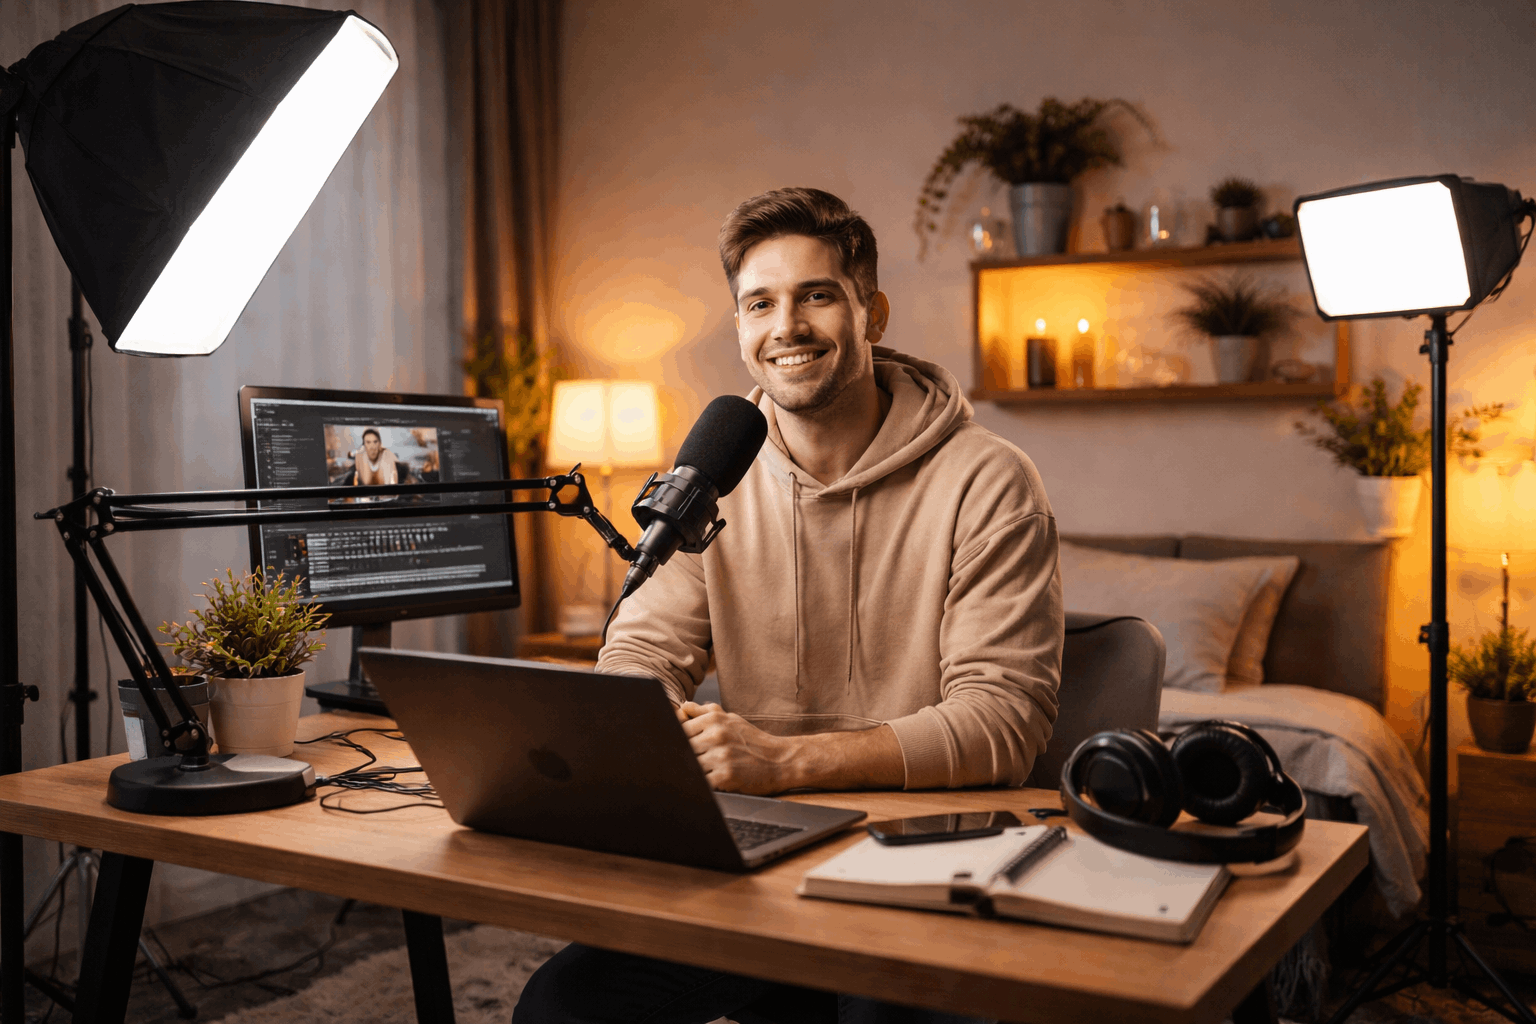
- Key light: a small softbox LED placed to the left or right of your webcam, slightly above your eye line, angled down at about 30 degrees
- Fill: a white foam board on the opposite side, propped against books or a monitor
- Background: a small LED accent light on a shelf behind you, set to low brightness and matching your key light color
Total cost can land under $60 if you pick a budget LED softbox. The Elgato Key Light product page is a popular mid-range option worth checking for specs, though plenty of budget alternatives exist on Amazon.
Setup 2: Standing or Bedside Shot (Two Small LEDs)
When your recording spot isn’t a desk, two small LED panels give you more control. Place one diffused LED panel as your key at a 45-degree angle, close to your face. Place a second dimmed panel on the opposite side as fill, kept lower and aimed wider.
Skip the rim light unless you have genuine space behind you. A rim light too close to the camera causes lens flare and distracting hotspots on your hair, and in a small bedroom, “behind you” is usually only three feet away.
Your First Purchase and What to Skip
Buy a dimmable key light with built-in diffusion first. That single purchase changes your footage more than any other piece of gear. Look for bi-color control (the ability to shift between warm and cool) because bedrooms need flexibility when ambient light changes between sessions.
Skip huge studio lights. If you can’t position a light within two feet of your face, the size and wattage of that light gets wasted. A big softbox five feet away produces harder light than a small panel twelve inches away. Bigger is not better in a bedroom.
The Digital Photography School lighting guide breaks down portrait lighting patterns if you want to dig deeper into the theory behind shadow placement.
Questions People Ask About Bedroom Lighting Setups for Recording
Q: Can I use natural window light instead of buying a light?
Window light works well during daytime hours, but it changes intensity and color throughout the day. If your recording sessions last more than 30 minutes, you’ll likely see noticeable shifts in your footage that are difficult to correct in editing.
Q: Do I need RGB lights for a bedroom recording setup?
RGB lights are designed for colored accent effects, not for illuminating your face. Stick with white or bi-color LEDs for your key and fill lights. RGB works as a background accent only.
Q: How do I stop my glasses from reflecting my lights on camera?
Raise your key light higher and angle it down more steeply. This pushes the reflection below the lens line of your glasses. Tilting your glasses down slightly on your nose also helps, though it feels weird at first.
Q: Is a ring light good for YouTube talking-head videos?
Ring lights flatten facial features because they wrap even light around your face. For makeup or product close-ups they work fine, but for talking-head content where you want your face to have depth on a thumbnail, a softbox at an angle produces better results.
Q: How bright should my key light be for recording in a bedroom?
Set your camera exposure based on your face brightness, then adjust the light to match. A key light that’s too bright at close range washes out your skin. Start at 50% power and increase until your face is properly exposed without blown-out highlights.
Conclusion
A single key light with a foam board fill can outperform multi-light setups inside a small bedroom. Placement and distance matter more than wattage or price tag on any recording light.
Lock your white balance, match your shutter speed to your power grid, and color problems disappear. Tape your light positions to the floor and your setup becomes a two-minute routine.