
Backlighting is one of the simplest ways to make home videos look more polished. It adds a soft edge around your head, shoulders, hands, or products so they do not blend into the background.
This is especially useful when your wall, hair, clothing, or furniture has similar colors. With one small light and careful placement, a basic talking-head setup can look more dimensional without becoming complicated.
Why Backlighting Helps Home Creators?
Backlighting works because it creates separation between the subject and the background. Without it, home videos can look flat, especially when everything is lit from the front.
A subtle rim of light can make the frame feel cleaner and more intentional. It also helps viewers focus on the person or object in the shot.
It Separates You From the Background
Backlighting helps most when the background is close in color to your hair, skin, or clothing. A soft edge light around the shoulders or hairline makes your outline easier to see.
This is useful for rooms with plain walls, dark shelves, or cluttered corners. The goal is not to create a bright halo, but to make your shape stand out naturally.
It Makes Simple Setups Look More Professional
A basic key light can make your face visible, but backlighting adds depth. It gives the image a more finished look without needing a full studio setup.
Talking-head videos, tutorials, livestreams, Zoom lessons, and product demos can all benefit from this small upgrade. When used carefully, backlighting makes the frame feel less flat and more camera-ready.
Place the Backlight Where It Supports the Shot
Placement matters more than brightness in small rooms. A backlight that is too strong or pointed in the wrong direction can create glare, haze, or distracting wall spill.
Start with gentle brightness and small adjustments instead of trying to flood the room. You want the backlight to support the main image, not take attention away from it.
Start Behind and Slightly Above You
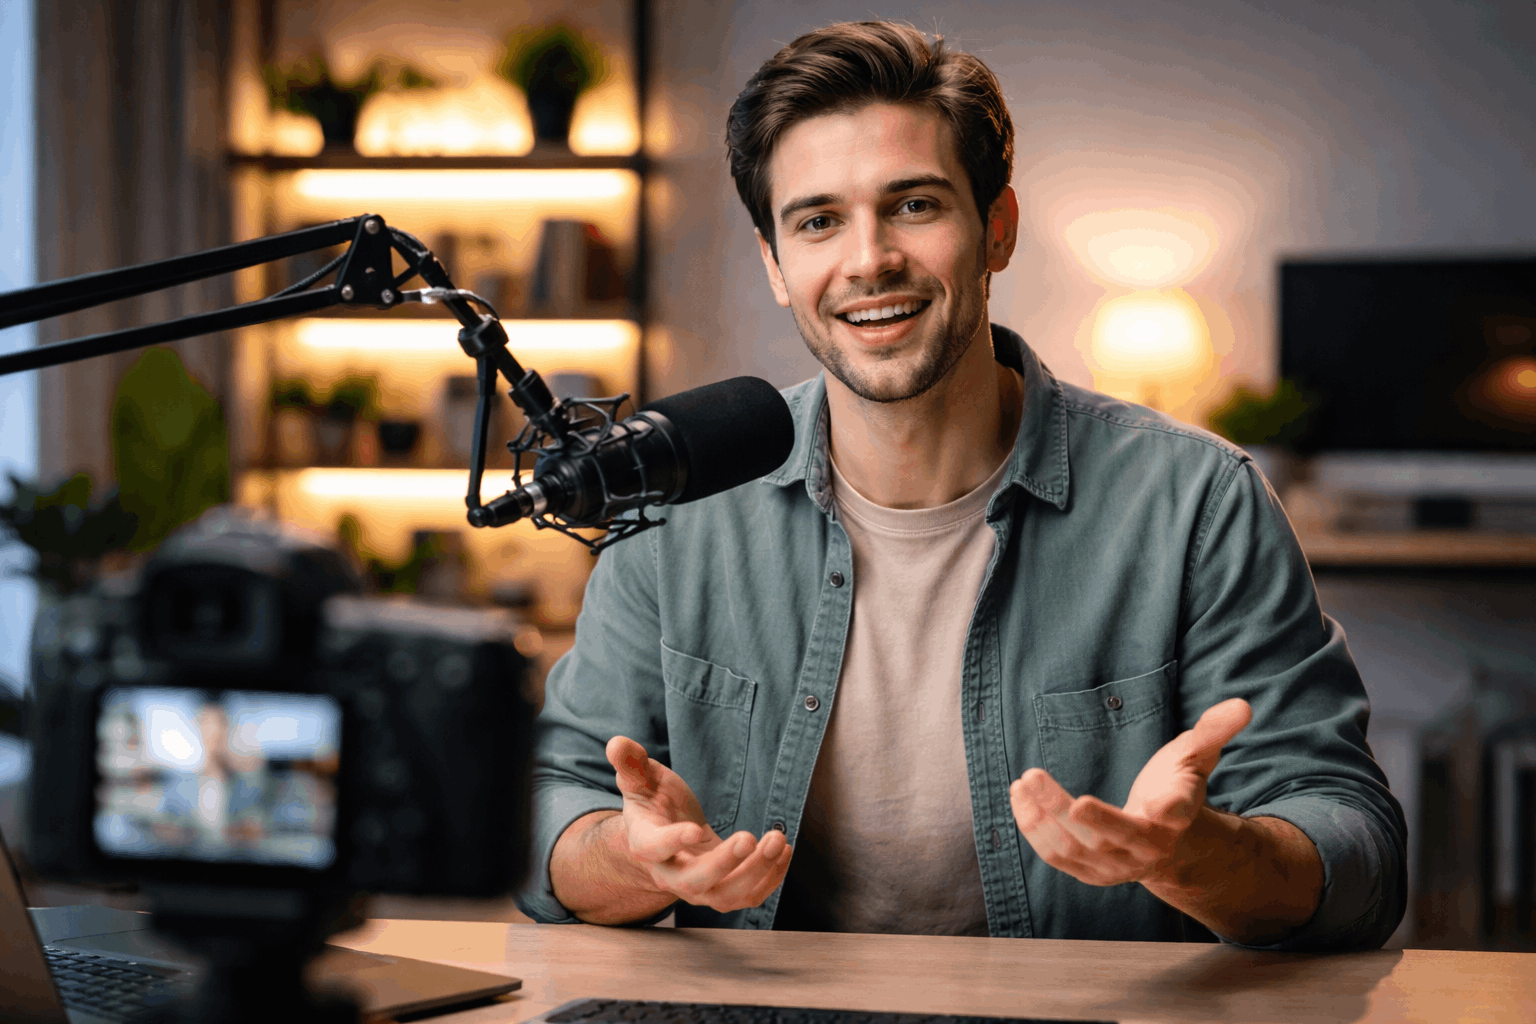
A good starting position is behind you and slightly above head level. Aim the light down toward your shoulders, hairline, or the back edge of your head.
Place it on the opposite side of your key light if you want a more natural balance. Keep it out of the camera frame so it does not become a visible distraction.
Also Read: How to Maintain Consistent Lighting Across Videos
Adjust for Webcams and Small Rooms
Webcams often show more of the room than expected, so backlights can easily appear in the shot. If the light enters the frame, move it wider, higher, or farther behind you.
In a tight space, placing the light behind and slightly to the side usually works better than putting it directly behind your chair. Small changes in angle can fix most problems without needing a different light.
Choose a Light You Can Control
You do not need a powerful light for backlighting. In many home setups, a small LED panel, tube light, desk lamp, or compact RGB light is enough.
Control matters more than raw output because the backlight should usually be weaker than the main face light. Adjustable brightness and color temperature make the light easier to match with the rest of your setup.
Use Small LEDs, Tubes, or Lamps
Small LED panels are popular because they are easy to mount, dim, and reposition. LED tube lights can create a clean rim and also work as background accents.
A small lamp can work too if it is diffused and placed carefully. The best choice is the light you can position safely and repeat every time you record.
Keep Brightness and Color Subtle
Backlighting should not overpower the face or pull attention away from the subject. If the rim looks too bright, lower the intensity before moving the whole setup.
For a natural look, match the color temperature of your key light or keep the backlight slightly warmer or cooler on purpose.
RGB colors can work for creative videos, but they should support the style instead of becoming the main focus.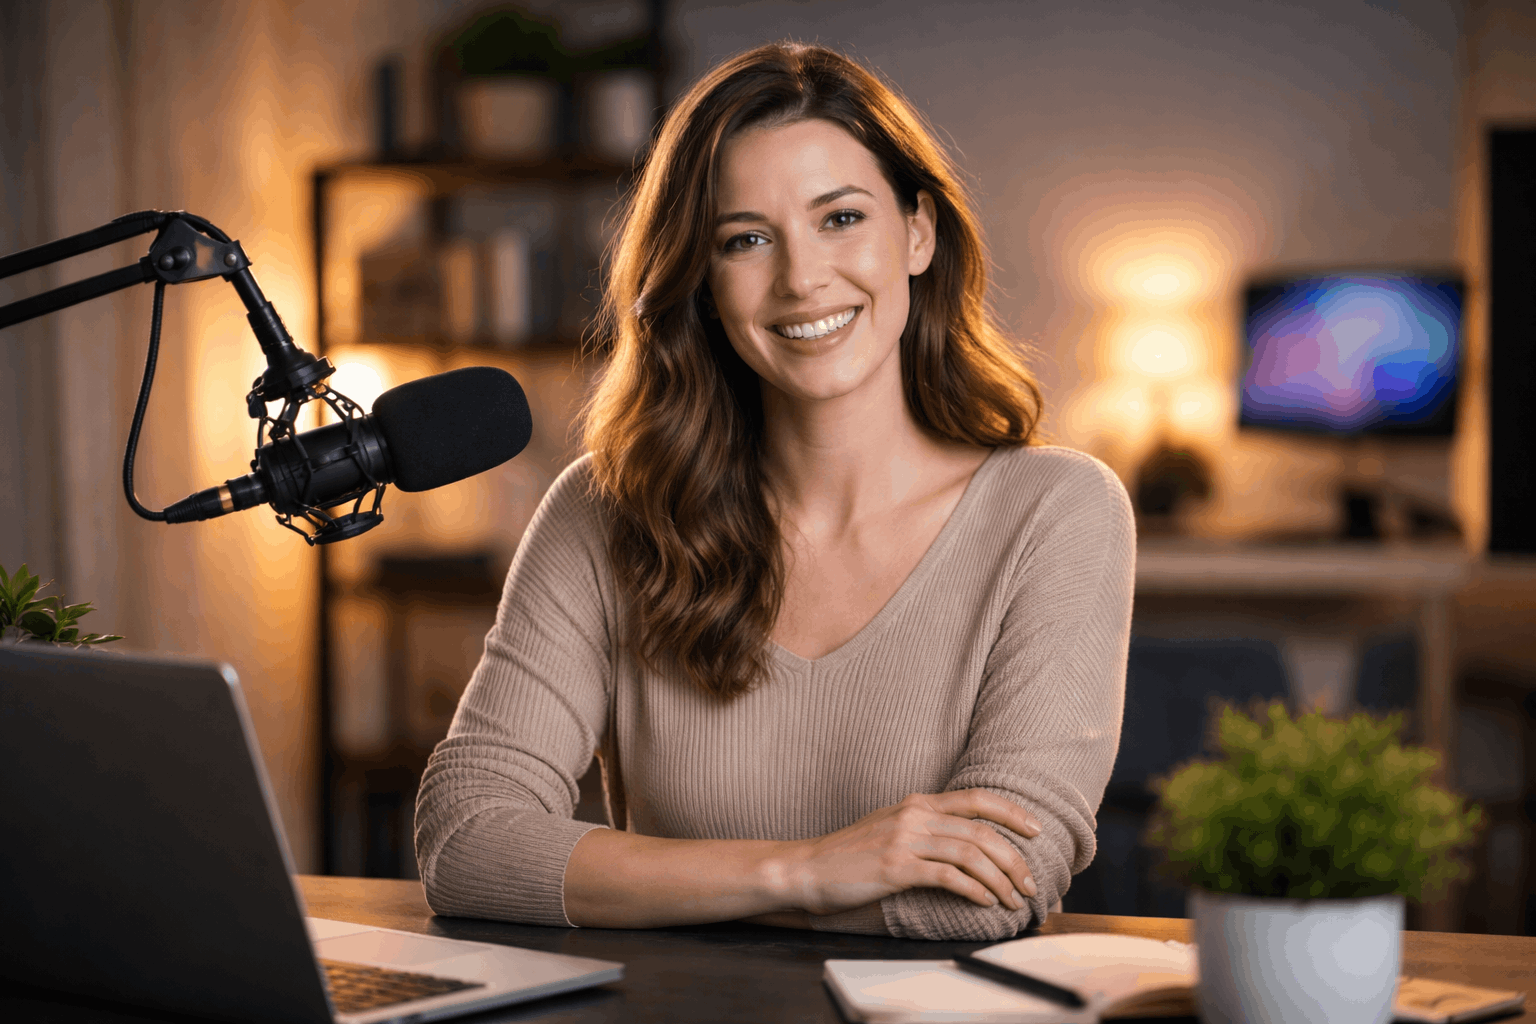
Avoid Common Backlighting Mistakes
Backlighting can improve the image quickly, but it can also create problems when used carelessly. The most common issues are lens flare, bright walls, harsh edges, and reflections.
These problems usually come from using too much brightness or aiming the light too directly. Fixing them often takes only a small change in height, angle, or distance.
Use this quick check before recording:
- Make sure the backlight is not visible in the frame.
- Lower brightness if the rim looks too harsh.
- Check for glare on glasses, desks, or product packaging.
- Keep the light from pointing directly into the lens.
- Record a short test clip before filming the full video.
Watch for Flare, Haze, and Bright Walls
If the backlight points into the camera lens, the image can look foggy or washed out. This reduces contrast and can make your face look less clear.
Move the light slightly to the side or angle it downward to avoid direct lens spill. If the wall becomes brighter than your face, reduce the light or use a narrower beam.
Plan Around Mics, Glasses, and Reflections
Backlights can hit mic arms, stands, glasses, glossy desks, and product packaging. These reflections may look small in person but become distracting on camera.
Move the light wider or higher if it creates unwanted shine. A clean setup is one where the light, camera, and microphone all fit without blocking or reflecting each other.
Use Backlighting for Different Video Styles
Backlighting can help more than talking-head videos. It can also improve product shots, desk setups, music recordings, tutorials, and livestreams.
The idea stays the same, but the subject changes where the light should land. Instead of copying one exact setup, adjust the backlight based on what viewers need to see clearly.
For Talking-Head Videos and Streaming
For talking-head content, aim the backlight at your shoulders or hairline. This keeps your outline clean when you move slightly or turn your head.
It can also make your key light feel more balanced because the frame has depth behind you. Keep the effect subtle so viewers notice you, not the lighting trick.
For Product Demos and Desk Setups
For product demos, backlighting can separate hands, tools, gear, or products from the desk. A soft edge highlight can make objects look more defined and easier to follow.
This works well for microphones, cameras, keyboards, crafts, and small tech items. Avoid placing the light where it creates glare on labels, screens, or shiny surfaces.
Make Backlighting Easy to Repeat
A good backlight setup should be simple enough to rebuild quickly. Once you find a position that works, mark the stand, chair, tripod, and light placement.
Save the brightness and color settings if your light allows it. A repeatable setup gives you the same depth and separation without starting from zero every time.
Mark Positions and Save Settings
Tape marks on the floor can help you place the light stand in the same spot. A quick phone photo can also show the height, angle, and distance of your setup.
If your light has presets, save one for backlighting so you can recall it quickly. These small habits make your videos look more consistent across recording days.
Build Around Your Main Light First
Your face lighting should still be the priority. Set the key light first, then add the backlight only after your face looks clear.
This prevents the rim light from becoming too bright or distracting. Backlighting works best as a finishing touch, not as the main source of brightness.
The Final Thoughts
Backlighting is a practical upgrade because it improves separation, depth, and polish with very little gear.
Start with one small adjustable light, keep it behind and slightly above you, and lower the brightness until the effect feels natural.
Watch for flare, reflections, and wall spill before recording a full session. Once you find a repeatable position, backlighting becomes an easy habit that makes home videos look more finished.










