A solid desk setup for home content creators is not about owning the most gear. Most everyday creators get the biggest improvement from three things: clear audio, one reliable light, and a camera placed correctly.
When these pieces work together, videos feel cleaner and voice tracks sound more professional without making the workflow complicated. The goal is to build a setup that stays ready, fits your desk, and helps you record more consistently.
Build Around the Content You Create Most
Your setup should match the type of content you record most often. A podcast-style voice track needs different priorities than a livestream, tutorial, product demo, or talking-head video.
Desk size also matters because gear that blocks your keyboard, mouse, or monitor will quickly become frustrating. Start with the work you actually do, then choose the tools that support it.
Match the Setup to Your Main Format
If you record mostly voice, your microphone and room sound should come first. If you record mostly video, lighting and camera framing should be the first priorities.
If you do both, plan the desk so the mic can stay close while the camera remains at eye level. This prevents the setup from forcing awkward posture or poor recording angles.
Keep the Desk Comfortable to Use
A creator desk still needs to function as a normal workspace. Leave enough room for typing, note-taking, mouse movement, and quick gear adjustments.
Avoid placing stands, tripods, or lights where they interrupt your daily workflow. A setup that feels comfortable is easier to keep ready and use regularly.
Set Up the Core Creator Triangle
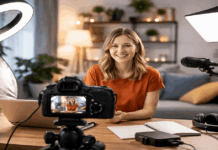
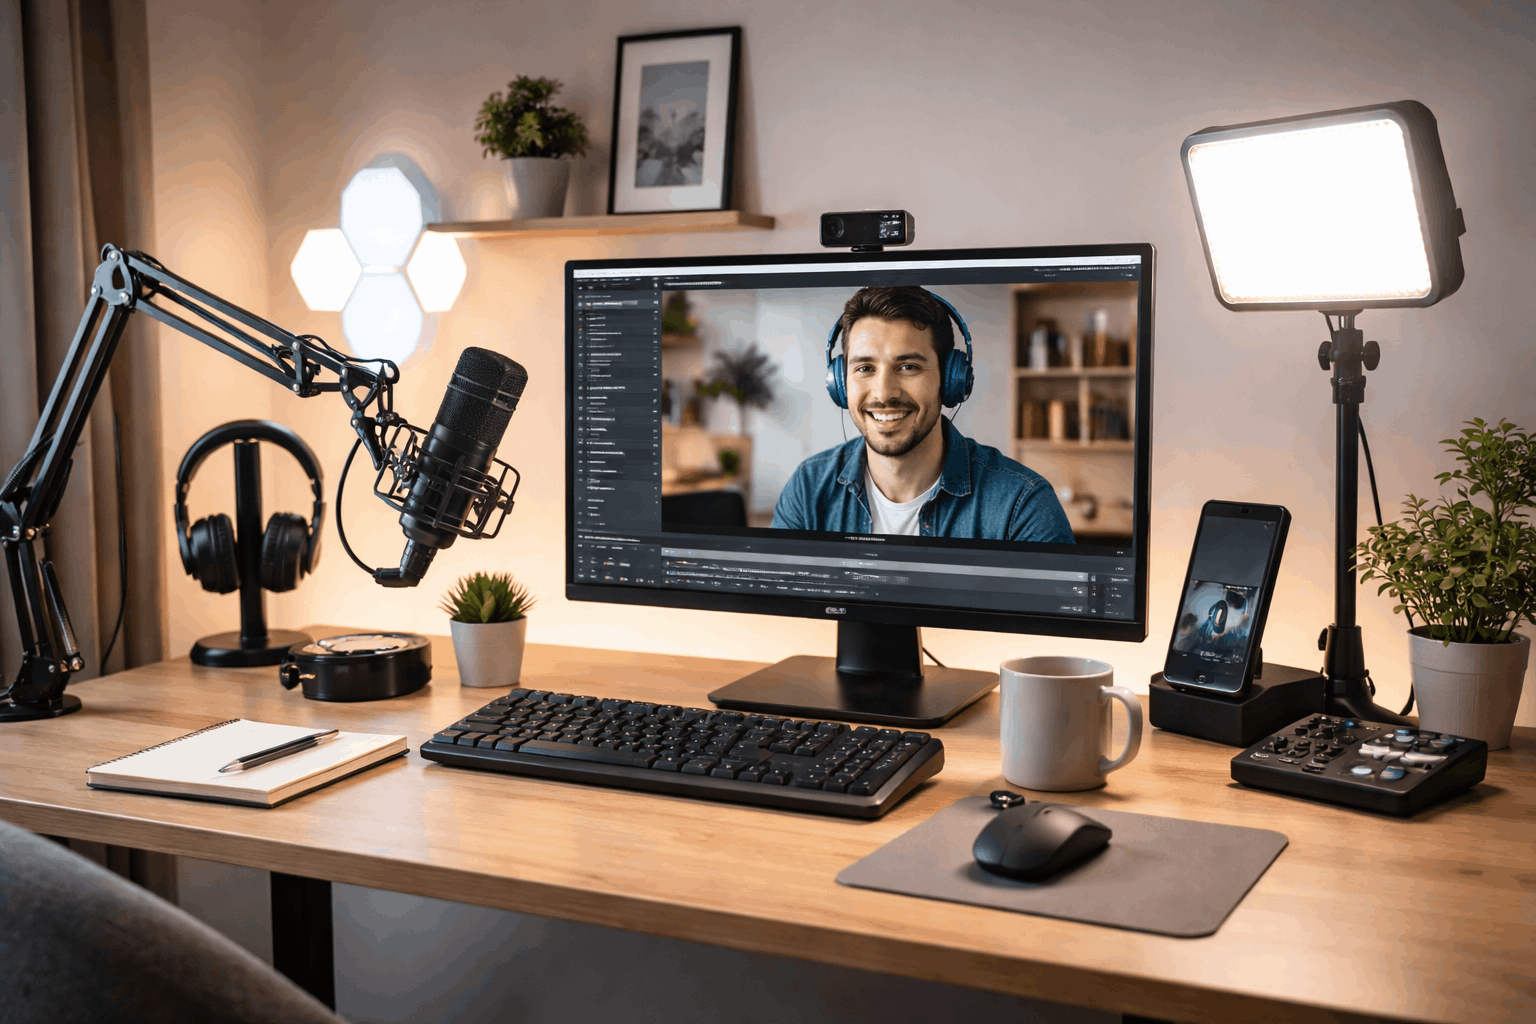
Most simple creator desks work best with a consistent triangle between the camera, microphone, and key light. The camera should be centered and close to eye level.
The microphone should sit near enough to capture your voice without high gain. The key light should be slightly off to one side so your face looks natural instead of flat.
Place the Camera at Eye Level
Camera height affects how professional your video feels. A low camera angle can make the frame look awkward, even if the camera itself is good.
Place your webcam, phone, or camera near eye level and keep a little space above your head. This makes talking-head videos, calls, and tutorials feel more natural.
Also Read: One-Light Home Setup That Actually Works
Keep the Microphone Close Without Blocking the Shot
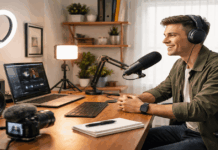
The microphone should be close enough to capture a clear voice. For many desk mics, a distance of about 15 to 25 centimeters works well.
If the mic is too far away, the room becomes louder in the recording and the voice sounds distant. A boom arm can help keep the mic close while keeping desk space open.
Improve Audio Before Chasing Bigger Gear
Audio is often the fastest quality upgrade for home creators. Viewers may forgive a simple camera, but poor sound can make them leave quickly.
A good mic does not need to be expensive if it is placed well and used consistently. Room control, distance, and gain usually matter more than the brand name.
Choose a Mic That Fits Your Workflow
A USB microphone is the easiest option for many home creators. It plugs directly into the computer and works well for calls, voiceovers, livestreams, and beginner podcasts.
XLR microphones can sound excellent, but they need an audio interface and add more steps. Choose XLR only if you want more control or plan to grow into a more advanced setup.
Control Room Sound With Simple Changes
Room sound can make a good microphone sound worse than expected. Rugs, curtains, fabric chairs, bookshelves, and blankets can reduce echo around the desk.
If your room has hard floors or bare walls, add soft materials near the recording position first. These small changes can make your voice sound closer, warmer, and easier to edit.
Add Lighting, Framing, and Stability
Lighting makes average cameras look better. A basic webcam or phone can look much cleaner when the face is soft, bright, and evenly exposed.
You do not need many lights to improve a desk setup. One dependable key light placed correctly is usually the best starting point.
Use One Reliable Key Light
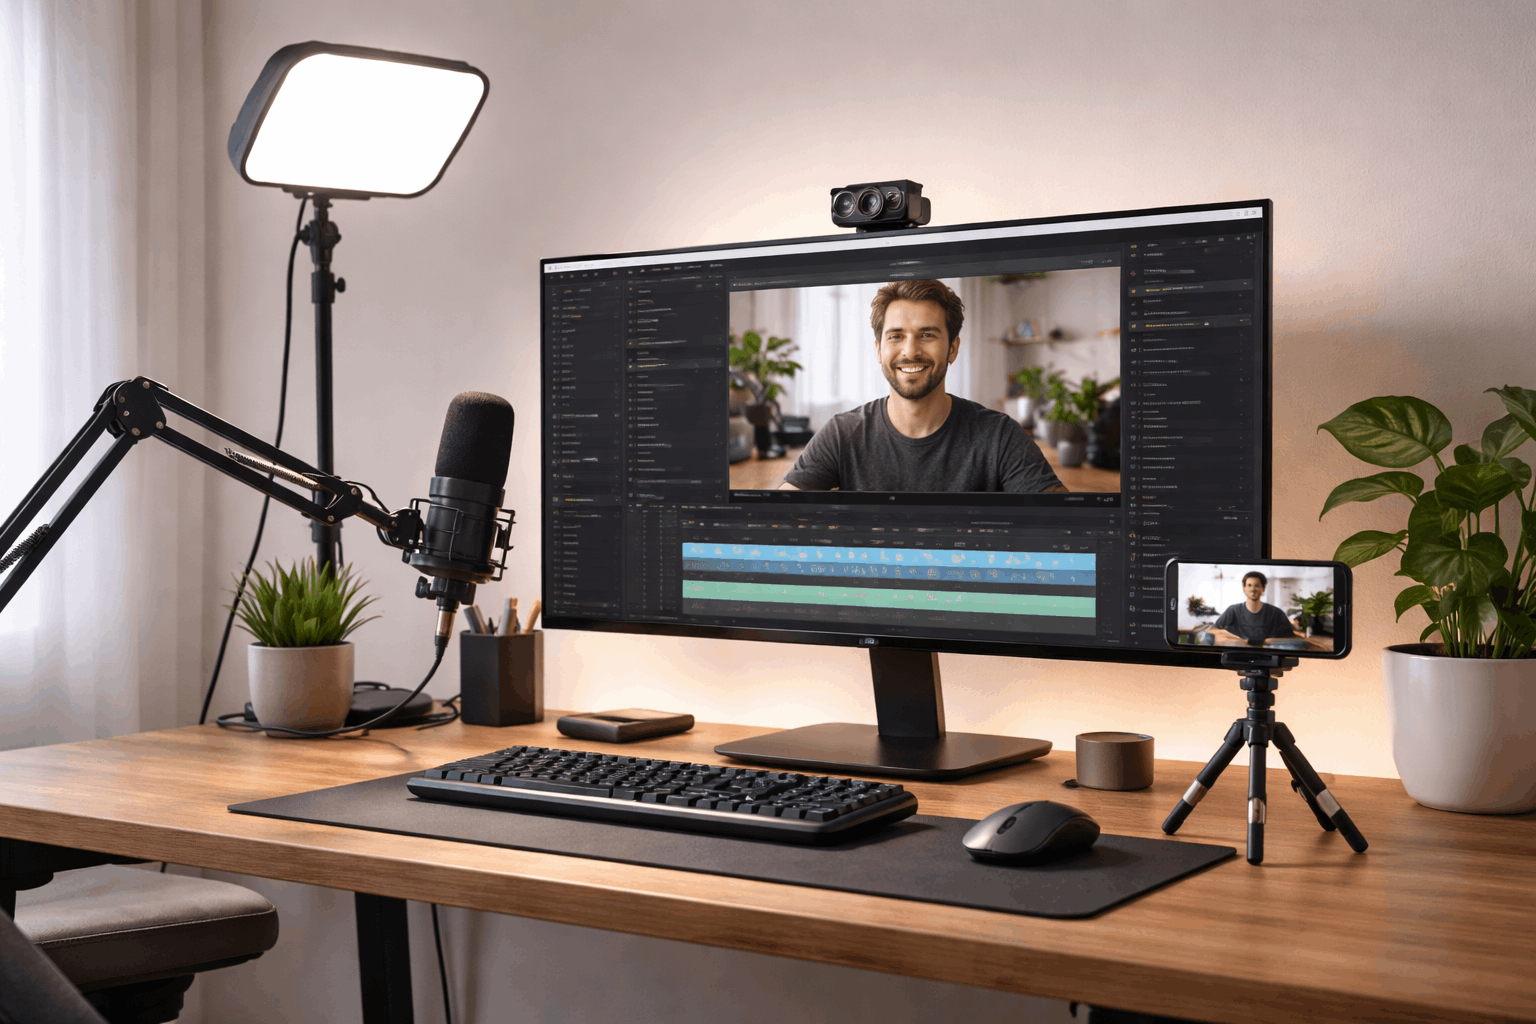
A key light should brighten your face without creating harsh shadows or glare. Place it slightly above eye level and a little to one side of the camera.
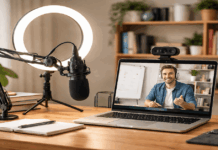
LED panels, softbox-style lights, and some desk lights can all work if they are dimmable and stable. Ring lights are easy, but they may look flat or reflect in glasses when aimed straight at the face.
Stabilize the Camera and Background
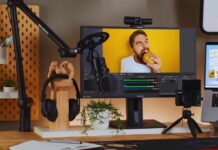
A stable camera makes the whole setup feel more intentional. Use a tripod, clamp, monitor mount, or phone stand instead of balancing the camera on random objects.
Keep your eyes near the upper third of the frame and avoid placing your face too low. Remove clutter behind you so viewers focus on your message instead of the room.
Keep the Setup Easy to Repeat
A creator desk should be fast to start. If you need to rebuild everything each time, you may record less often or rush through important checks.
Keep the layout simple enough that you can return to it without thinking. Repeatability is what turns a nice desk into a useful content setup.
Use this quick setup check before recording:
- Confirm the correct microphone is selected.
- Place the camera at eye level.
- Turn on the key light and check glare.
- Clear distracting items from the background.
- Record a short test before the full session.
Manage Cables and Small Accessories
Cable mess can make recording feel harder than it needs to be. Run cables along the back of the desk when possible and group them with simple ties.
Keep audio cables, power cables, adapters, and chargers easy to identify. A cleaner desk makes troubleshooting faster and keeps your setup safer.
Upgrade Only When You Know the Problem
New gear should solve a clear issue, not just make the desk look more impressive. If your voice sounds distant, fix mic placement before buying another mic.
If your video looks flat, adjust lighting before replacing the camera. Upgrade when the same problem keeps slowing you down after you have fixed placement and settings.
Conclusion
The best desk setup for home content creators is simple, stable, and ready to use. Prioritize a microphone that can stay close, a key light that makes your face clear, and a camera positioned at eye level.
Keep your background clean, reduce room echo, and organize cables so the setup does not get in your way. When your desk supports your workflow, recording becomes easier to repeat and your content looks more professional.