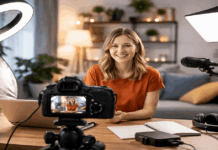
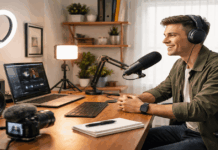
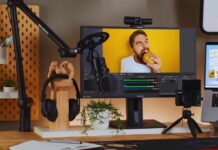
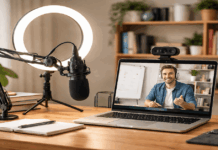
Home creators usually get the biggest quality jump by improving the full setup, not by chasing the most expensive webcam. Viewers notice clear audio, stable framing, and good lighting before they notice whether the camera is 4K.
A reliable home kit should be fast to turn on, easy to repeat, and simple enough that you actually use it. The best setup is the one that fits your room, content style, and recording habits.
Focus on the Basics Before Buying More Gear
A strong home recording setup starts with three practical elements: light, sound, and framing. A soft key light aimed at your face can make a basic webcam look much cleaner.
A microphone placed close to your mouth can make your voice sound more direct and less roomy. A stable camera angle keeps the video feeling intentional instead of rushed.
Lighting Often Beats More Resolution
A dim room can make even a good webcam look soft, grainy, or dull. Most webcams brighten dark scenes by raising gain, which adds noise and reduces detail.
A simple key light placed slightly above eye level can improve skin tone and sharpness quickly. Before upgrading to 4K, test whether better lighting already fixes the problem.
Audio and Framing Matter Just as Much
Clear audio keeps people watching because they can follow the message without effort. A basic USB mic placed close can sound better than a costly mic sitting too far away.
Framing also matters because low camera angles or shaky mounts make videos feel less polished. Put the camera near eye level and keep the shot steady before worrying about advanced camera specs.
Build Around the Way You Record
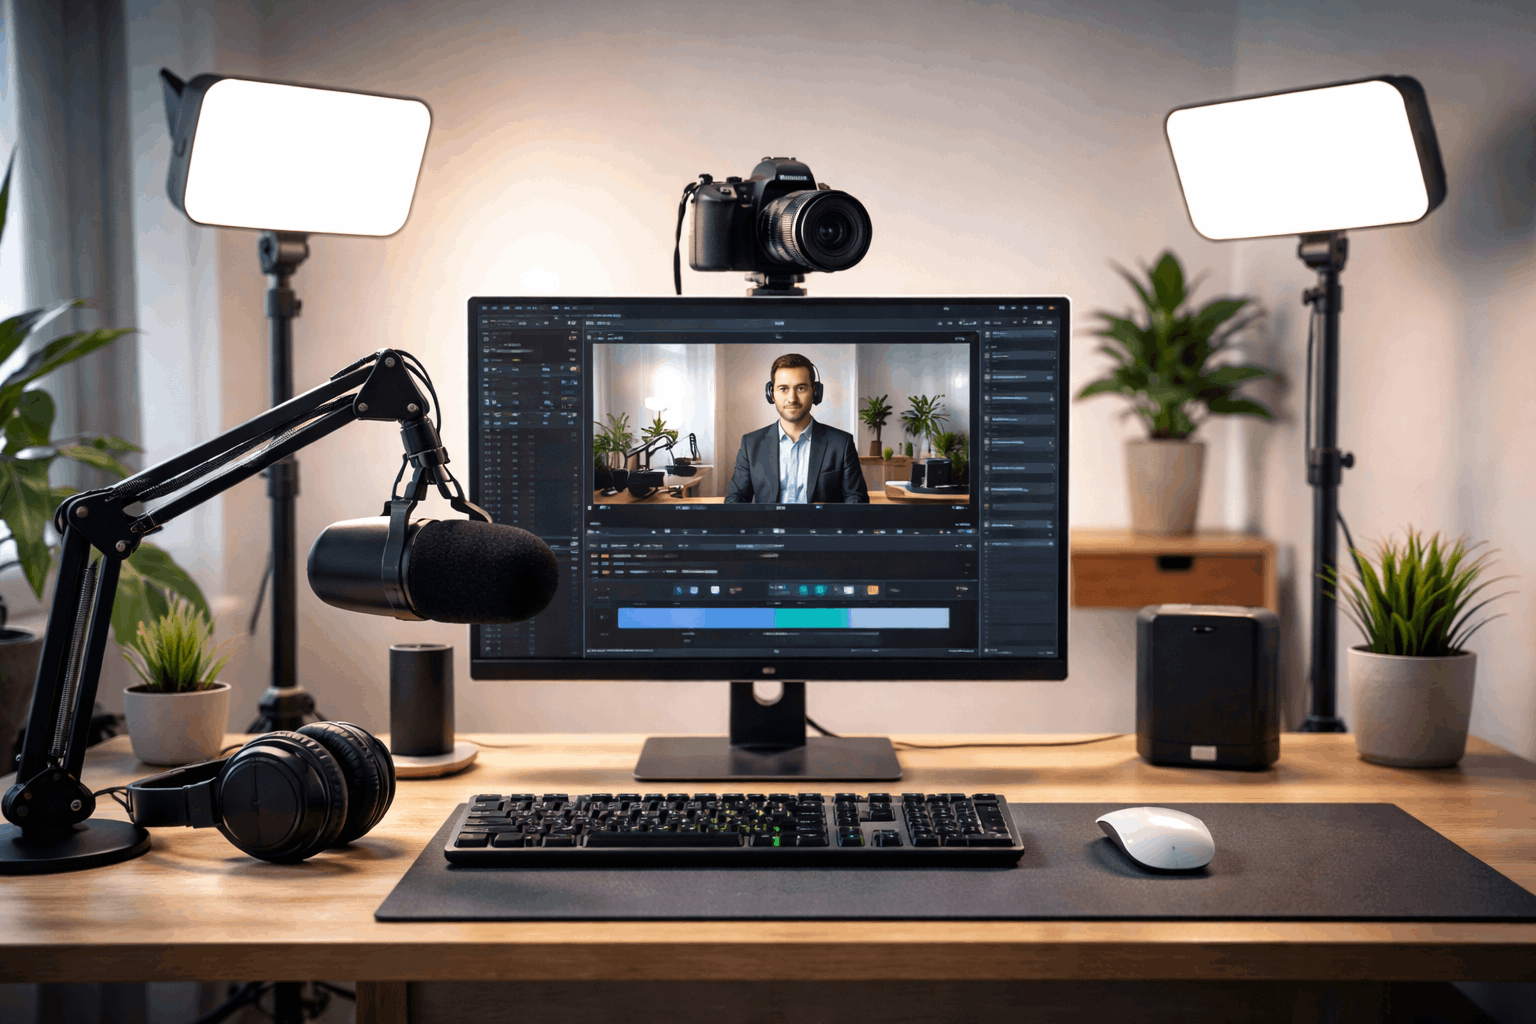
Different creators need different webcam setups. A coaching call, product demo, livestream, teaching video, or talking-head channel will not use the same priorities.
Your room size and desk layout also affect what gear makes sense. The best setup supports your workflow without blocking your keyboard, notes, microphone, or lights.
Starter Setups Should Stay Simple
A starter setup should solve the most common problems first. Use a reliable 1080p webcam, a basic USB microphone, and one small light aimed at your face.
This already improves weak laptop audio, low-light video, and awkward framing. Keep the setup easy enough that you can use it for calls, quick videos, and beginner content without extra steps.
Weekly Creators Need More Consistency
If you publish every week, consistency becomes more important than novelty. A sharper webcam, stronger key light, and stable microphone position can make each video feel connected.
You do not need to rebuild the full desk every time if the main gear stays in place. Saving your camera angle, light placement, and mic distance helps your content look more professional over time.
Use this quick guide before choosing a setup:
- Choose a starter webcam setup if you mainly record calls and simple talking videos.
- Choose a sharper webcam setup if you publish weekly and want cleaner detail.
- Choose a tracking camera setup if you move, teach, or demonstrate products.
- Choose a low-light setup if your room is dark or inconsistent.
- Choose a real camera setup only if you can manage the extra steps.
Match the Camera to Movement and Lighting
Your camera should match how you behave on screen. Some creators sit still at a desk, while others stand, teach, point, or show products close to the lens.
Movement changes how much framing support you need. Lighting also matters because a camera that looks good in one room may struggle in another.
Tracking Cameras Help Active Creators
A tracking webcam can help if you move during lessons, demos, or presentations. It can keep you centered when you stand, turn, or shift around the frame.
This is useful for teachers, coaches, and product creators who do not want to adjust the camera constantly. Even with tracking, you still need good light and clear audio to keep the video professional.
Also Read: One-Light Home Setup That Actually Works
Low-Light Setups Need Stronger Control
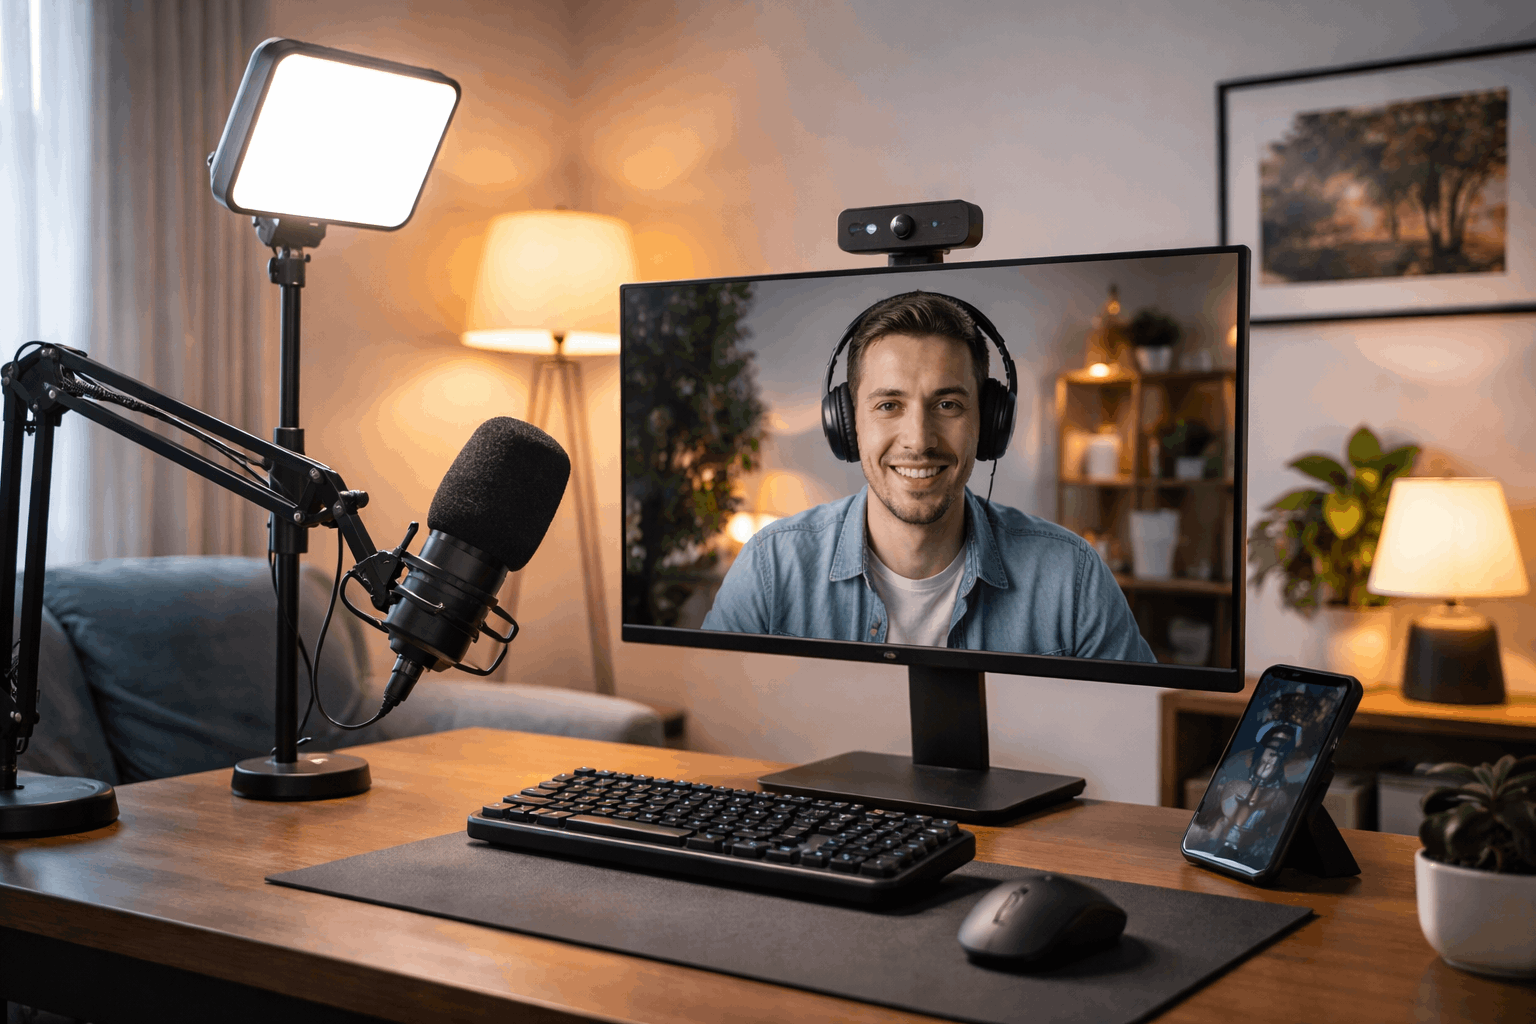
A dark room needs a setup built around a real key light. A webcam with better low-light handling can help, but it still performs best when your face is lit properly.
Keep the light soft, place it slightly off to one side, and avoid bright windows behind you. A close microphone also helps because you can avoid heavy noise reduction that makes voices sound thin.
Consider a Real Camera Only When It Fits Your Workflow
Some creators want the most polished image possible, and a mirrorless camera can help. This path gives more control over lenses, background blur, exposure, and overall image quality.
It also adds more setup steps, including power, mounting, cables, capture devices, and camera settings. For many people, a better webcam setup is easier to use every day.
Camera-as-Webcam Setups Have More Moving Parts
Using a real camera as a webcam can create a cleaner and more cinematic image. It works best when you already understand camera settings or are willing to learn them.
You will need a stable mount, reliable power, and a way to connect the camera to your computer. If the setup takes too long, it may become less useful than a simpler webcam.
Lock the Look Before Recording
Auto settings can change the image while you record. Exposure may shift when you move your hands, and white balance may change when your screen gets brighter.
Locking exposure and white balance keeps the look stable from start to finish. This habit matters for webcams, phones, tracking cameras, and mirrorless camera setups.
Keep the Setup Fast and Repeatable
A good home webcam kit should not feel like a studio teardown every time. The faster it is to start, the more likely you are to record consistently.
Keep the webcam mounted, the microphone ready, and the light in a known position when possible. Small routines help you avoid wasting time before every session.
Save Positions and Test Quickly
Mark your camera, chair, light, and microphone positions if the setup moves often. Take a reference photo so you can rebuild the same look later.
Record a short test clip before important videos to check lighting, framing, and audio. Fix the biggest issue first instead of changing every part of the setup.
Upgrade Based on the Weakest Link
New gear should solve a specific problem. If your video is grainy, improve lighting before buying another camera.
If your voice sounds distant, move the microphone closer before replacing it. When you upgrade based on the weakest link, the whole setup improves without becoming cluttered.
The Final Thoughts
The best webcam setup for home creators depends on what you record most often. Start with clear audio, soft lighting, and a stable eye-level camera before spending more on resolution.
Choose tracking, low-light gear, or a real camera only when your content truly needs it. When your setup is easy to repeat, your videos look cleaner and your workflow becomes faster.