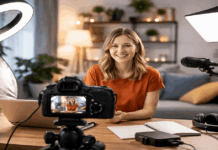
Somewhere right now, a creator is watching back a video they spent two hours recording. The lighting looks decent. The framing is clean. But their voice sounds like it was recorded inside a bathroom stall.
That mismatch between how a home audio video setup looks and how it sounds is the thing that makes viewers click away in under 5 seconds.
Getting audio and video to feel like one unified system is the part that separates content that people watch to the end from content they abandon mid-sentence.
This guide is for the solo creator who records talking-head videos at home and keeps wondering why the final product feels “off” despite owning decent gear.
Your Room Is Doing More Damage Than Your Budget
I see creators drop $300 on a condenser microphone and then wonder why their audio still sounds like an echo chamber. The mic is rarely the problem. The room is.
Hard walls, bare floors, and glass windows bounce sound around until your voice loses all clarity. Even a $200 audio interface feeding into a treated room will outperform a $500 microphone sitting on a bare desk next to a window.
Soft Surfaces Kill Echo Better Than Any Plugin
A thick curtain behind your camera, a rug under your desk, and a fabric wall hanging behind your recording position: these three changes cost under $50 combined and can reduce room reflections enough to make a cheap mic sound clean.
I would take a dynamic mic in a treated corner over a condenser mic in an untreated bedroom.
The Shure SM58 is a $99 microphone that has been used on professional stages for decades, and it picks up far less room noise than condensers at the same distance. That matters when your “studio” is also your living room.
Noise Control Starts Before You Hit Record
Turn off the ceiling fan. Close the window. Move your desk so street noise hits the wall behind you instead of landing directly in front of your mic’s pickup pattern.
These steps take 60 seconds and they do more for your final audio quality than any noise reduction plugin running in post-production.
Noise reduction software can remove steady hums, but it struggles with irregular sounds like passing traffic or a neighbor’s dog. Prevention beats correction every time.
Audio First, Camera Second: the Order That Saves Your Sanity
The standard advice floating around YouTube and Reddit goes something like this: “get a good camera, then worry about audio later.” I think that advice is backwards, and the data backs it up.
A 2022 study published by the University of Southern California found that viewers rated videos with poor audio as less trustworthy and less professional even when the video quality was high. The reverse was not true. Average video with clean audio scored higher across the board.
My take on a home audio video setup is simple: spend 60% of your budget on the audio chain and 40% on the camera.
A basic 1080p webcam paired with a properly positioned dynamic microphone will hold an audience longer than a 4K camera recording through a laptop’s built-in mic.
Picking a Mic Based on Your Recording Space
The mic type decision should follow your room, not your preferences. Three categories cover almost every home setup:
- Dynamic mics (like the Shure SM7B or Audio-Technica AT2005USB) work best in noisy, untreated rooms because they reject sound coming from the sides and rear
- Small shotgun mics (like the Rode NTG3) sit above or below frame and capture speech clearly at 12 to 18 inches, but they pick up more room tone than dynamics at that distance
- Lavalier mics (like the Rode Wireless GO II) clip to your shirt and stay consistent when you move around, but clothing rustle can ruin a take if you skip the windscreen
The common mistake is buying a large-diaphragm condenser mic because a favorite YouTuber uses one. Those creators have treated rooms. Condensers pick up everything, including the hum of your refrigerator two rooms away.
Also read: How to Maintain a Clean Home Recording Setup
Gain, Distance, and the Loudness Trap
Mouth-to-mic distance changes your tone more than any EQ setting. Moving from 4 inches to 12 inches away from a dynamic mic creates a completely different sound, even at the same gain level.
Set your input gain so that normal speaking volume peaks around -12 dB to -6 dB on your meter. That leaves headroom for louder moments without clipping.
Clipping distortion is permanent. A slightly quiet recording can be boosted cleanly in post. A clipped recording cannot be fixed.
Monitoring matters here too. Put on a pair of closed-back headphones and speak at your normal recording volume for 30 seconds before hitting record. Listen for hiss, hum, plosives, and room echo. That 30-second check prevents hour-long re-records.
Simple Lighting That Matches Your Audio Position
Once the audio chain is locked in, the camera and lighting need to work around it.
That sounds backwards compared to how photography works, but home video has different priorities. The mic position dictates where your face needs to be, and the lighting follows that anchor point.
One Light Is Enough (Seriously)
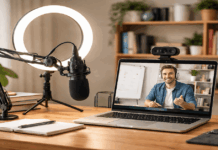
Place a single key light slightly above eye level and about 30 to 45 degrees to one side of your face. That angle creates natural shadow and dimension without harsh lines under your eyes.
Soft light sources reduce hotspots on skin and make even a basic 1080p webcam produce a flattering image.
A $40 softbox or a diffusion panel clipped to a desk lamp will do this. Adding a second light too early usually creates color mismatches and competing shadows that look worse than one-light simplicity.
Lock Your Color Temperature and Exposure
Pick one color temperature for your light source: either warm (around 3200K) or daylight (around 5600K). Then match that setting in your camera’s white balance menu.
Mixed color temperatures make skin look unnatural, and auto white balance will shift mid-sentence if a cloud passes your window.
Lock exposure manually too. Auto exposure brightens and darkens your face as you lean forward or sit back. On a talking-head video, that flickering is distracting enough to make viewers notice problems they would otherwise ignore.
Keep your background slightly darker than your face. That contrast creates visual separation and makes a simple webcam frame look intentional rather than accidental.
Aligning Your Camera Frame With Your Mic Position
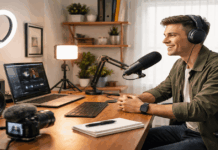
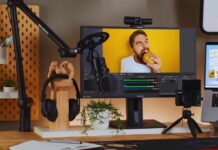
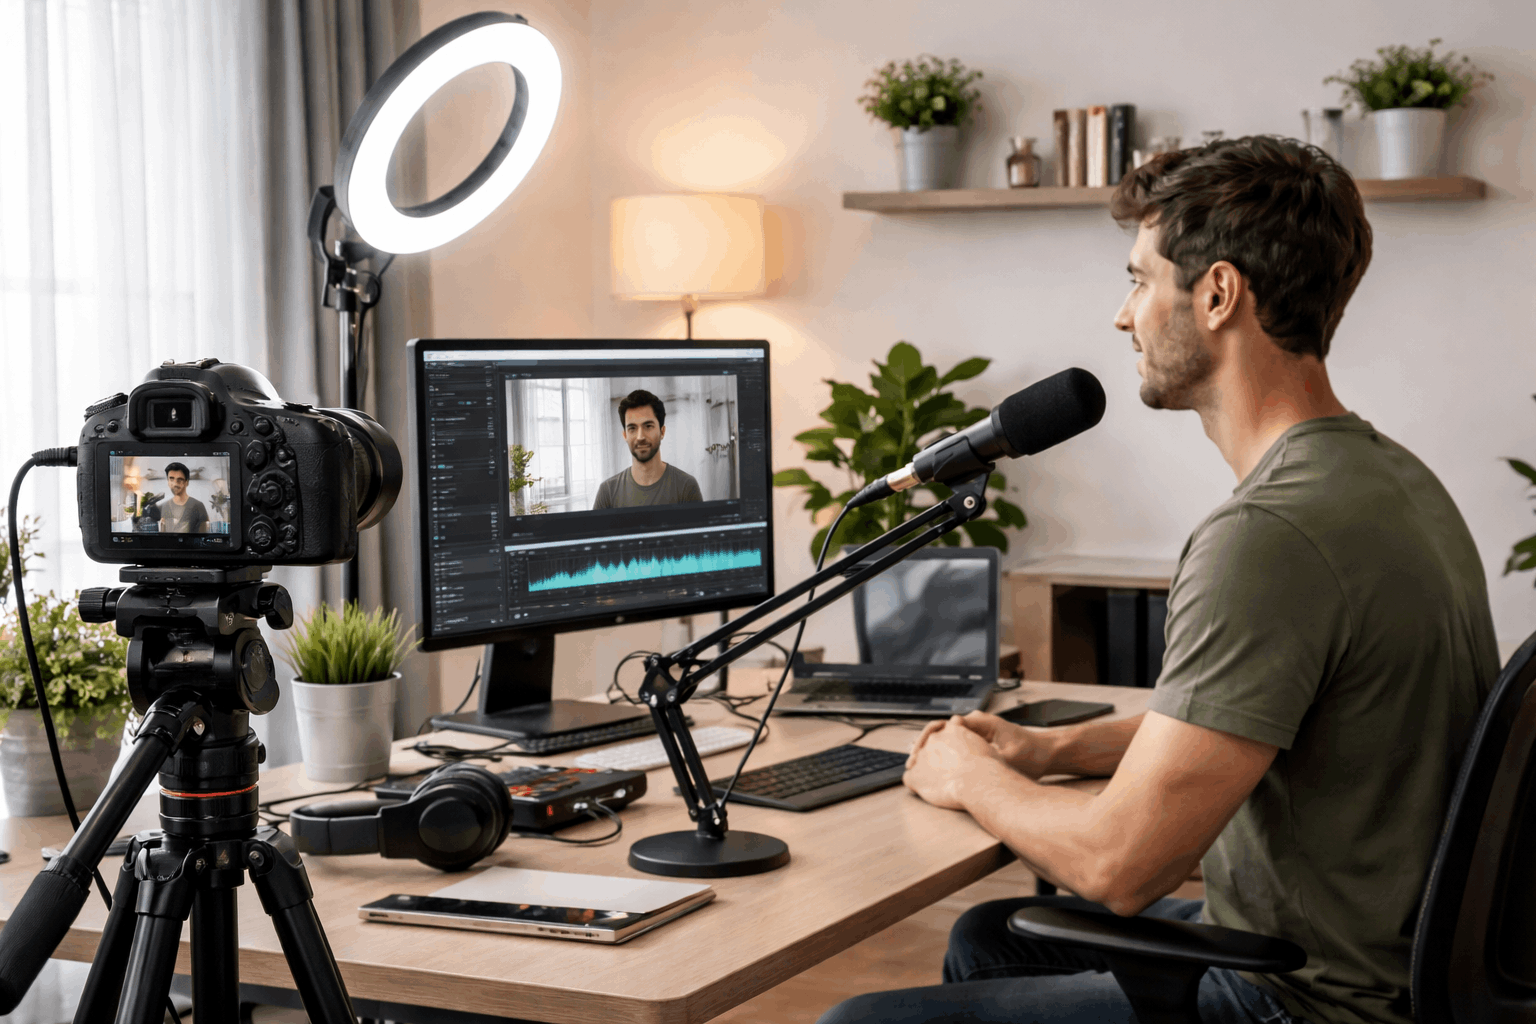
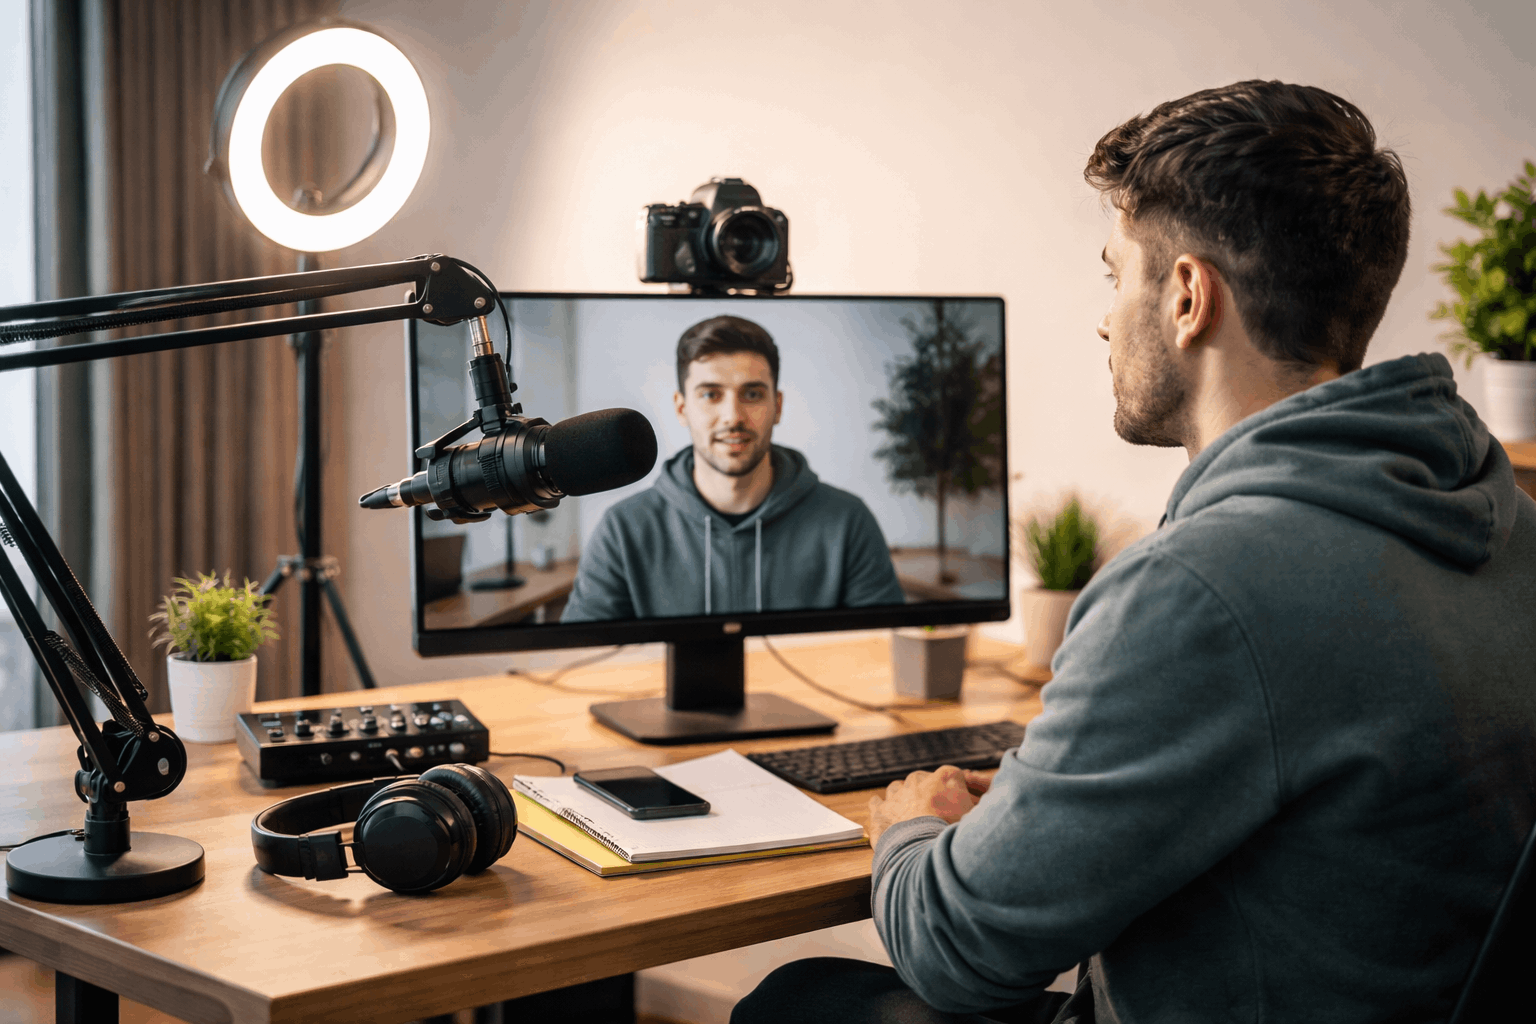
The best home audio video setups treat camera framing and mic placement as one decision, not two. A boom arm holding your mic just above or below frame lets you keep the mic within 6 to 8 inches of your mouth while keeping a clean visual frame.
Cable management is worth the 15 minutes of effort. A loose cable dragging across a desk creates bumps and handling noise that ruin otherwise clean audio. Cable ties and a simple routing path along the boom arm eliminate this.
| Setup Element | Budget Option | Mid-Range Option | Difference |
|---|---|---|---|
| Microphone | Audio-Technica ATR2100x ($79) | Shure SM7B ($399) | SM7B needs a preamp like CloudLifter ($149 extra) |
| Lighting | Desk lamp + diffusion ($30) | Elgato Key Light ($199) | Elgato allows app-controlled color temp and brightness |
| Camera | Logitech C920 ($69) | Sony ZV-1 ($749) | ZV-1 adds autofocus tracking and background blur |
The takeaway: a $178 budget setup (ATR2100x, desk lamp, C920) will produce solid results if the room is treated and the mic is positioned correctly.
Mixing and Processing Without Killing Your Audio
Software should refine a clean recording. It should not rescue a bad one. That distinction matters because creators often reach for noise reduction and heavy compression to fix problems that started at the mic or in the room.
A practical post-production chain for home video audio has three steps:
- High-pass filter set around 80 Hz to cut low rumble from air conditioning, traffic, and foot vibrations through the floor
- Light compression at a 2:1 or 3:1 ratio to even out volume jumps between soft and loud speech
- Limiter set at -1 dB as a safety net to catch unexpected peaks without forcing a quiet recording level
Skip the noise gate unless your room noise is extreme. Gates cut audio between words and create an unnatural “pumping” effect that listeners notice subconsciously. Consistent low-level room tone sounds more natural than digital silence between sentences.
Check Your Mix on Phone Speakers
This is the step I think 90% of home creators skip entirely. Phone speakers and earbuds are where the majority of content gets consumed in 2026.
A mix that sounds balanced on studio headphones can sound completely different on a phone’s tiny speaker.
Play your video back on your phone before uploading. If your voice disappears behind background music on a phone speaker, lower the music track by another 3 to 6 dB. Clarity on cheap speakers always beats perfection on expensive ones.
Questions People Ask About Home Audio Video Setup
Q: Do I need an audio interface for a home video setup?
A USB microphone connects directly to a laptop and works for most solo creators. An audio interface becomes useful when running two mics or connecting XLR-only equipment, but it is not required for a basic talking-head setup.
Q: Should I use a condenser or dynamic mic for recording video at home?
Dynamic mics handle noisy, untreated rooms better because they reject off-axis sound. Condensers capture more detail but also pick up every room reflection, appliance hum, and neighbor’s conversation. Choose based on your space, not your budget.
Q: How close should my mic be to my face for video recording?
Keep the mic 4 to 8 inches from your mouth for the best tone and level consistency. Going farther than 12 inches introduces room sound that no plugin fully removes. Closer is almost always better.
Q: Can I use my phone as a camera for a home audio video setup?
Phones in 2026 shoot 4K with solid autofocus, so the camera quality is fine. The limiting factor is always the phone’s built-in microphone, which picks up handling noise and room echo. Pair a phone camera with an external mic and the results can be surprisingly good.
Q: How do I stop my video lighting from creating audio problems?
Cheap LED panels sometimes produce an electrical hum that microphones pick up. Move the light farther from the mic, or switch to a panel with a higher PWM frequency. Testing with headphones before recording catches this problem in seconds.
Conclusion
Good audio keeps people watching, and consistent lighting makes the picture feel intentional rather than random. Start with one mic, one light, and a treated corner instead of a cart full of gear.
Test your mix on phone speakers before uploading because that is where your audience hears you. The setup that works is the one simple enough that you stop tweaking and start recording.