The mic arrived. The ring light is on. The camera is recording. And somehow, the audio still sounds like you’re talking inside a bathroom.
That gap between “I bought good gear” and “my content looks and sounds professional” is where beginners get stuck for months. Creator setup mistakes rarely come down to budget.
Almost every frustrating result traces back to placement, distance, or room conditions. Gear gets blamed when the room is the real problem.
This guide breaks down the specific fixes that turn a messy home setup into something that sounds clean and looks polished, all without buying a single upgrade.
Your Mic Choice Should Match the Room, Not the Hype
The microphone conversation has to start here because audio is the one thing that drives people away from your content faster than anything visual.
A shaky camera? Annoying. Bad lighting? Distracting. But tinny, echoey, or muffled audio? That earns an instant click-away.
Dynamic vs. Condenser: the Room Decides
Beginners tend to buy a condenser microphone because every gear list says it has “better sound.” And technically, that is true. A condenser picks up more detail.
The problem is that “more detail” in a bedroom with hard walls means more echo, more keyboard clicks, and more of your neighbor’s dog.
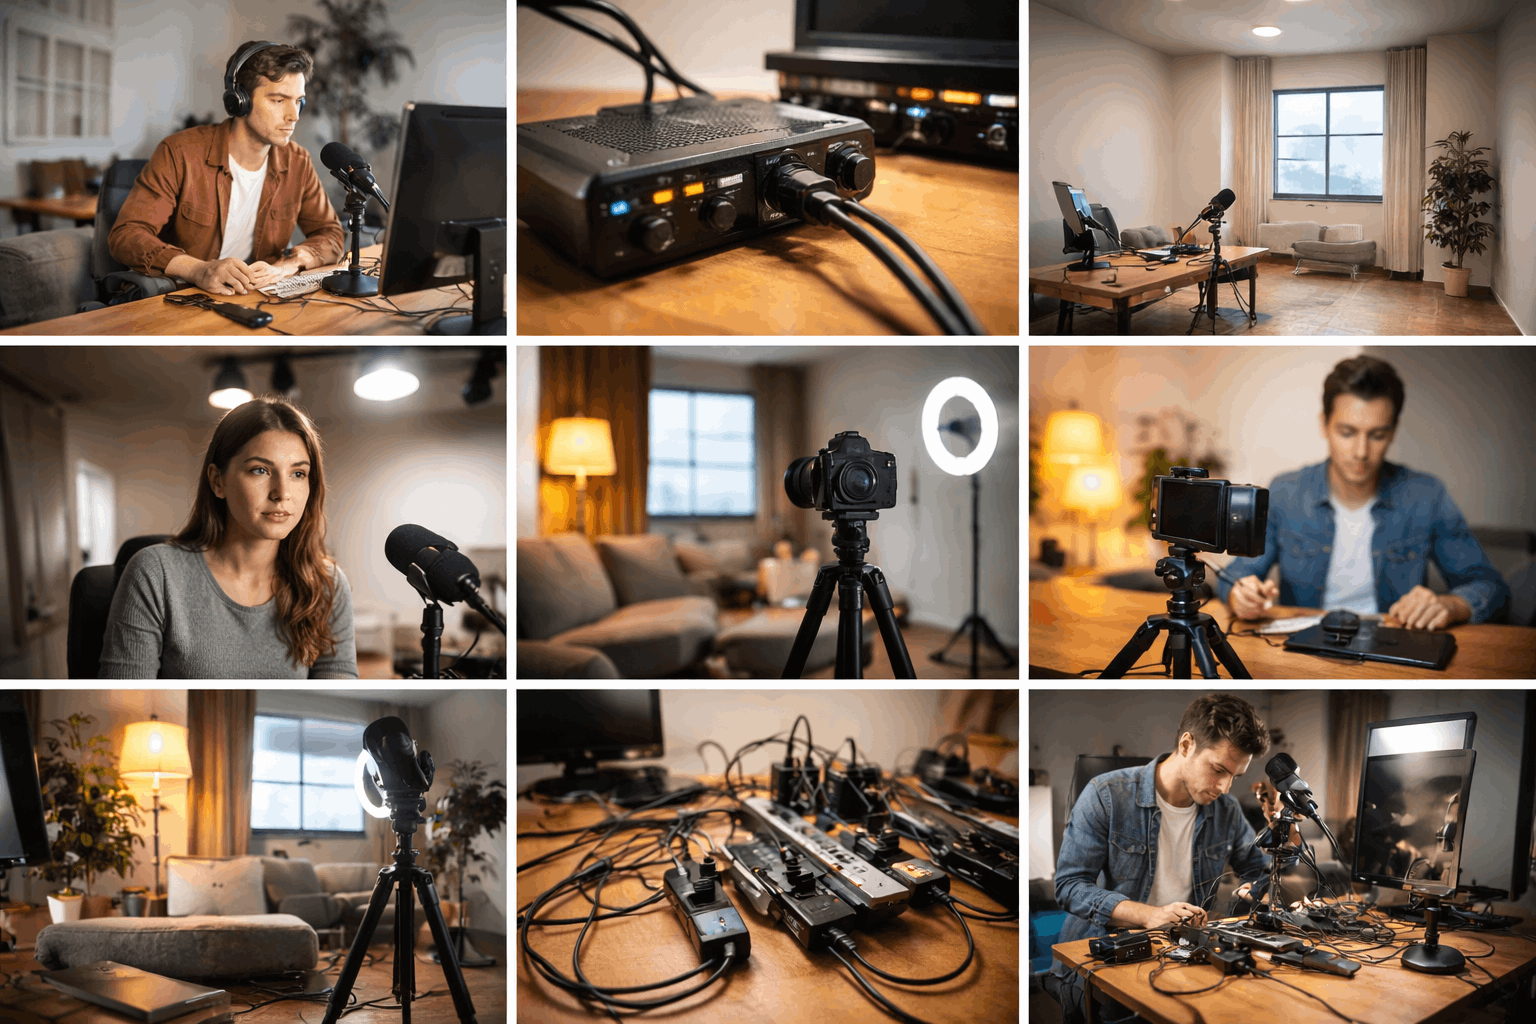
I would pick a dynamic microphone like the Shure SM7B or Rode PodMic over any condenser for a creator recording in an untreated room.
Dynamic mics are less sensitive to room reflections, and that “less sensitive” quality becomes a major advantage when your recording space is a 10-square-meter bedroom with tile floors.
A lavalier mic or shotgun mic can work for filming wider shots or standing presentations. But set realistic expectations: a lavalier clipped under a shirt will pick up fabric rustle, and a shotgun mic aimed poorly will grab room noise just like anything else.
The Distance Problem Nobody Fixes First
Mic distance is the fastest audio killer, and it is the cheapest one to fix. Every extra few centimeters between your mouth and the microphone adds room noise to the signal.
A mic sitting flat on the desk, a full arm’s length away, will always sound hollow compared to the same mic on a boom arm positioned a hand’s width from your face.
A pop filter or foam windscreen becomes necessary once you move closer, because plosives (the hard “P” and “B” sounds) get louder as distance shrinks. This is a $10 fix that changes how your voice sits in the recording.
Consistent placement matters more than perfect placement. Record a test, find a distance that sounds clean, and then keep the mic there. Every. Single. Time.
Stop Blaming the Microphone for Bad Room Acoustics
The pattern goes like this: beginner records in a bare room, hears echo, buys a more expensive mic, still hears echo, buys another mic. The room was the problem the entire time.
Soft Surfaces Fix What Expensive Mics Cannot
Hard surfaces reflect sound waves. Bare walls, tile floors, glass windows: these bounce your voice around the room and the mic picks up all of it. A $400 condenser in a bare room will sound worse than a $70 dynamic in a room with soft furnishings.
The fixes are surprisingly low-tech:
- A thick rug on the floor under your recording area absorbs reflections that bounce between the floor and ceiling
- Heavy curtains or a moving blanket hung on the wall behind or beside you kills the nearest reflection point
- A bookshelf with uneven objects (books of different sizes, not a clean flat shelf) breaks up sound waves instead of bouncing them straight back
None of that costs more than what most beginners spend on a mic upgrade they did not need.
Also read: Do You Really Need an Audio Interface for Home Recording?
Kill the Background Noise at the Source
Turning off fans, air conditioning units, and buzzing fluorescent lights sounds obvious. But beginners often leave these running because they “don’t hear it” while talking.
The mic hears it. And once that low hum bakes into the recording, no amount of noise reduction in post will remove it cleanly without making your voice sound robotic.
Record in the quietest version of your room. If that means filming at 7 AM before the street gets loud, that is the trade-off.
Gain Staging: Recording Too Hot or Too Quiet
Audio levels trip up beginners in both directions. Cranking the gain too high causes clipping: a harsh distortion at the loudest moments that editing software cannot repair. The waveform literally gets its peaks chopped off, and no plugin can reconstruct what was lost.
Set Levels for Your Loudest Moment, Not Your Average
The goal is to have your normal speaking voice sit well below the clipping threshold, leaving headroom for when you laugh, get excited, or cough.
A good starting point is to set your levels so that normal speech peaks around -12 dB to -6 dB on the meter.
Recording too quietly creates the opposite problem. Boosting a quiet recording in post reveals all the room noise and hiss that sat below the surface. The signal-to-noise ratio falls apart.
Wear closed-back headphones while recording, not after. Monitoring live lets you catch hum from a power adapter, a loose cable, or a mic that shifted position mid-take. Catching these problems during the session saves hours of editing.
| Audio Issue | Cause | Fix |
|---|---|---|
| Clipping/distortion | Gain set too high | Lower input gain, leave headroom above -6 dB |
| Hollow or distant sound | Mic too far from mouth | Move mic to a hand’s width away, use boom arm |
| Echo or room reverb | Bare reflective surfaces | Add rugs, curtains, soft furnishings near recording spot |
| Background hum | Fans, AC, or lights left on | Turn off noise sources before recording |
| Hiss when boosted | Recording level too quiet | Raise gain to proper level at source, monitor live |
The pattern across all five issues is the same: fix it at the source, not in post-production.
Lighting Placement That Ruins Good Cameras
Lighting mistakes are sneaky because the camera still records an image. The image just looks flat, shadowy, or weirdly colored.
And because the footage looks “fine” on a small laptop screen, beginners often do not realize the problem until they see it on a phone or TV.
The Three-Point Lighting Setup Simplified
A single overhead light creates dark shadows under the eyes and nose. A bright window behind the subject turns the face into a silhouette. Both are fixable with basic placement.
The setup that works for almost every desk-based creator:
- A main light (called the “key light”) placed in front and slightly to one side, raised above eye level, angled gently downward
- Diffusion on that main light: a softbox, umbrella, or even a white bedsheet stretched over a frame to soften harsh edges
- A fill light on the opposite side, dimmer than the main light, or a white surface (foam board, white wall) that bounces light back into the shadows
I would skip a dedicated backlight for most beginner setups. Adding a third light when the first two are not dialed in just adds another variable to manage. Get two lights working together first, then consider a backlight after the basics feel consistent.
Matching Color Temperature Across All Light Sources
Mixing a daylight-balanced LED panel (around 5600K) with a warm bedside lamp (around 2700K) and natural window light creates a mess of competing colors.
The camera’s white balance picks one and makes the others look wrong. Skin tones shift green, orange, or gray depending on which light source dominates.
The fix: pick one color temperature and remove conflicting sources. If your LED panels support adjustable color temperature, set them to the same value.
Close the curtains if the window light conflicts with your studio lighting. Consistency beats perfection. A deliberately warm scene looks intentional. A scene with three different color temperatures looks broken.
Camera and Tripod Mistakes That Sabotage the Shot
Auto settings on webcams and entry-level cameras are designed for convenience, not for consistent content.
Auto exposure adjusts brightness every time something changes in the frame, creating a “pumping” effect that looks amateur. Auto white balance shifts colors mid-sentence if a cloud passes the window.
Lock Your Camera Settings After Lighting
Control the lighting first, then lock the camera’s exposure and white balance settings. This removes the camera’s need to guess, and the result is a consistent look across every take.
Eye-level framing makes a bigger difference than sensor quality. A camera placed below chin level, like a laptop webcam, distorts the face and creates an unflattering upward angle.
Raise the camera to eye level, frame with a comfortable crop, and clean up the background behind the subject.
Tripod Stability Over Tripod Price
A cheap, lightweight tripod will wobble when the desk shakes, when someone walks nearby, or when the center column is extended too high.
Extending the center column is a common beginner move because it gets the camera higher. But it also makes the whole setup less stable, and any vibration becomes visible in the footage.
Three stability rules for small-space tripods:
- Use a tripod rated for more weight than the camera and accessories combined
- Keep the center column low and spread the legs wider for a lower center of gravity
- For desk setups, a compact tabletop tripod often beats a full-size tripod crammed into a tight corner
A stable, boring shot always beats a shaky “cinematic” one. Spend money on stability, not height.
I would tell any new creator to visit the Rode microphone guide for detailed specs on dynamic and condenser options, and check the Wistia lighting guide for creators for visual examples of simple two-light setups.
Questions People Ask About Creator Setup Mistakes
Q: Should I fix audio or lighting first in my creator setup?
Audio should come first because viewers tolerate average-looking video far longer than they tolerate bad sound. Start by treating your room and placing your mic correctly, then move on to lights.
Q: Do I need acoustic foam panels to fix room echo?
Acoustic foam is one option, but heavy curtains, thick rugs, and bookshelves filled with uneven objects do the same job at a fraction of the cost. Foam panels work best on specific reflection points, not plastered across every wall.
Q: Can software fix clipped audio in post-production?
Clipped audio is permanently distorted. Software can mask it slightly, but the original waveform peaks are gone for good. The only real fix is to lower your gain and re-record the segment.
Q: Is a ring light good enough for YouTube videos?
Ring lights produce flat, even lighting that erases facial dimension. They work for quick social media clips, but a single softbox placed at an angle will give your face more depth and a more professional look for longer-form content.
Q: How close should a microphone be to my face?
A hand’s width is a solid starting point for most dynamic and condenser mics. The exact distance depends on the mic’s polar pattern, but closer is almost always better than farther when recording in an untreated room.
Conclusion
A clean creator setup depends more on placement and room conditions than on gear price tags. Fixing mic distance alone can improve audio quality more than any single equipment upgrade.
Lighting needs consistency across color temperature and angle before any new purchase matters. Start with one problem this week, solve it completely, and build the rest around that fix.